How to Create Polka Dot Nails with Dip Powder

Difficulty
Moderate
Time required
1 Hour
Salon price 

Est. $69+ / Mani
DipWell price 

Est. $6 / Mani
Step 1
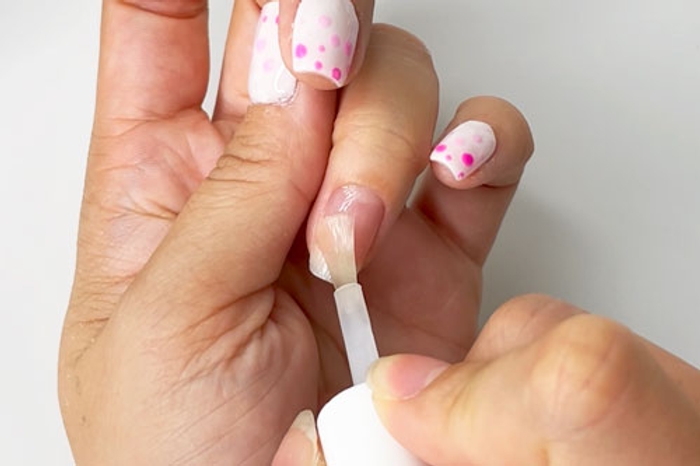
- Apply a thin coat of Step 1 Bond. Allow it to dry completely.
Step 2
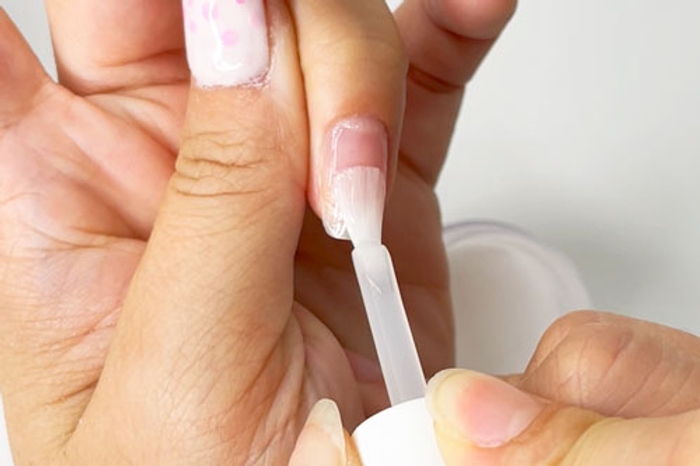

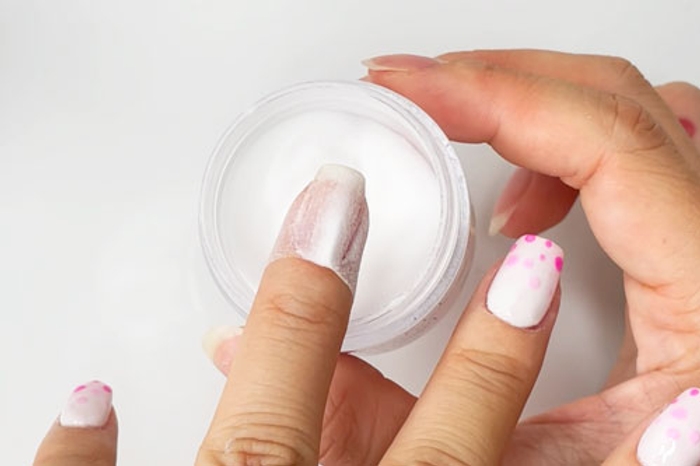
- Apply a thin coat of Step 2 Base to the entire nail, & immediately dip fingernail into Base & Finish powder.
Step 3
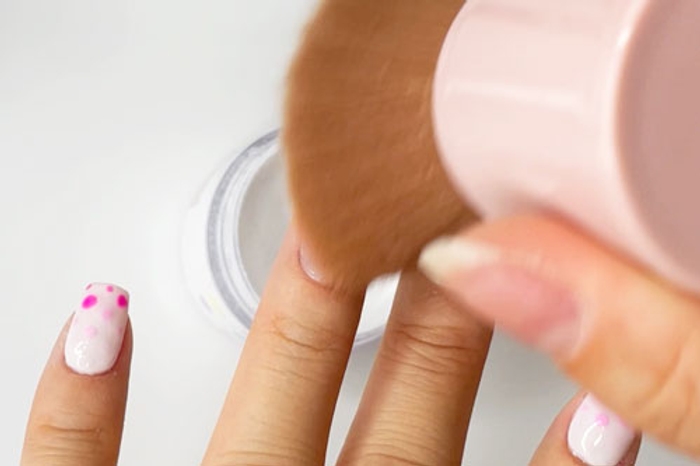
- Tap finger to remove loose powder. Then use a fluffy brush to sweep off excess powder.
Step 4
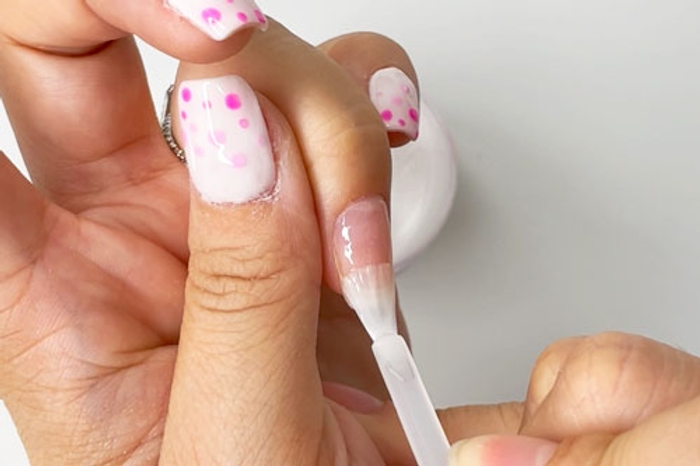

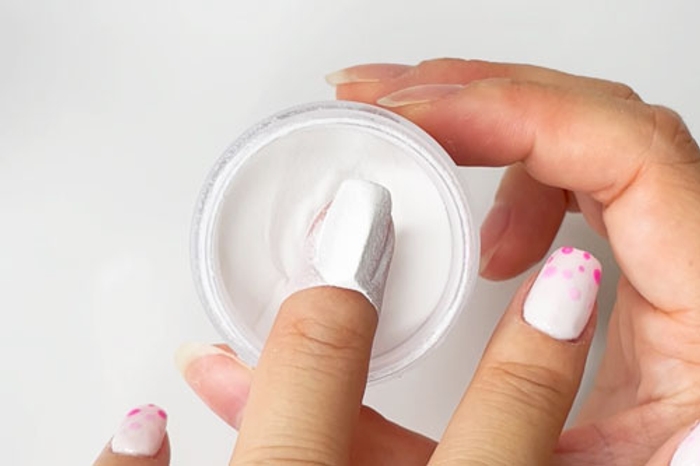
- Apply another coat of Step 2 Base to the entire nail and immediately dip fingernail into color powder of choice. Here we are using French White.
PRO TIP: Avoid getting the product onto cuticles, powder will pick up wherever Base is applied.
Get free tutorials every week!
Sign up for fresh nail inspo & exclusive discounts delivered right to your inbox!
By subscribing, you acknowledge our Privacy Policy.
Step 5
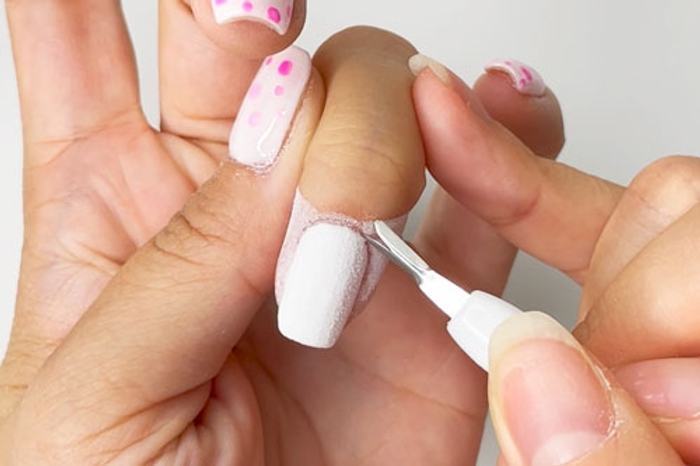

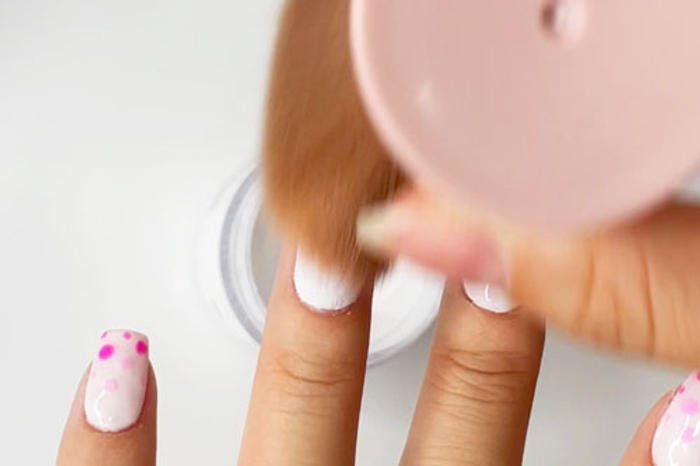
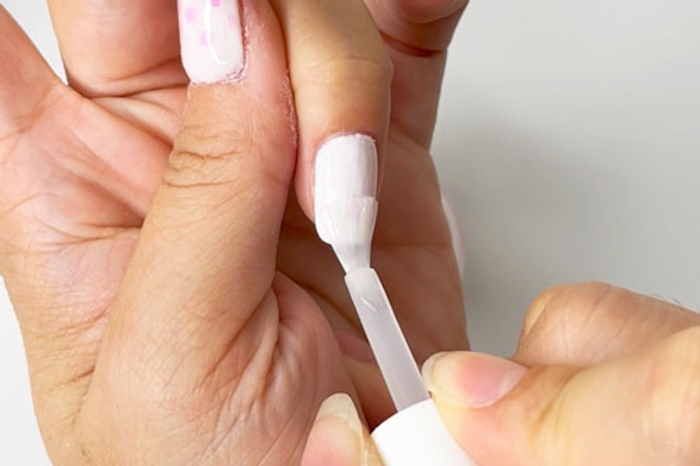
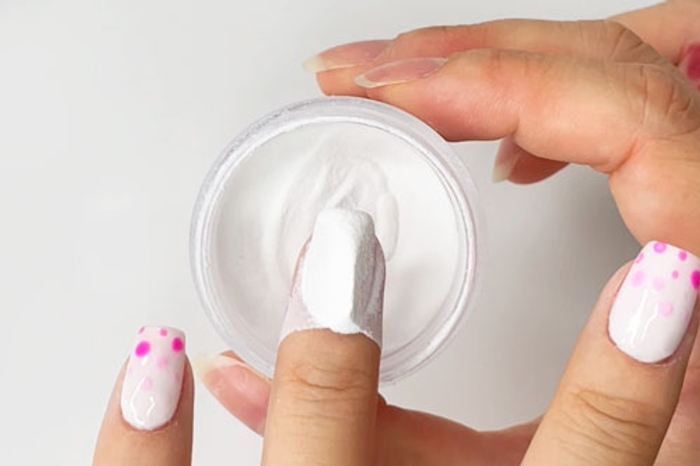
- Tap to remove loose powder. Using a pointed tool, clean up the cuticle edges. Then use a fluffy brush to sweep off excess powder. Repeat for more coverage.
Step 6
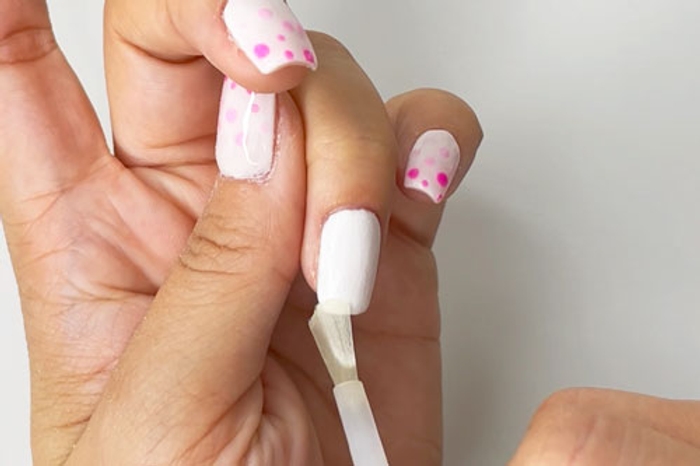
- Apply Step 3 Activator to the entire nail & allow a few minutes for the dip blend to harden.
PRO TIP: If you live in a humid climate, you may need to increase your dry time.
Step 7
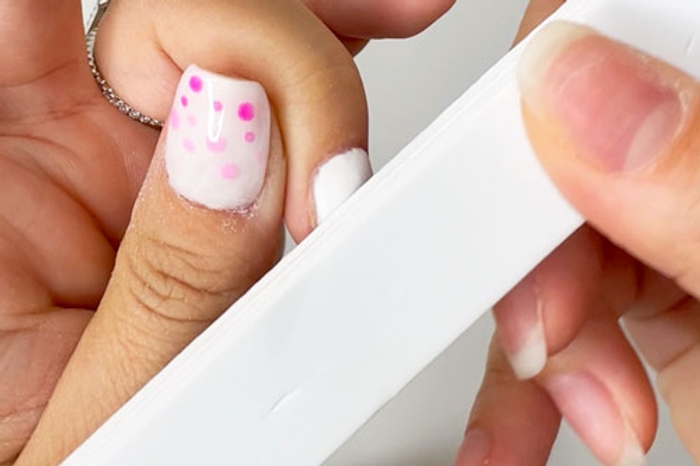
- File and buff nails to create a smooth surface.
Step 8
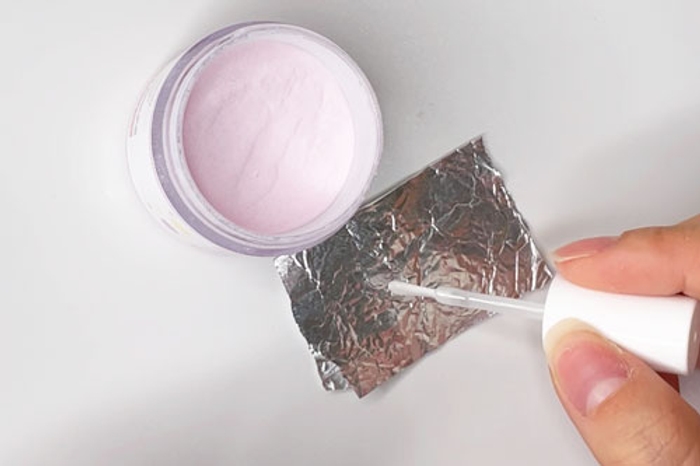
- On a small piece of foil, add a few drops of Step 4 Sealer.
Step 9
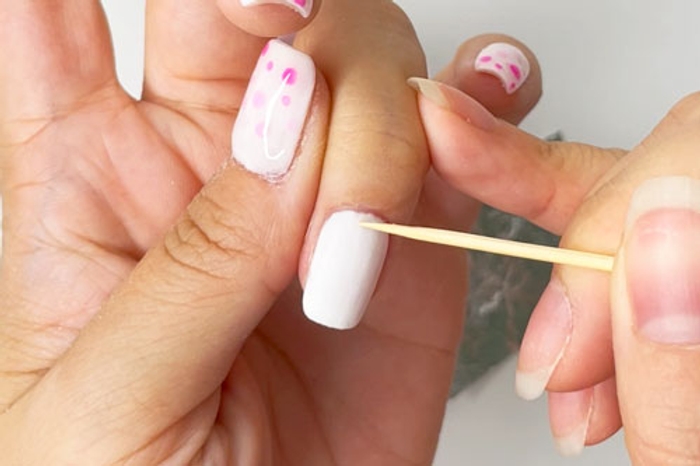

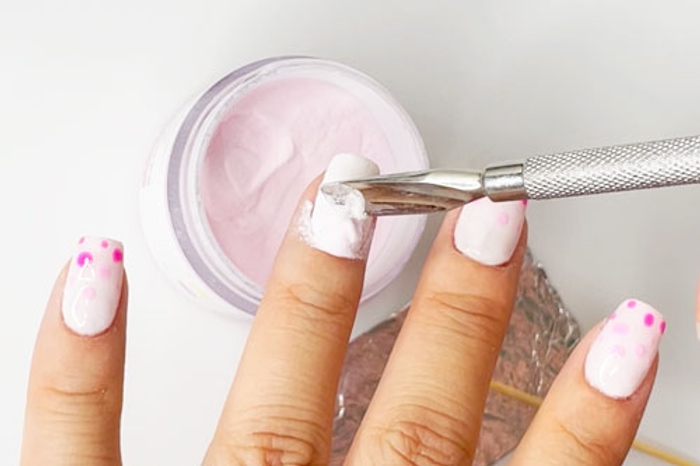
- Using a toothpick, apply the Step 4 Sealer on the nail creating dots of varying sizes near the cuticle. Then use a small scoop to pour a lighter color powder over the nail. Here we are using PA14.
PRO TIP: Be sure to add more drops of Step 4 Sealer to foil as needed.
Step 10
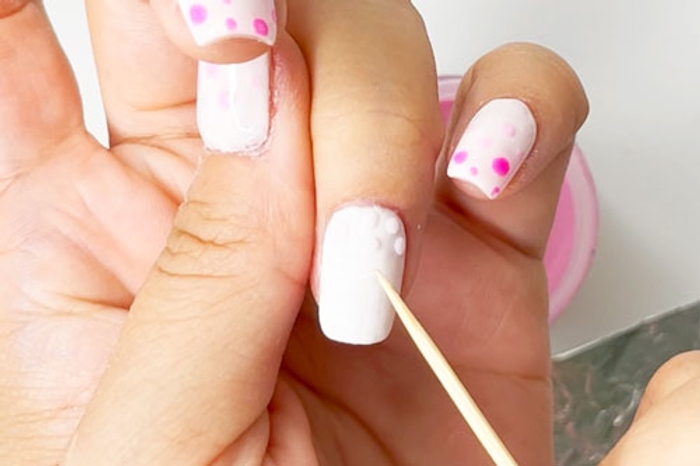

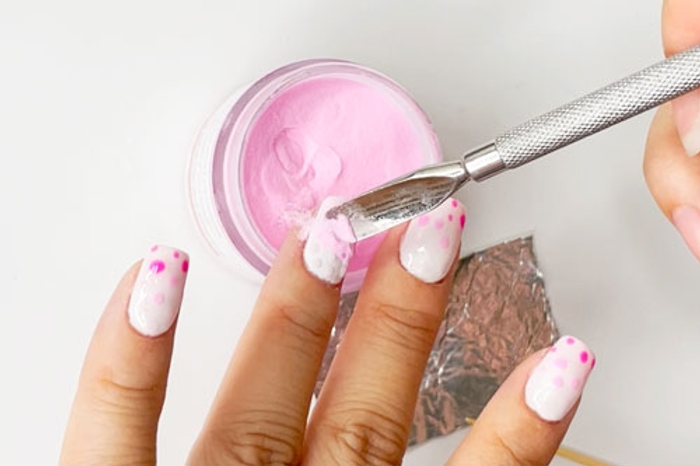
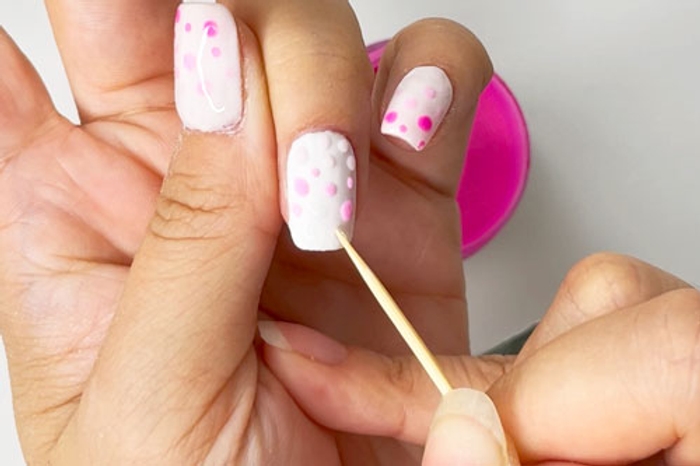

- Using a toothpick & Step 4 Sealer, add more dots of varying sizes to the mid-section of the nail. Then use a small scoop to pour the second shade of dip powder over the nail. Here we are using PA01.
- Once again, use the toothpick & Step 4 Sealer to create more dots of varying sizes to the tip of the nail. Then use a small scoop to pour the darkest color powder over the nail. Here we are using CL08.
Step 11
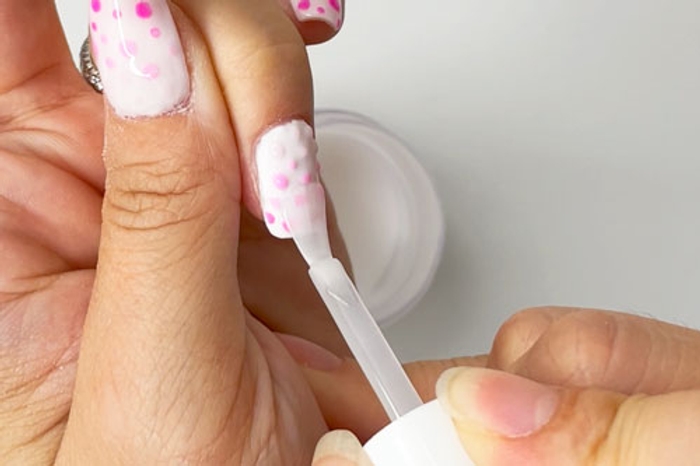

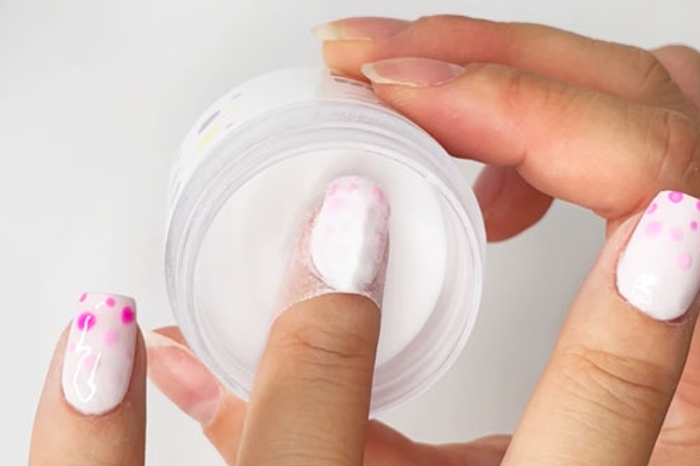
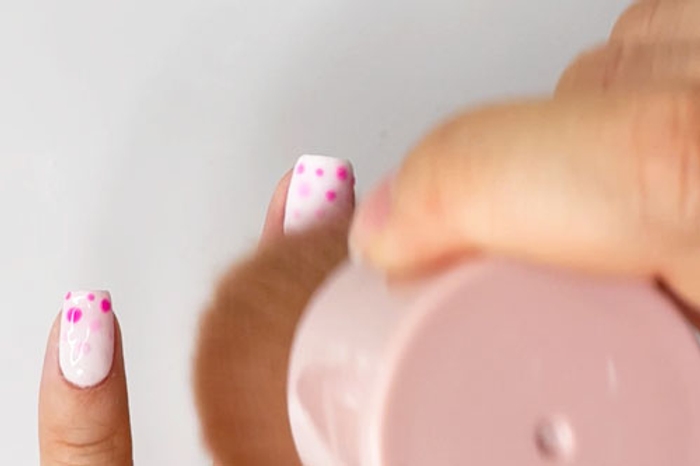
- Apply a final coat of Step 2 Base to the entire nail and immediately dip fingernail into Base & Finish powder. Tap finger to remove loose powder and use a fluffy brush to sweep off any excess.
Step 12

- Apply Step 3 Activator, allow 3-5 minutes for dip blend to harden.
PRO TIP: If you live in a humid climate, you may need to increase your dry time.
Step 13
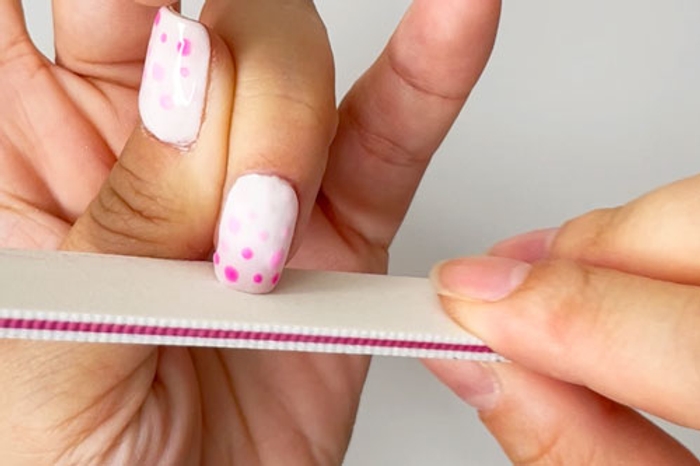

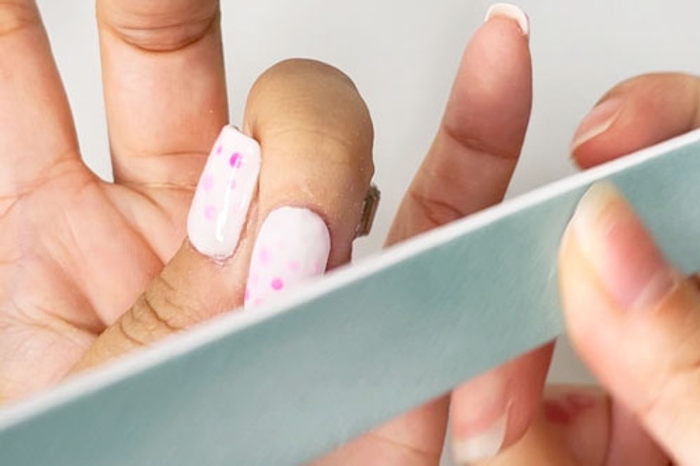
- File and buff nails to achieve desired nail shape & smoothness.
Step 14
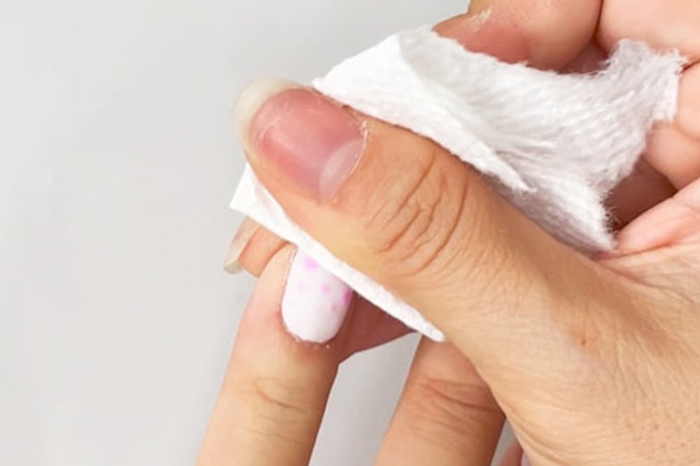
- Wash hands or use a lint-free wipe saturated in alcohol to wipe the nails clean.
PRO TIP: Make sure nails are completely dry before moving to the next step!
Step 15
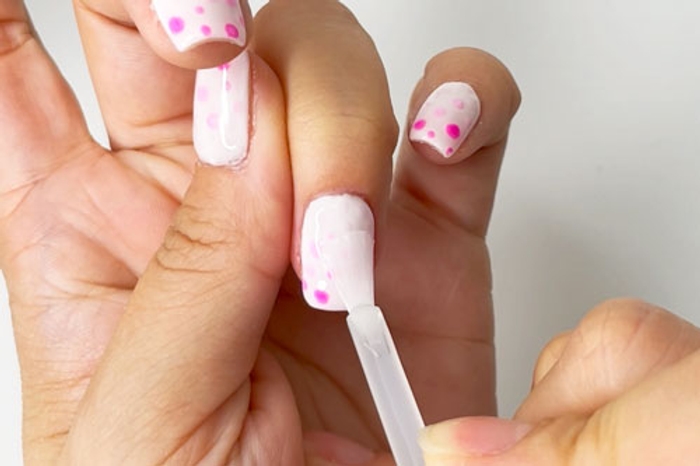
- Apply a coat of Step 4 Sealer, & allow it to dry for 1-2 minutes.
Step 16
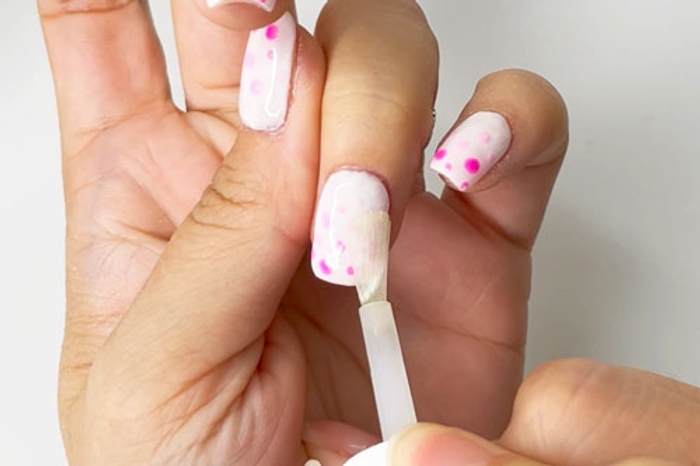

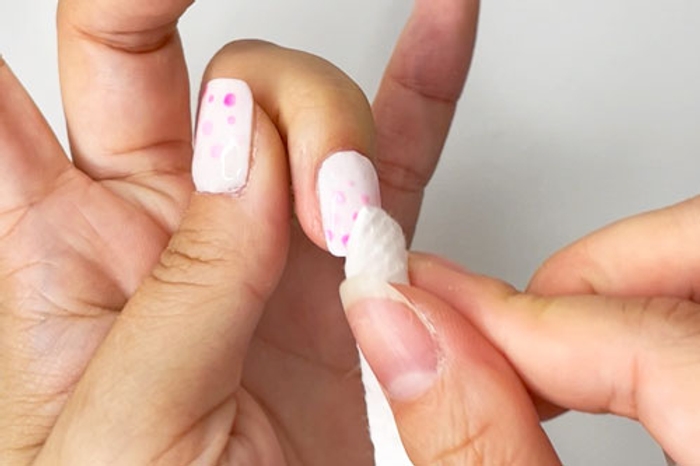
- Apply another coat of Step 3 Activator. Allow 5 full minutes for nails to dry.
- Use a dry lint-free wipe to clean the nail surface from any excess activator.
Step 17
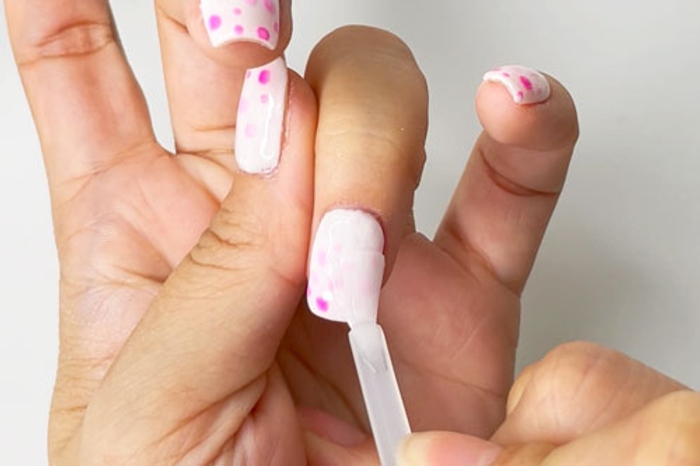

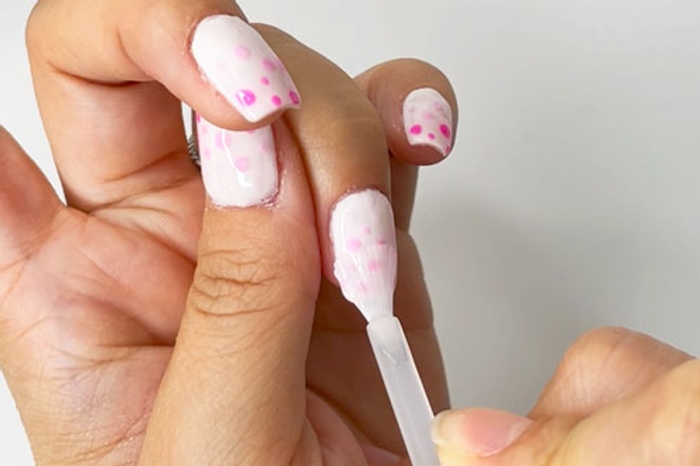
- Apply a coat of Step 4 Sealer in thin, quick strokes. Allow 2-3 minutes for nails to dry.
- Apply a final coat of Step 4 Sealer to the entire nail. Allow 3-5 minutes for nails to completely dry.
PRO TIP: Don't apply more than 2 consecutive coats of Sealer as this will prevent even drying & may result in a gummy mani.
Finish!
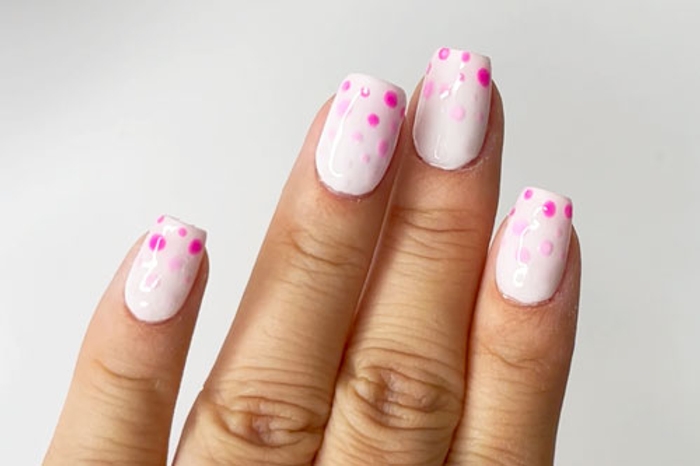


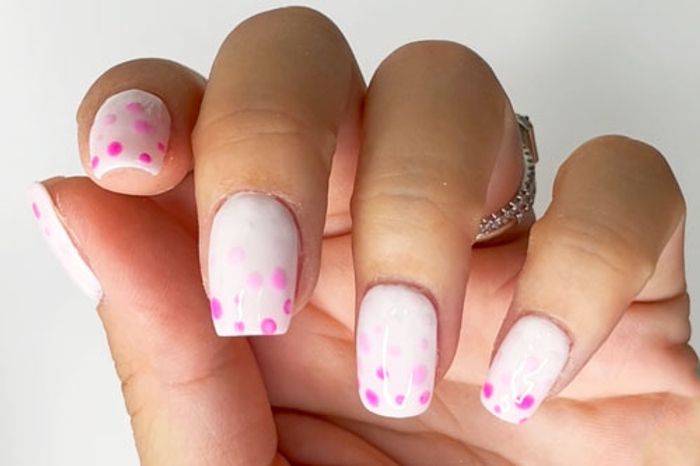
Polka dot nails are cute and festive - any time of year! We love this dot nail design in pink ombre. And it’s easy to do this nail art with acrylic dip powder at home.
Get free tutorials, special deals every week!
Sign up for fresh nail inspo & exclusive discounts delivered right to your inbox.
By subscribing, you acknowledge our Privacy Policy.

