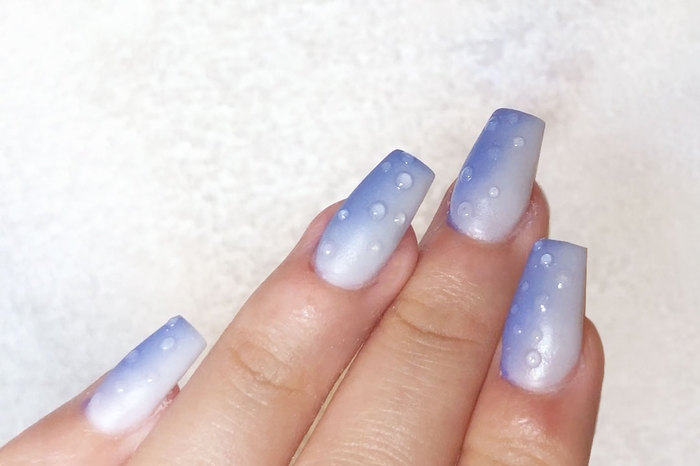
Raindrop Nails | 3D Water Drop Nail Art

Difficulty
Easy
Time required
45 Minutes
Salon price 

Estt. $63 / Mani
DipWell price 

Est. $4 / Mani
Step 1
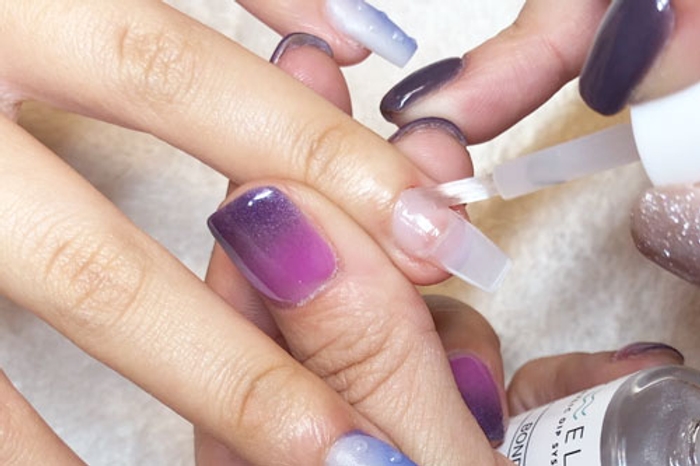
- Apply a thin coat of Step 1 Bond. Allow it to dry completely.
Step 2
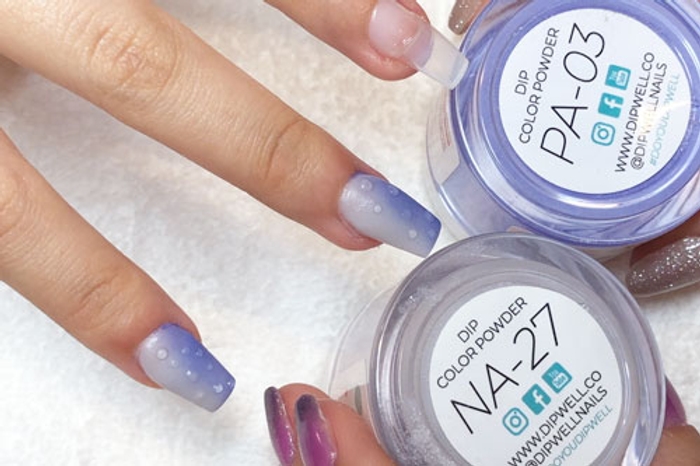

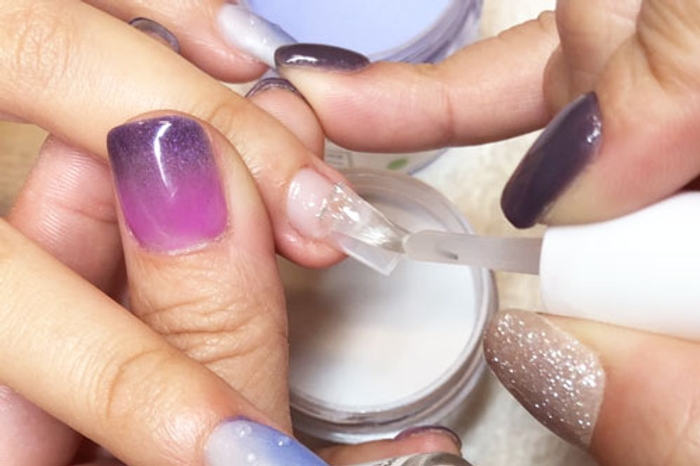
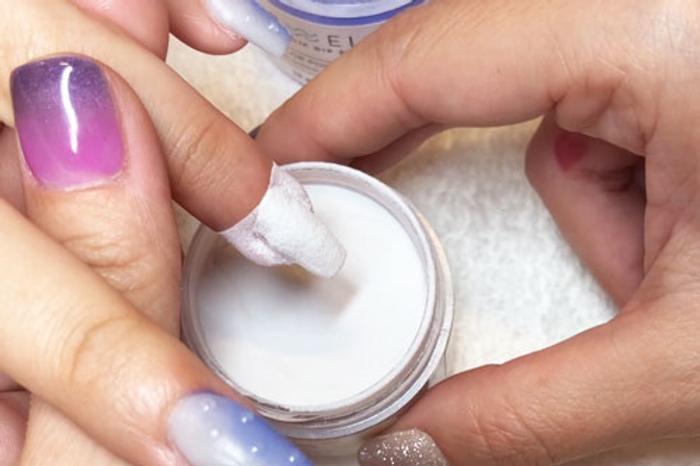
- To create this look we are using dip powders in the shades NA-27 and PA-03. For a smoother application, remember to thoroughly stir powders prior to use.
- Apply a thin coat of Step 2 Base and immediately dip fingernail into NA-27. Tap finger to remove loose powder.
PRO TIP: Avoid getting the product onto cuticles, powder will pick up wherever Base is applied.
Step 3
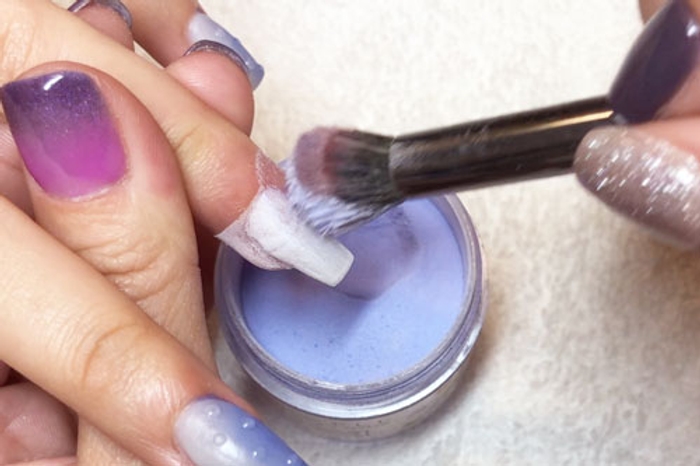
- Using a fluffy eyeshadow brush, lightly apply PA-03 on one side of the nail. Repeat to reach desired opacity.
Step 4
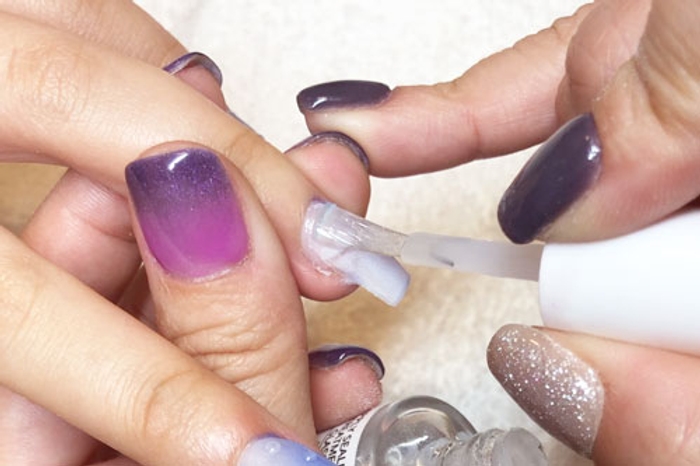

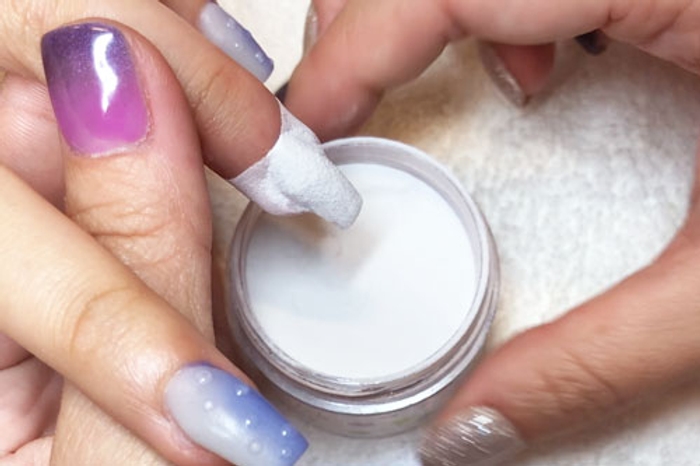
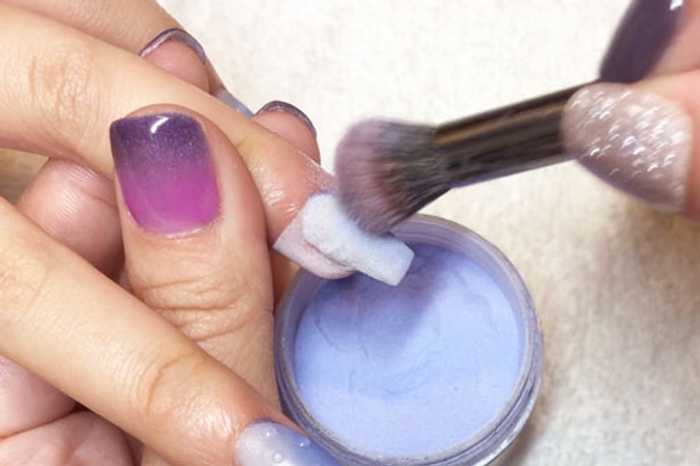
- Use a fluffy brush to sweep off excess powder. Repeat dipping process for more coverage.
PRO TIP: Brushes may harden or pick up color powder during application. Simply switch them between Brush Softener for easy cleaning & workability.
Get free tutorials, special deals every week!
Sign up for fresh nail inspo & exclusive discounts delivered right to your inbox.
By subscribing, you acknowledge our Privacy Policy.
Step 5
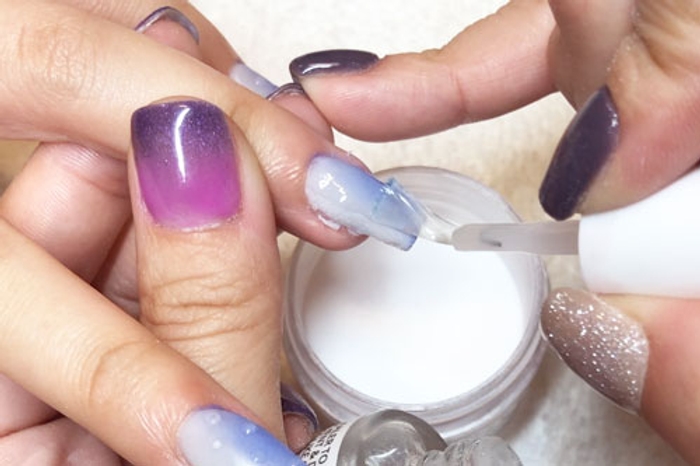

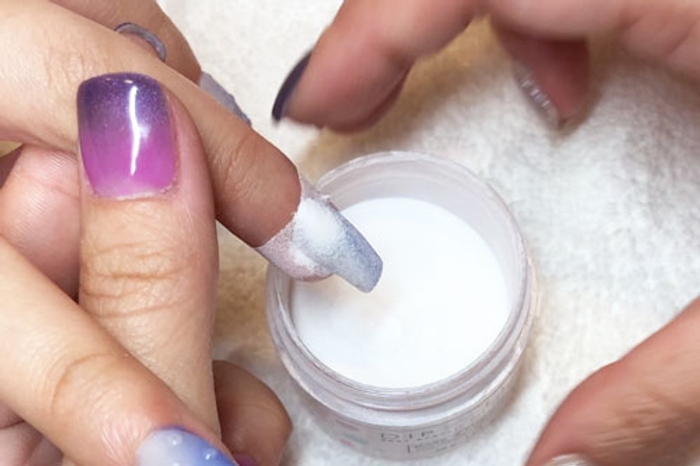
- Apply Step 2 Base and immediately dip into Base & Finish powder.
Step 6
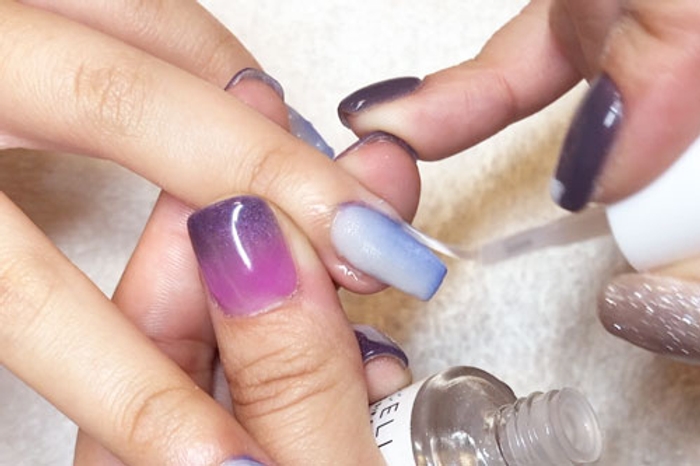
- Apply Step 3 Activator and allow a few minutes for dip blend to harden.
PRO TIP: If you live in a humid climate, you may need to increase your dry time.
Step 7
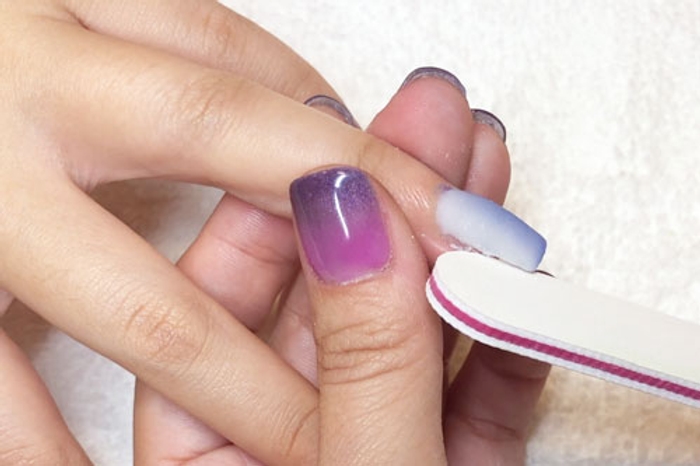

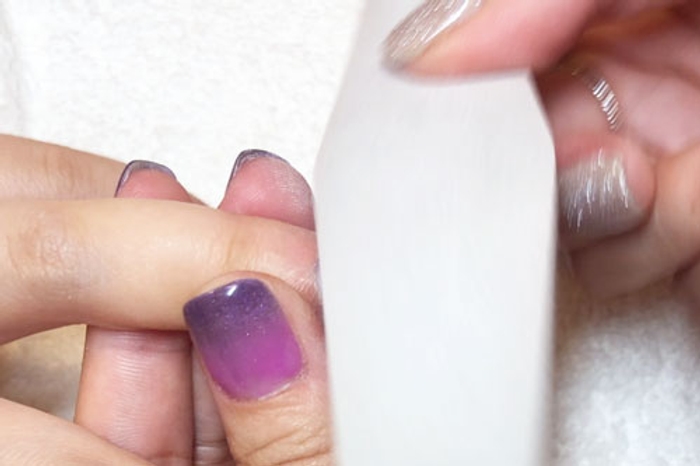
- File & buff the nails until you’ve achieved the desired shape and smoothness.
Step 8
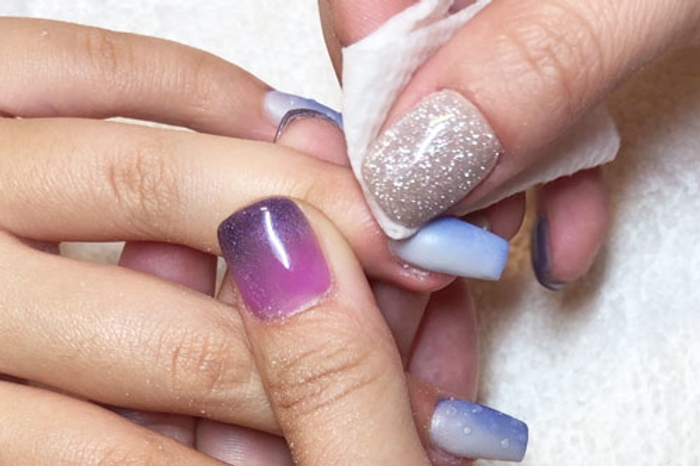
- Wash hands or use a lint-free wipe saturated in alcohol to wipe nails clean.
PRO TIP: Make sure nails are completely dry before moving to the next step!
Step 9
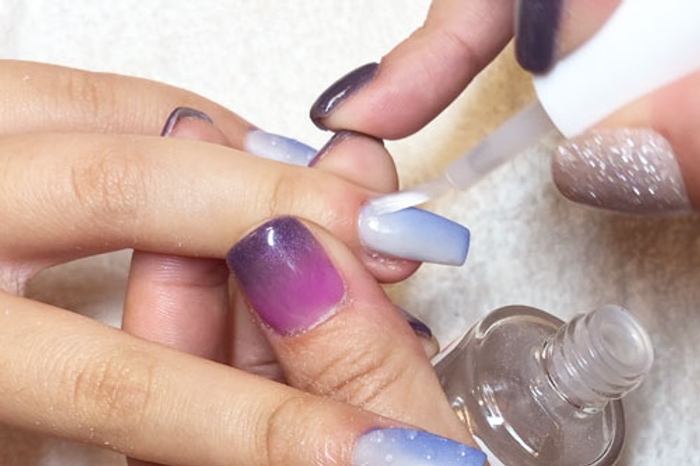
- File and buff nails to achieve desired shape & smoothness.
PRO TIP: If you live in a humid climate, you may need to increase your dry time.
Step 10
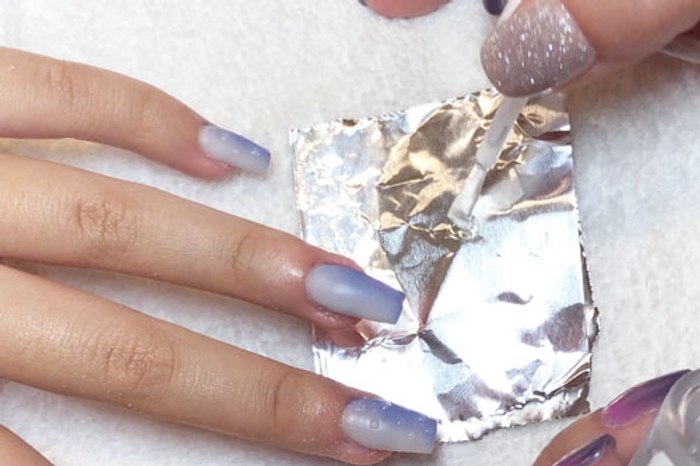
- Add a few drops of Step 2 Base on a small piece of foil.
Step 11
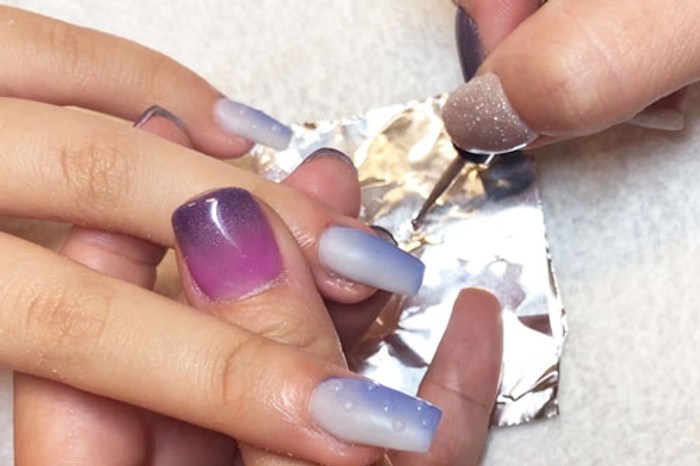

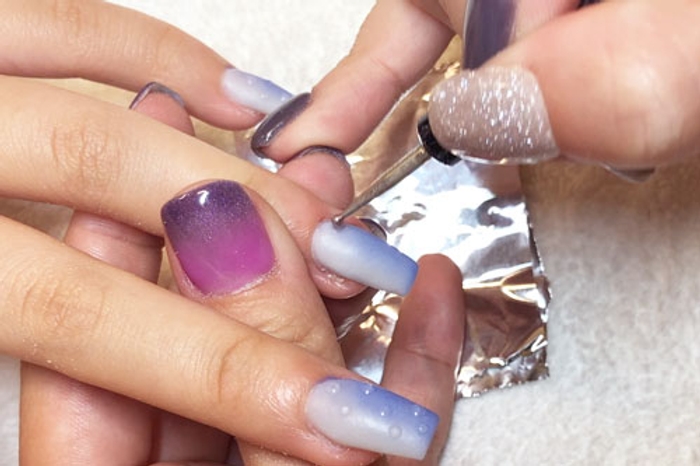
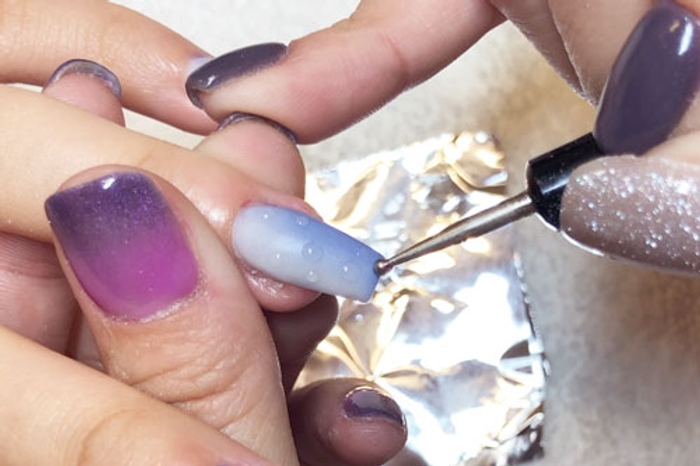
- Using a dotting tool, apply small droplets of Step 2 Base scattered on the nail surface. If more depth is needed, add 1-2 additional droplet layers once first drops have dried.
Finish!
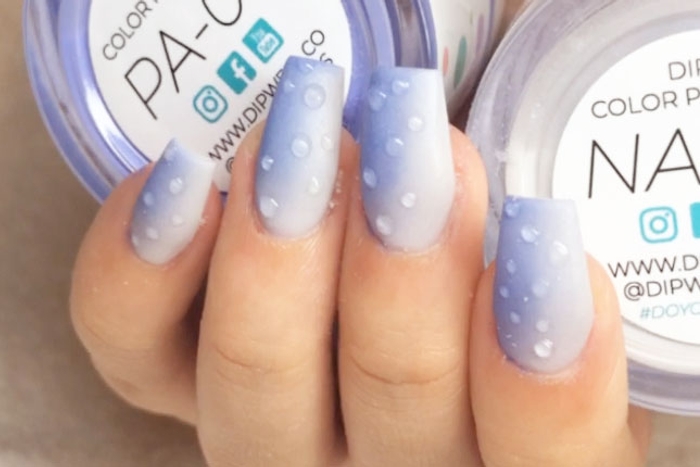


- Raindrop nail art, no umbrella needed. This 3D nail design looks so realistic, and it's surprisingly simple to create!
Get free tutorials, special deals every week!
Sign up for fresh nail inspo & exclusive discounts delivered right to your inbox.
By subscribing, you acknowledge our Privacy Policy.
THE BEST WAY TO START DIPPING
PICK YOUR FAVORITE COLORS AND GET ALL THE LIQUIDS YOU NEED TO CREATE YOUR OWN DIP MANIS THAT LAST 2+ WEEKS WITHOUT CHIPPING! BUILD YOUR OWN BUNDLE HERE!

