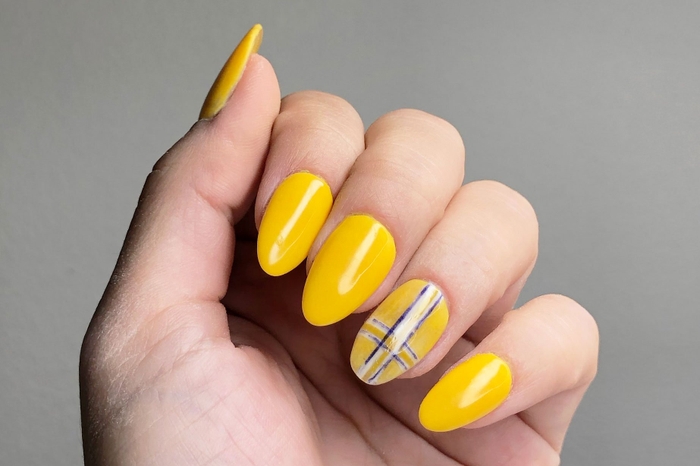
How To Create Plaid Dip Nails

Difficulty
Difficult
Time required
Minimum 1 Hour
Salon price 
Est. $60 / Mani
DipWell price
Est. $5 / Mani
Some nail tape! (or regular tape if you prefer) This is integral to having a clean and straight lines. There are plain ones and colorful ones but they are a must have in this nail application. Unless, of course, you are a nail superstar & acrylic dipping is one of your strong suits.
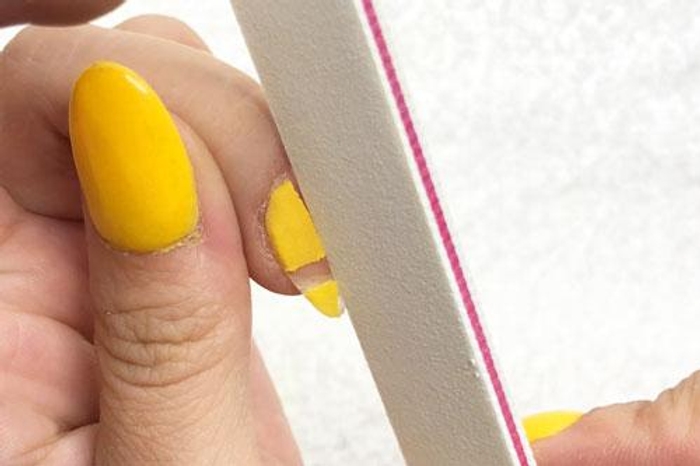
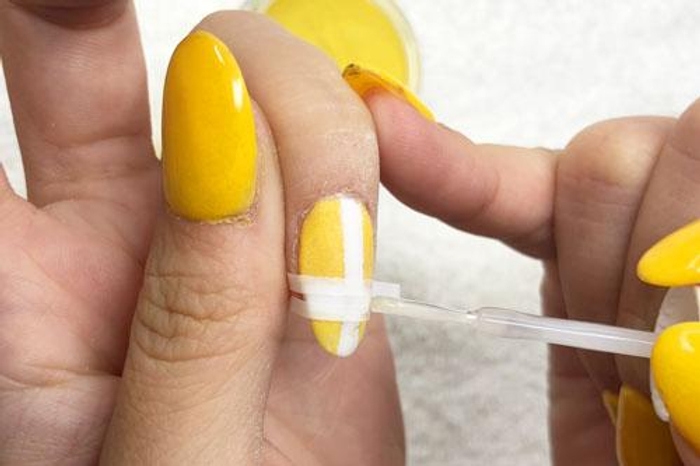
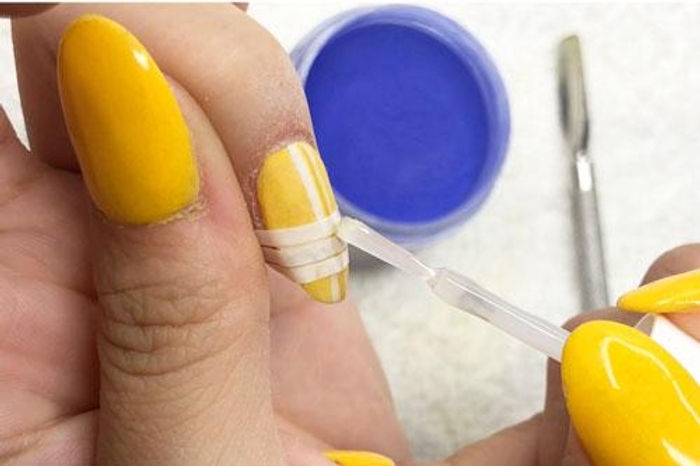
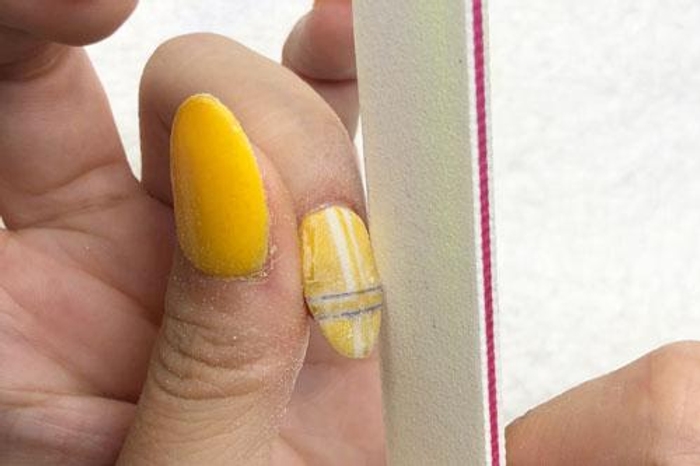
Step 1
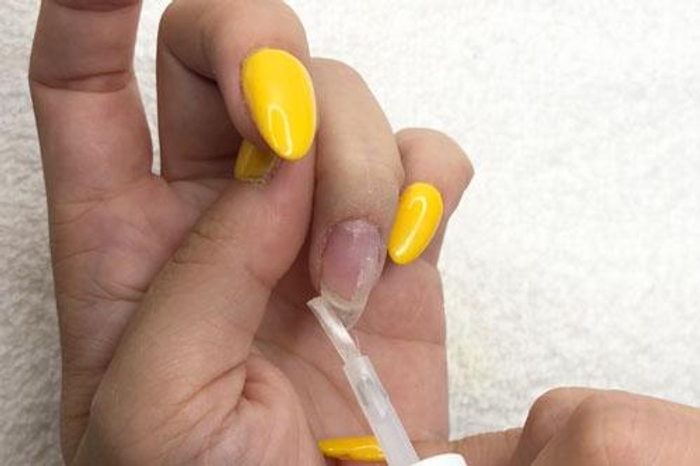
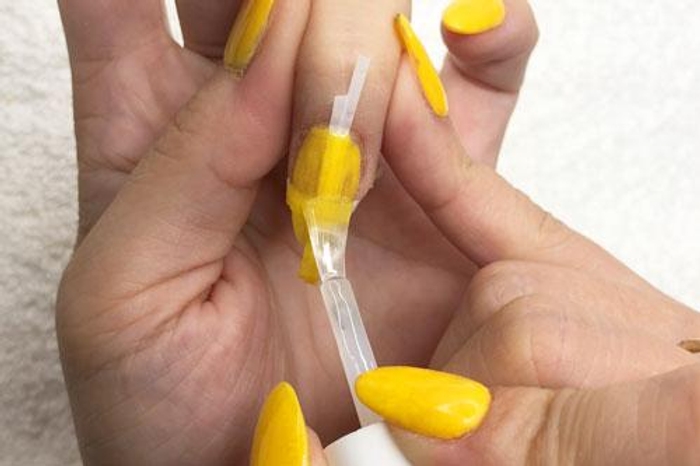
- Apply a thin coat of Step 1 Bond. Allow it to dry completely.
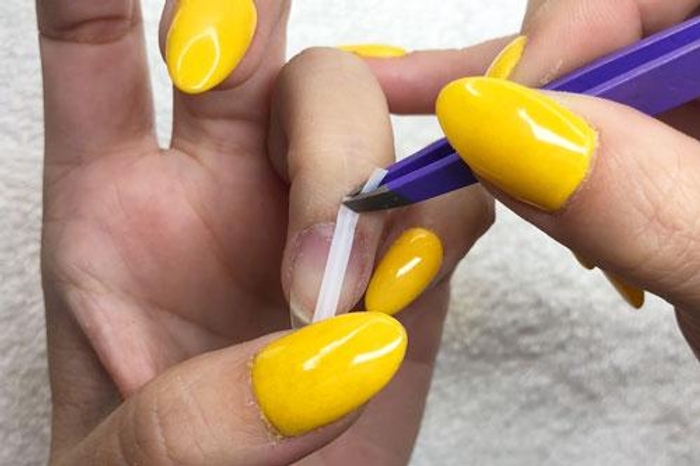
- Use tweezers to apply a thin strip of nail tape down the center of your nail. Make sure the tape is securely attached, re-positioning if needed.
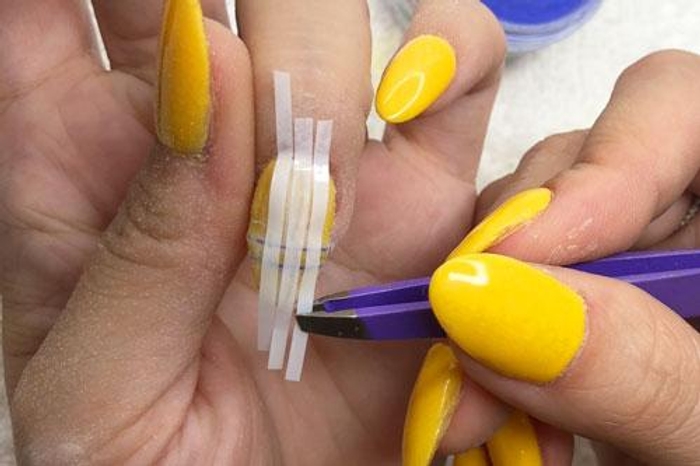
Step 2
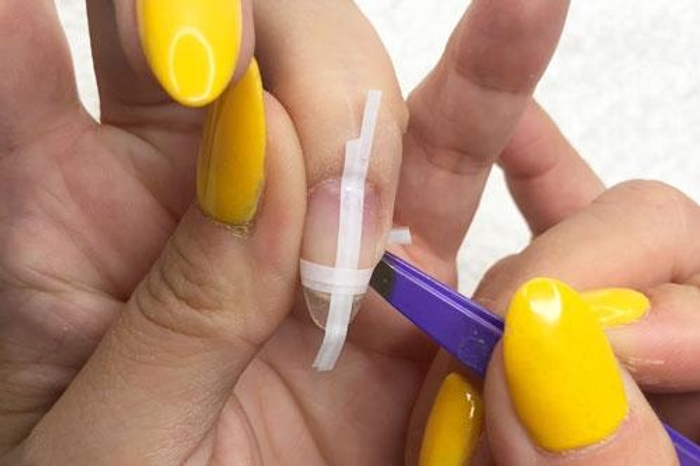
- Apply a second strip of tape across the tip of the nail, perpendicular to the first one.
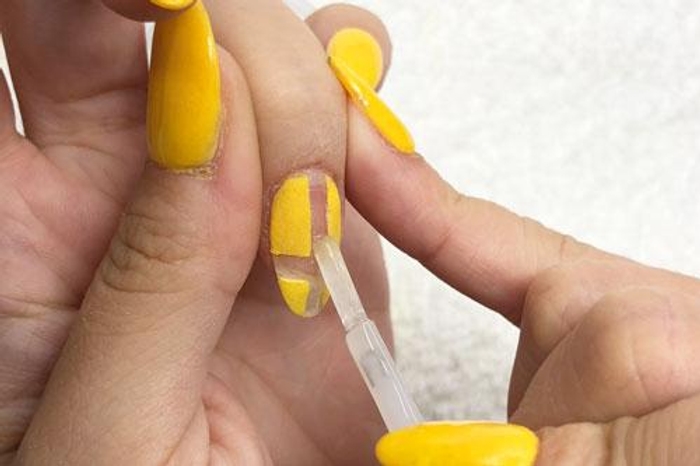
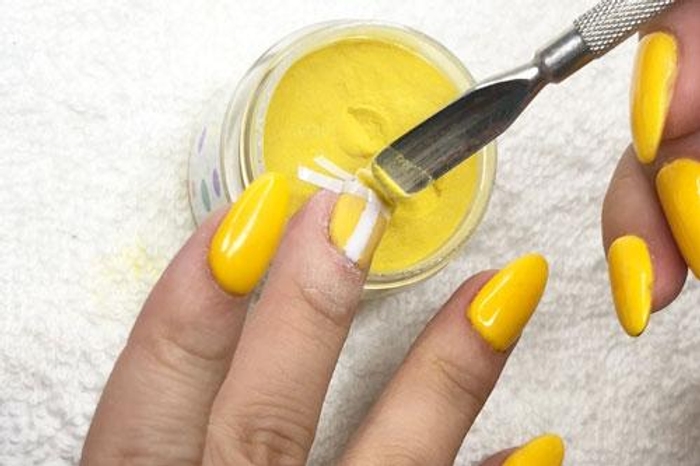
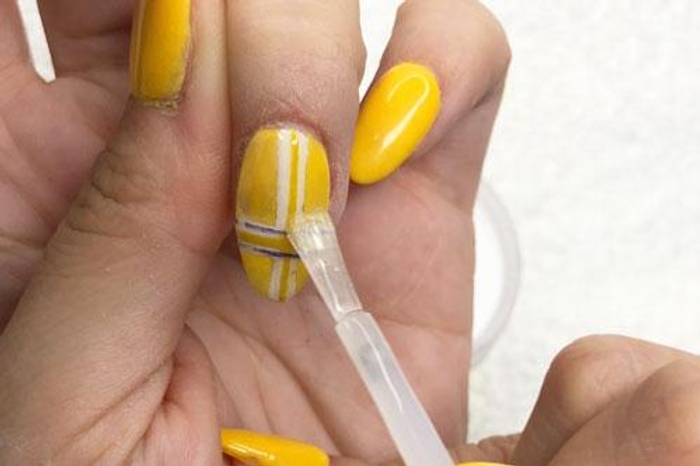
Step 3
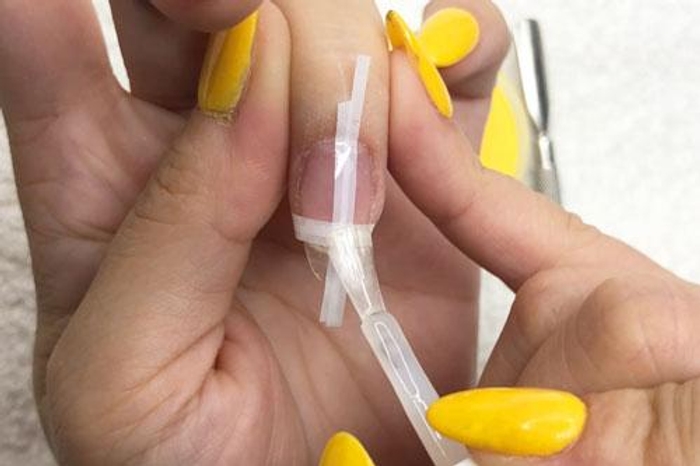
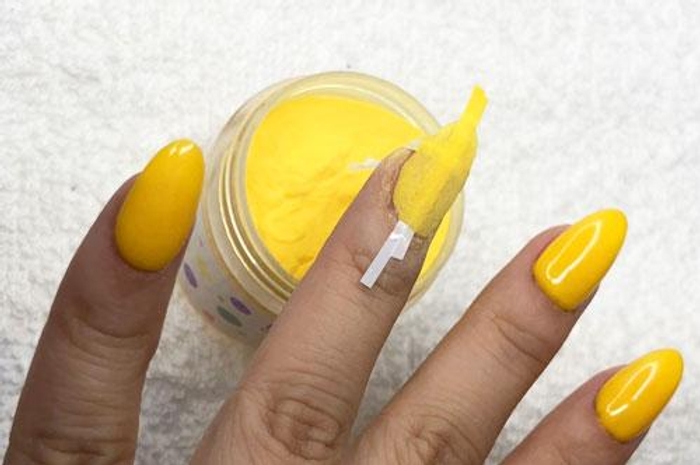
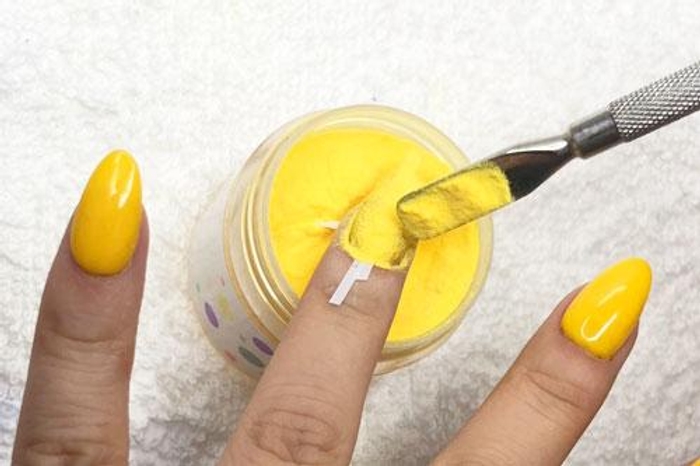
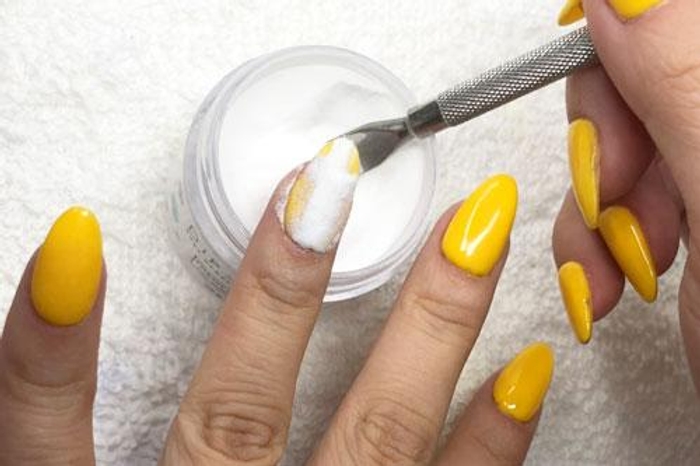
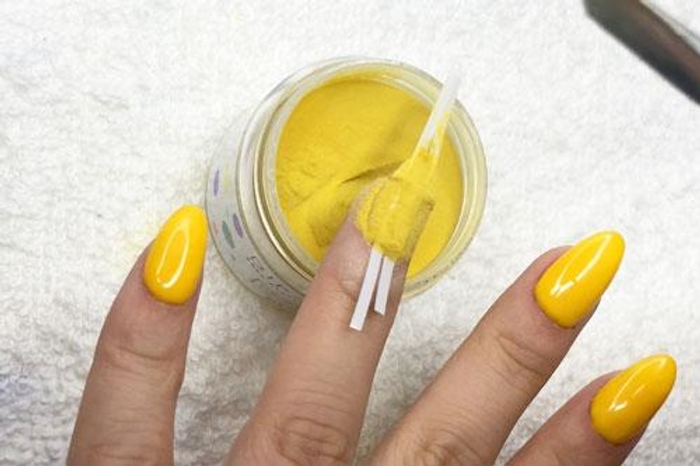
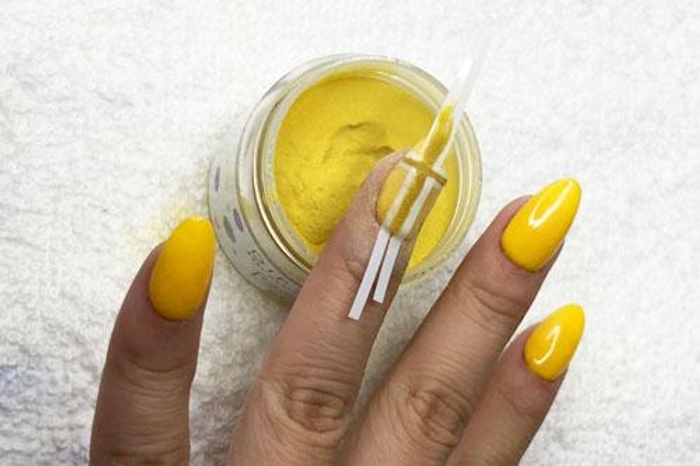
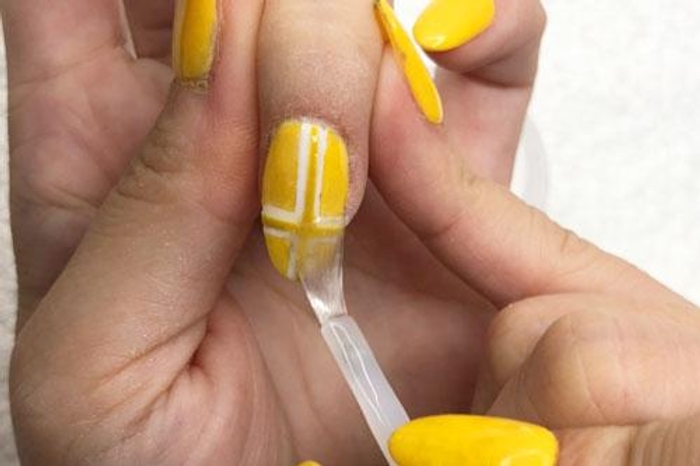
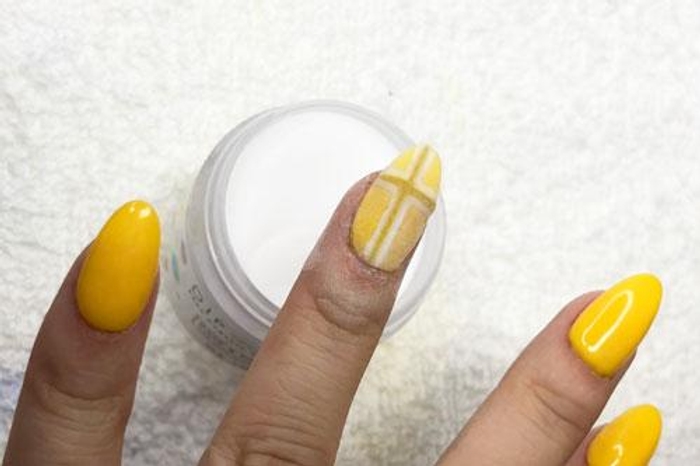
- Paint a thin coat of Step 2 Base and immediately pour CL-66 over nail.
- Repeat for more coverage.
PRO TIP: Avoid getting the product onto cuticles, powder will pick up wherever Base is applied.
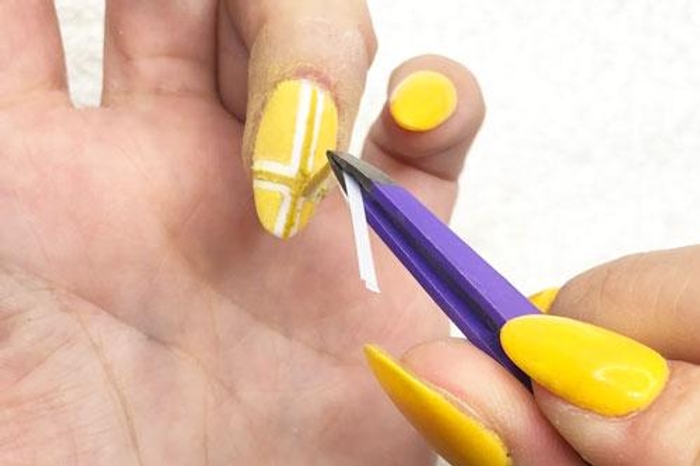
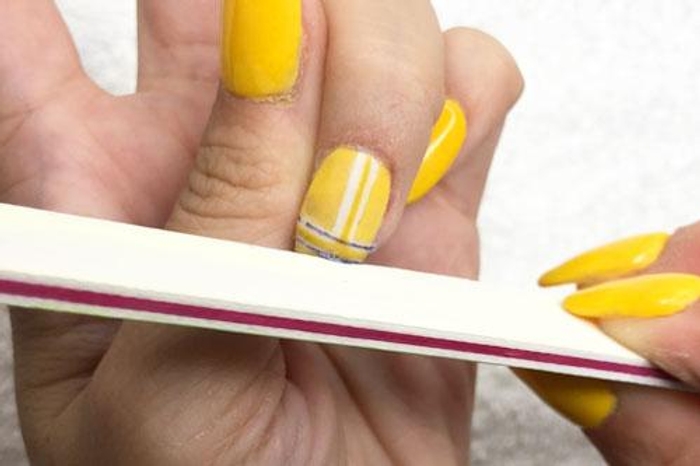
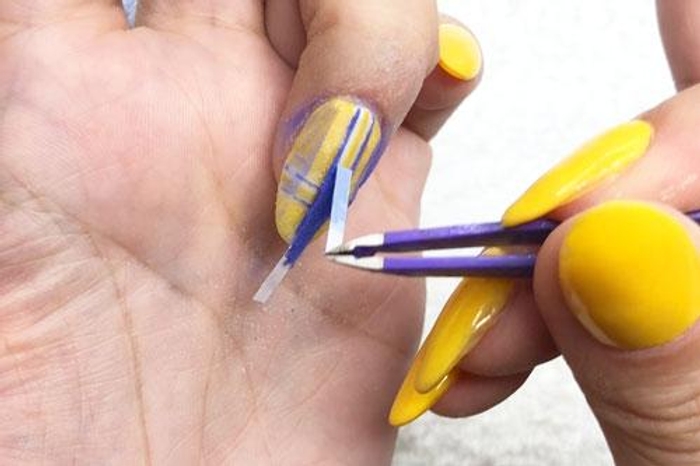
Step 4
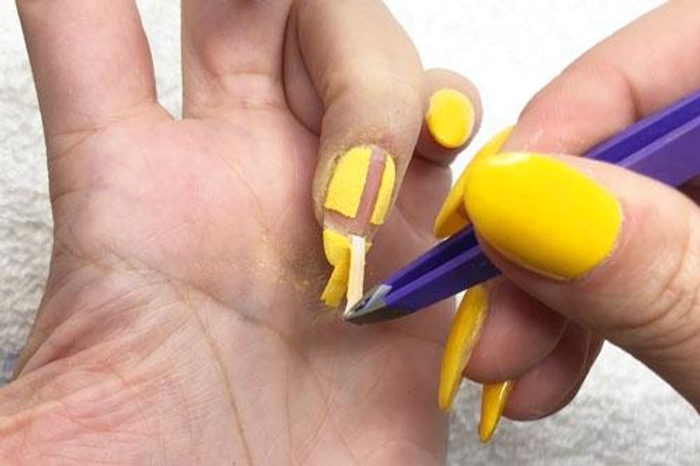
- Gently remove the tape, and file edges of powder to create clean, crisp lines.
Get free tutorials, special deals every week!
Sign up for fresh nail inspo & exclusive discounts delivered right to your inbox.
By subscribing, you acknowledge our Privacy Policy.
Step 5
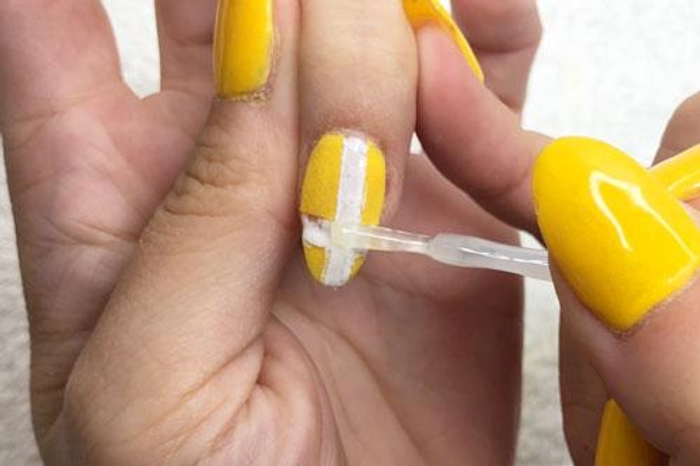
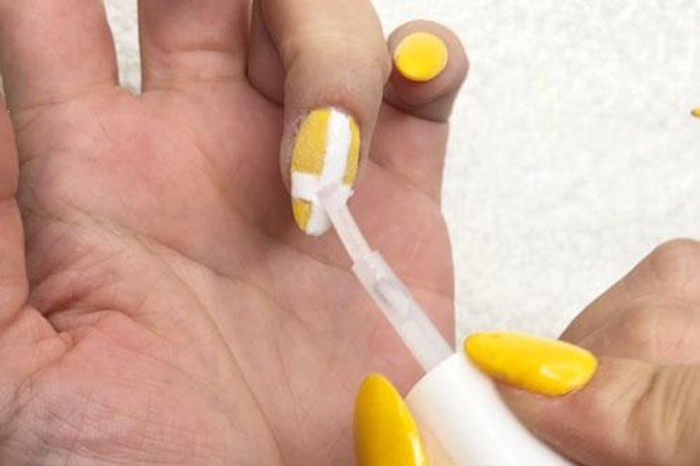
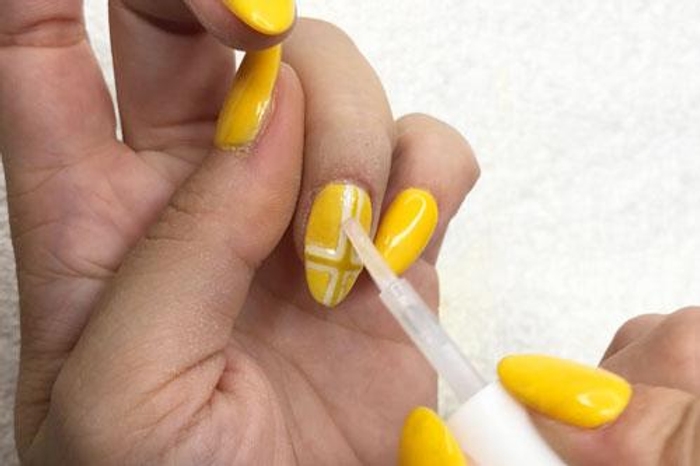
- Paint a layer of Step 2 Base on the bare sections, being careful not to paint over the yellow blocks. Immediately pour French White powder over nail.
- Repeat for more coverage.
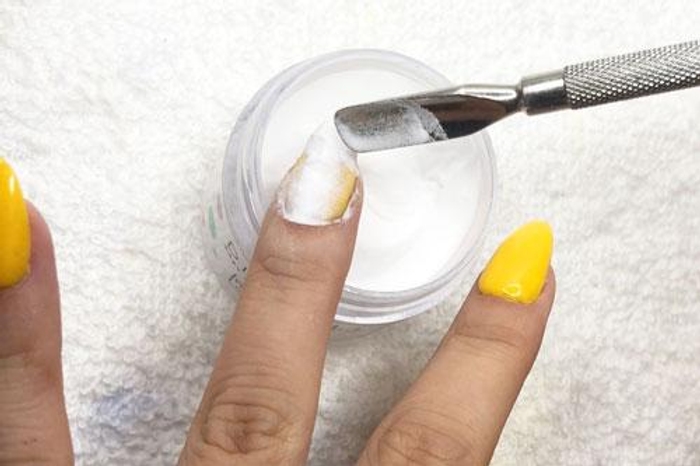
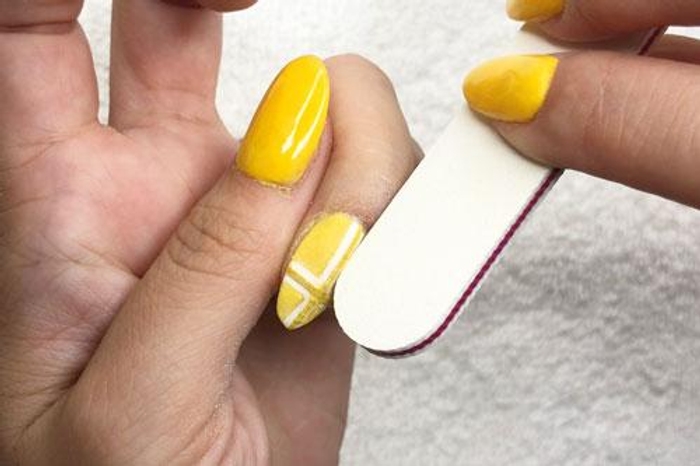
Step 6
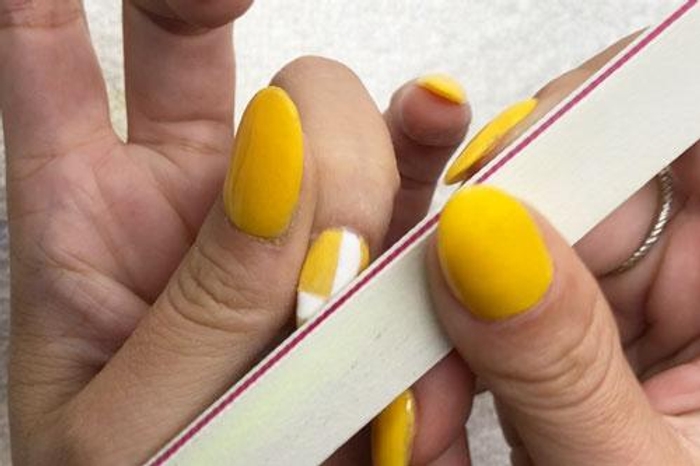
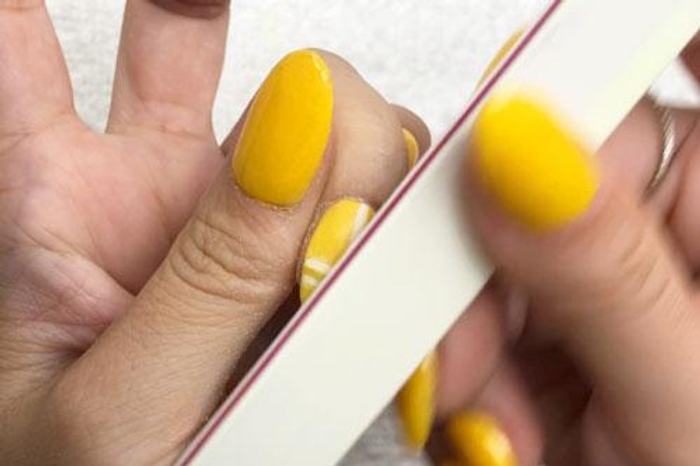
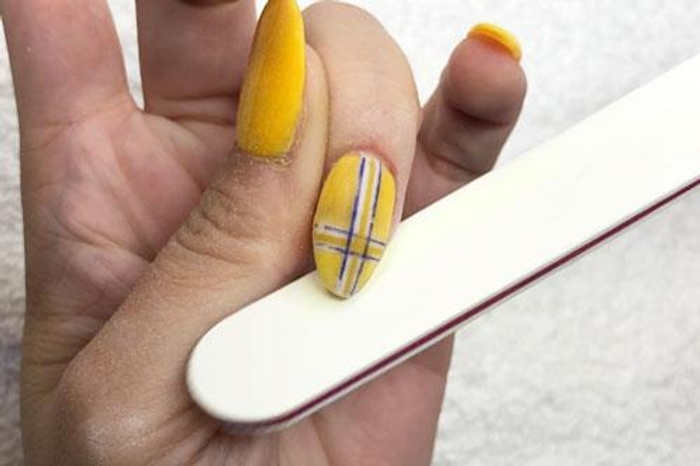
- Apply Step 3 Activator and allow a few minutes for powder to harden. Then buff and shape nails.
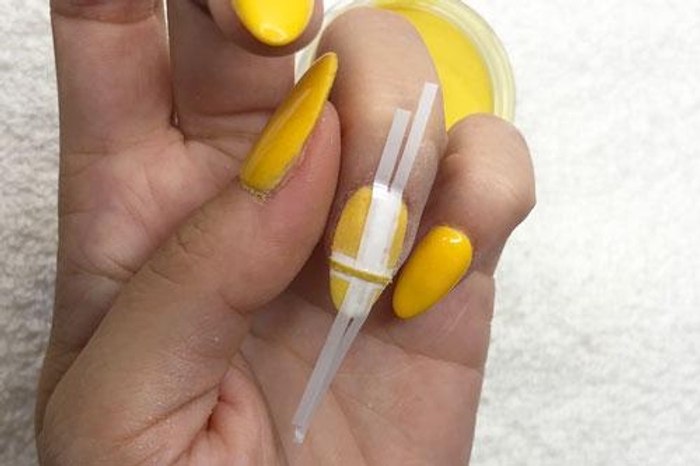
Step 7
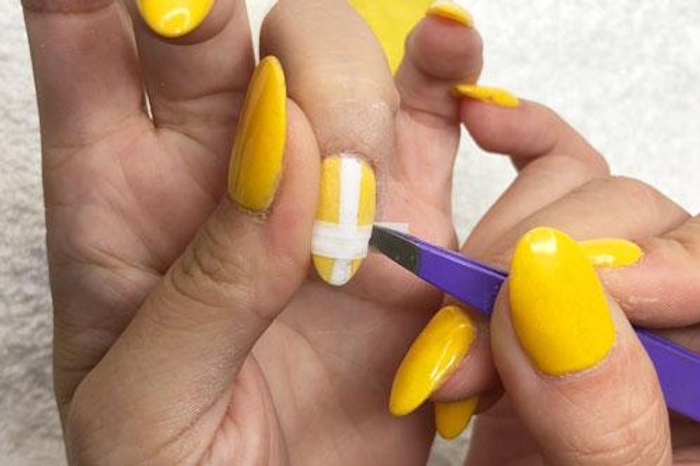

- Apply two new pieces of nail tape horizontally across the tip of your nail, one one each edge of the white stripe.
- Paint Step 2 Base across the portion of the white stripe between the nail tape. Immediately pour CL-68 over your nail to create a new, thinner stripe.
- Repeat for more coverage, then gently remove tape.
Step 8
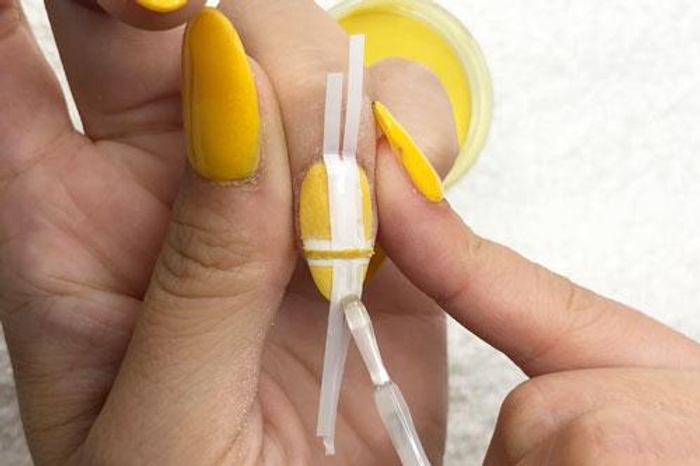
- Add four new strips of tape along each section of the original vertical white stripe.
- Create a new, narrow vertical stripe of CL-68, using the same steps.
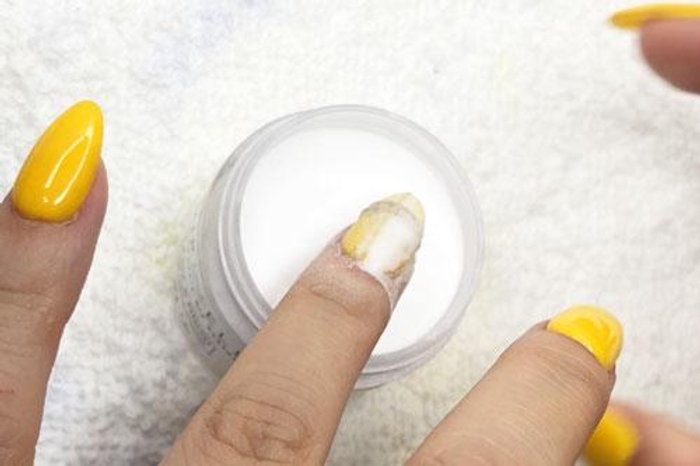
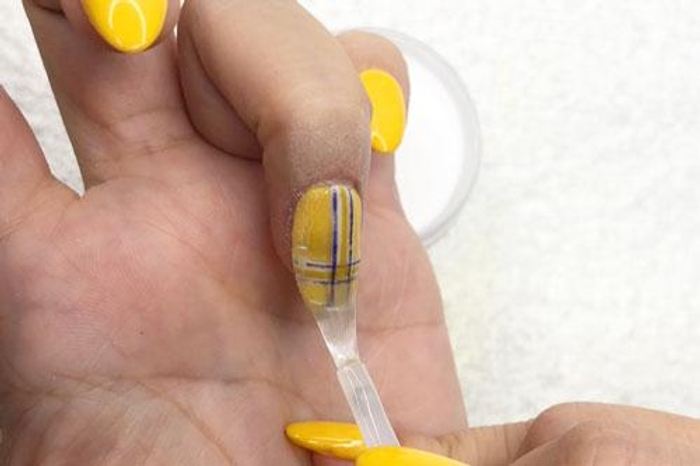
Step 9
- Buff surface.
- Paint a thin coat of Step 2 Base over entire nail and dip into Base & Finish Powder.
Step 10

- Apply Step 3 Activator, allow 3-5 minutes for nails to harden. Then buff nails.
Step 11

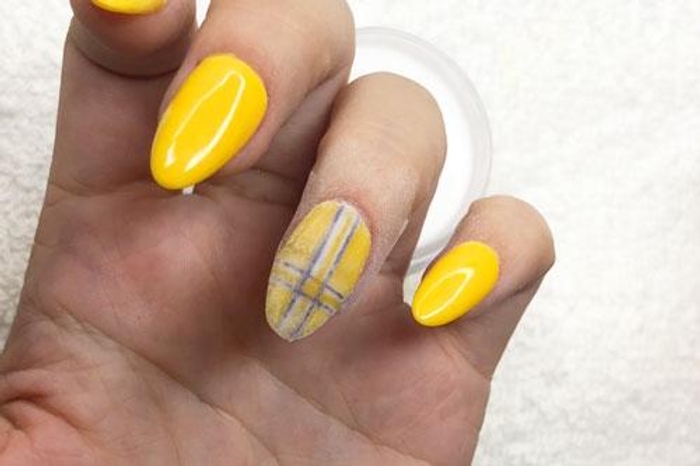
- Apply three pieces of tape to create two more horizontal lines, just above and below your original white line. Paint base over your new line, and pour over with CL-70.
Step 12
- Buff lines if needed.
- Paint a thin layer of Step 2 Base over the entire nail and dip into Base & Finish powder. Allow powder to set and then lightly buff.
Step 13


- Repeat the taping process to create two vertical blue lines.
Step 14
- Paint on a final coat of Step 2 Base, and dip into Base & Finish powder.
PRO TIP: Brushes may harden or pick up color powder during application. Simply switch them between Brush Softener for easy cleaning & workability.
Step 15
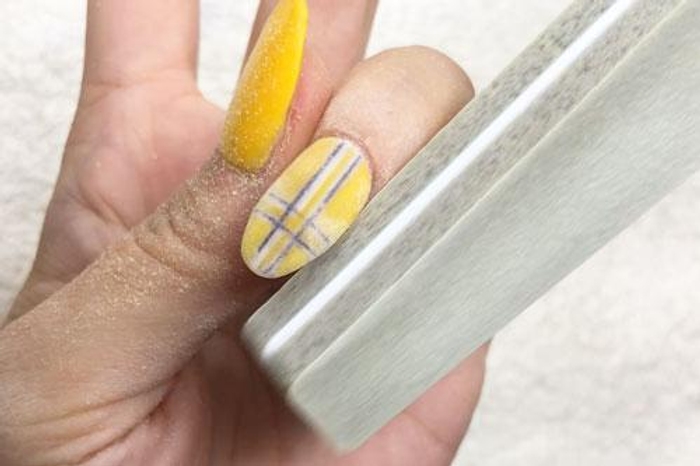
- Apply Step 3 Activator, allow 3-5 minutes for nails to harden. Then buff & shape nails to your desired finish.
Step 16
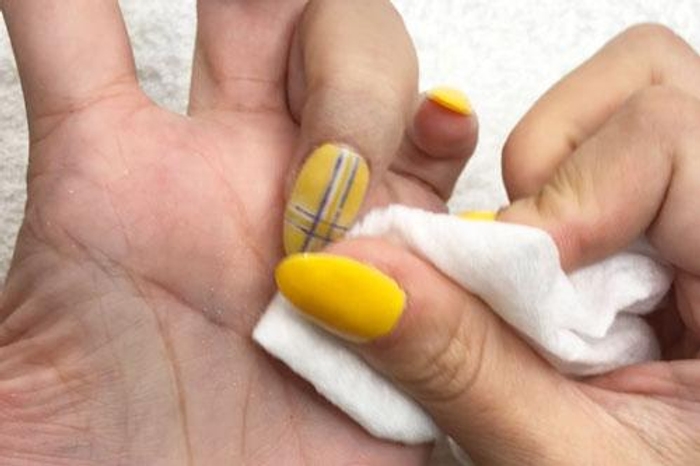
- Wash hands or use a lint free wipe saturated in alcohol to wipe the nails clean.
PRO TIP: Make sure nails are completely dry before moving to the next step!
Step 17
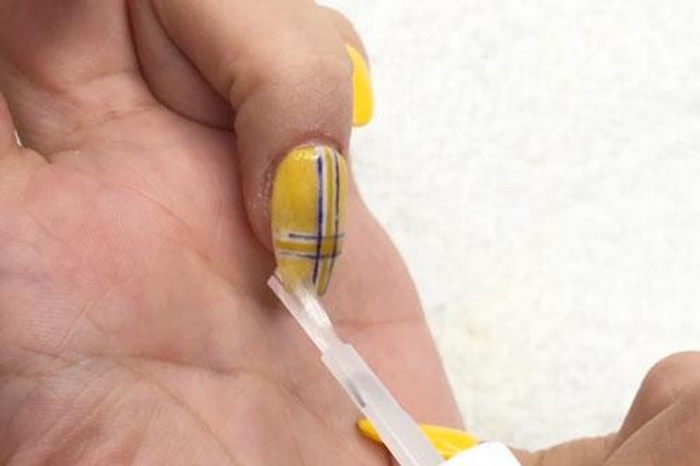
- Apply a second coat of Step 3 Activator.
- Allow 3-5 minutes for nails to harden.
Step 18
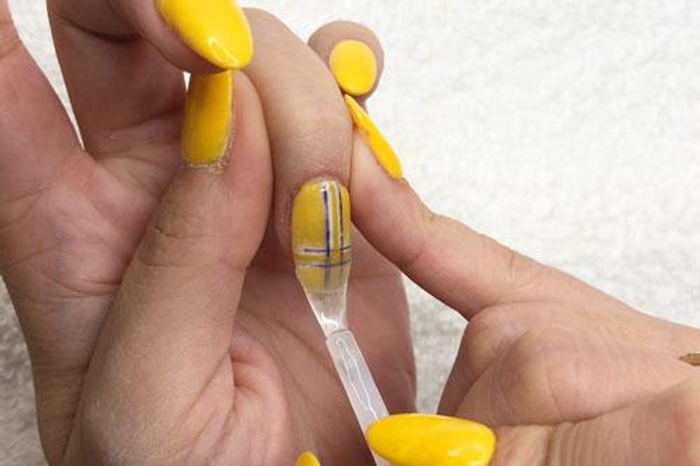
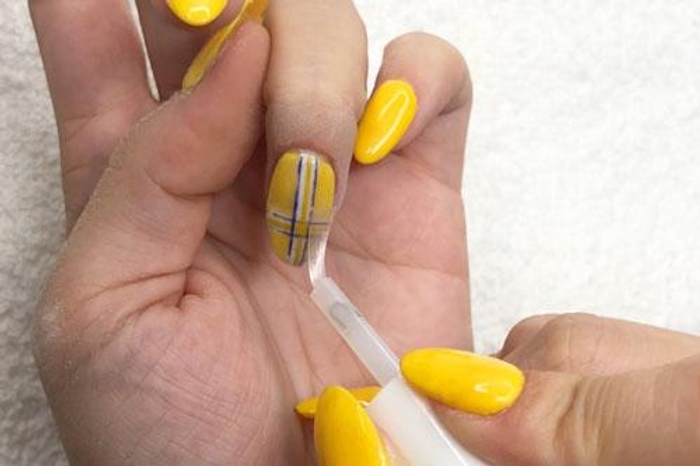
- Paint a coat of Step 4 Sealer and allow 2-3 minutes for nails to dry.
PRO TIP: Brushes may harden or pick up color powder during application. Simply switch them between Brush Softener for easy cleaning & workability.
Step 19
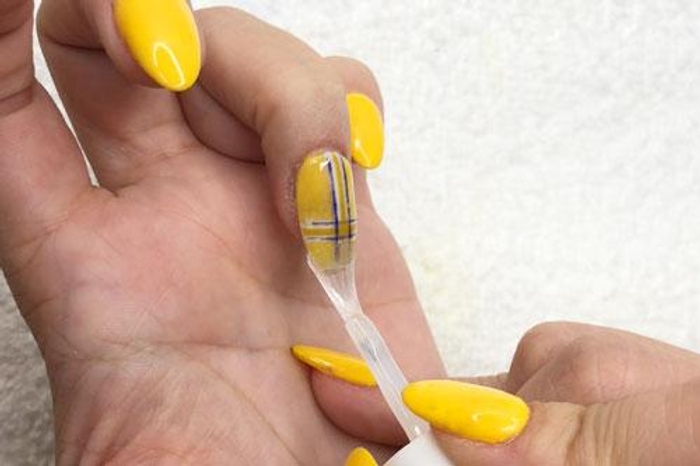
- Paint another coat of Step 4 Sealer and allow 2-3 minutes for nails to dry.
PRO TIP: Don't apply more than 2 coats of Sealer as this will prevent even drying & may result in a gummy mani.
Finish!
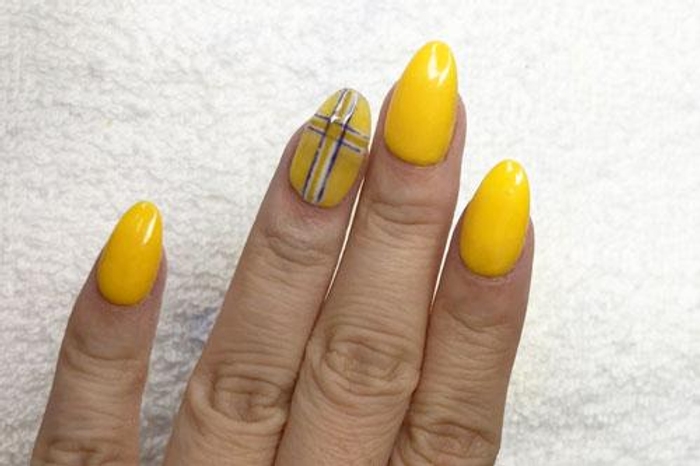
- Okay, we know this tutorial may have seemed long, but it's totally worth it!
Get free tutorials, special deals every week!
Sign up for fresh nail inspo & exclusive discounts delivered right to your inbox.
By subscribing, you acknowledge our Privacy Policy.
THE BEST WAY TO START DIPPING
PICK YOUR FAVORITE COLORS AND GET ALL THE LIQUIDS YOU NEED TO CREATE YOUR OWN DIP MANIS THAT LAST 2+ WEEKS WITHOUT CHIPPING! BUILD YOUR OWN BUNDLE HERE!