How To Create A Terrazzo Nail Art Dip Mani

Difficulty
Difficult
Time required
1 Hour
Salon price 
est. $60
DipWell price
est. $7
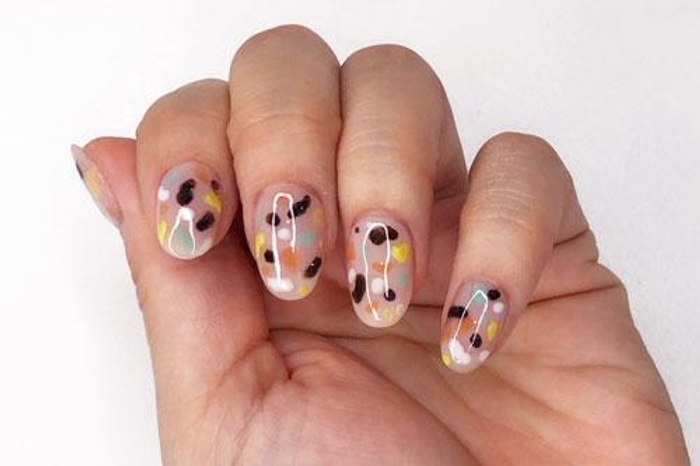
These terrazzo nails are about to *rock* your world. This stone-inspired nail art tutorial is hands down one our favorite dipped nail designs of 2020. Best part: there are no rules to creating this look and you can get creative with irregular shapes and patterns! This simple nail art technique is perfect for creating polka dot nails, cow print nails, or even confetti nails. True terrazzo decor might cost a pretty penny but these pretty dip nails won't break the bank!
PRO TIP: Make sure you thoroughly prep nails to ensure adhesion & long-lasting wear! Push back cuticles, create a rough texture on the nail plate by filing, and sanitize thoroughly.
Loading products...
Step 1
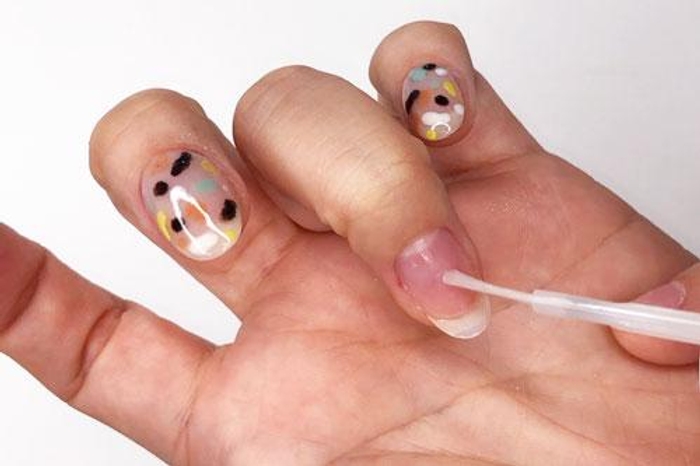
- Apply a coat of Step 1 Bond to all fingernails.
Step 2
- Repeat with another coat of Step 2 Base and NA-21.
- Paint a thin layer of Step 3 Activator and allow nails to dry. Curing this layer before applying your Terrazzo design will prevent colors from bleeding.
Step 3

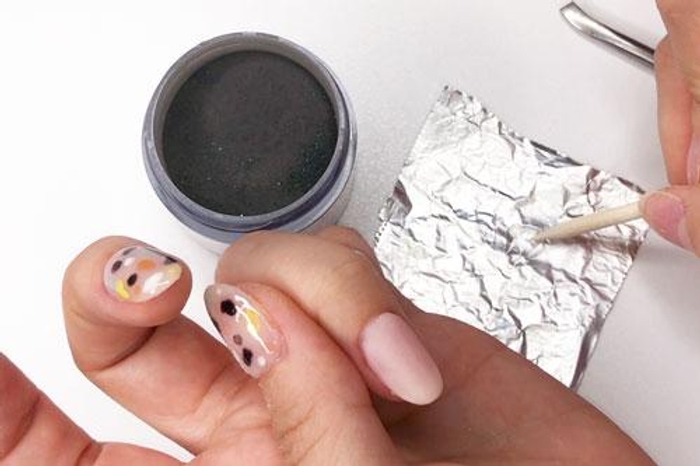
- Prep your space by gathering your color powders, and laying out a small square of foil.
- Dab a bit of Step 2 Base onto foil and use an orangewood stick to dot Base onto the nail.
Step 4

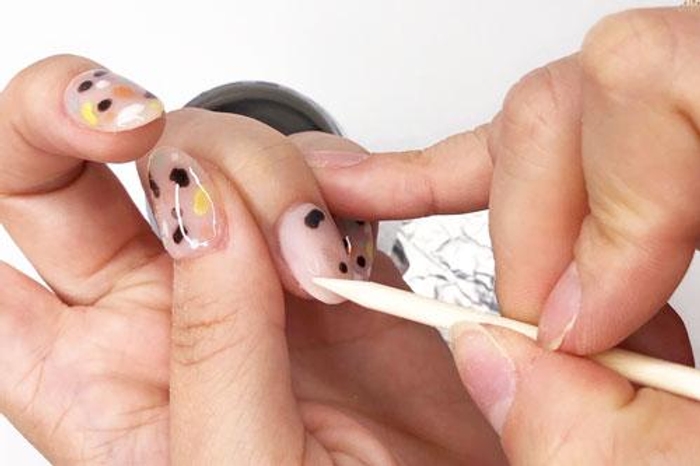

- Gently pour over CL-12 onto the wet Base, then tap nail to remove excess powder
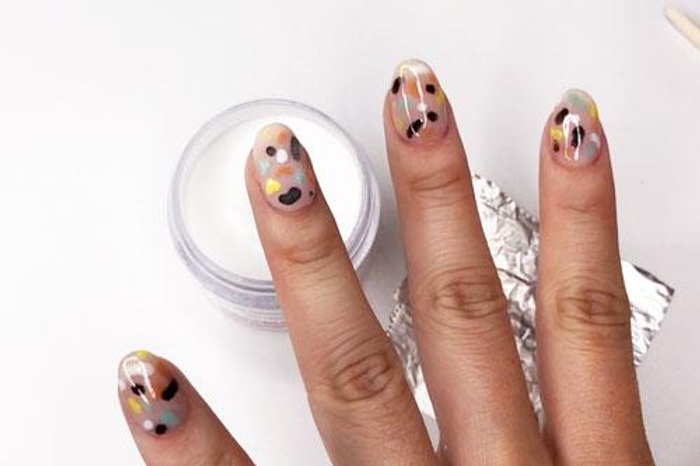
- Repeat process to create more Terrazzo shapes and brush off excess powder between shade applications.
- Repeat process to create more Terrazzo shapes and brush off excess powder between shade applications.
PRO TIP: Avoid getting the product onto cuticles, powder will pick up wherever Base if applied. Also make sure to tap off excess powder in between coats!
Get free tutorials, special deals every week!
Sign up for fresh nail inspo & exclusive discounts delivered right to your inbox.
By subscribing, you acknowledge our Privacy Policy.
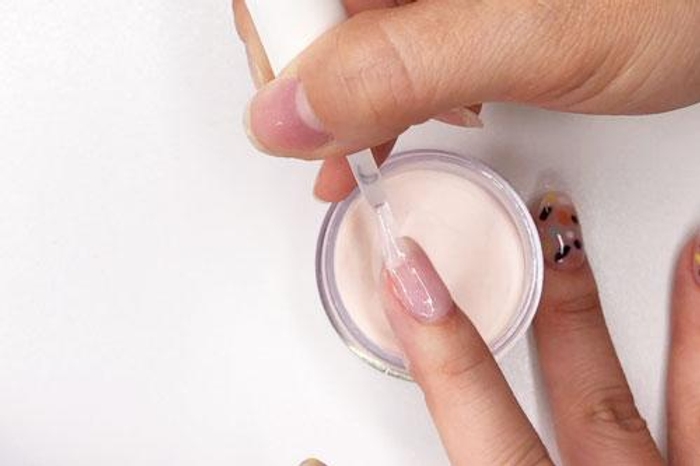
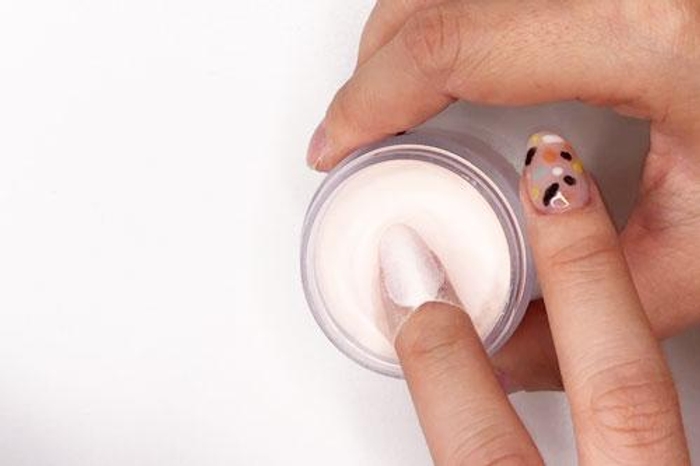
Step 5
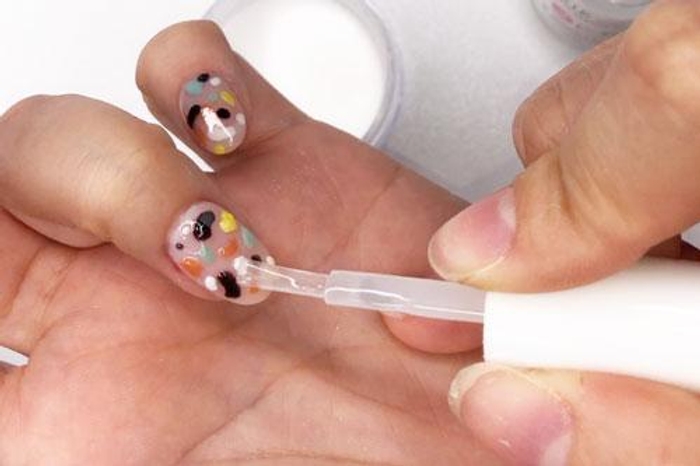

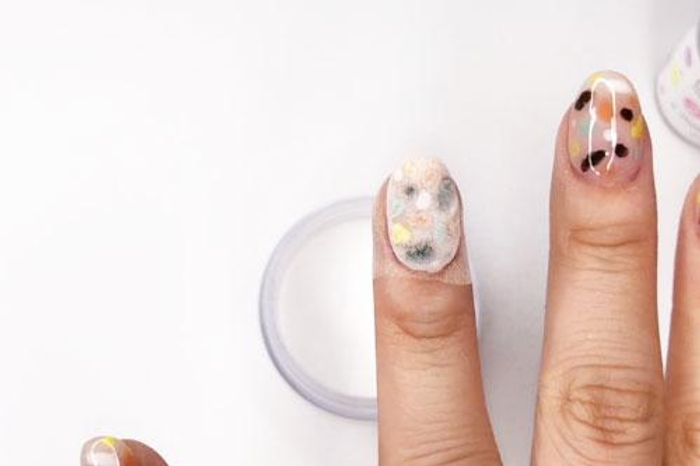
- Add a coat of Step 2 Base over the entire nail, and dip immediately into Base & Finish powder.Then brush away excess powder.
PRO TIP: Brushes may harden or pick up color powder during application. Simply switch them between Brush Softener for easy cleaning & workability.
Step 6
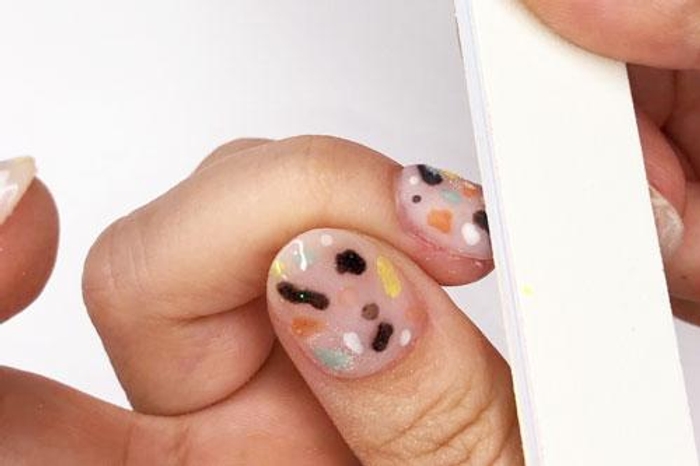
- Apply Step 3 Activator onto the nail and allow a few minutes for powder to harden.
- Then use our coarse grit buffer to even out the preferred thickness of the nails and the 240 grit buffer to smooth the nail surface.
Step 7
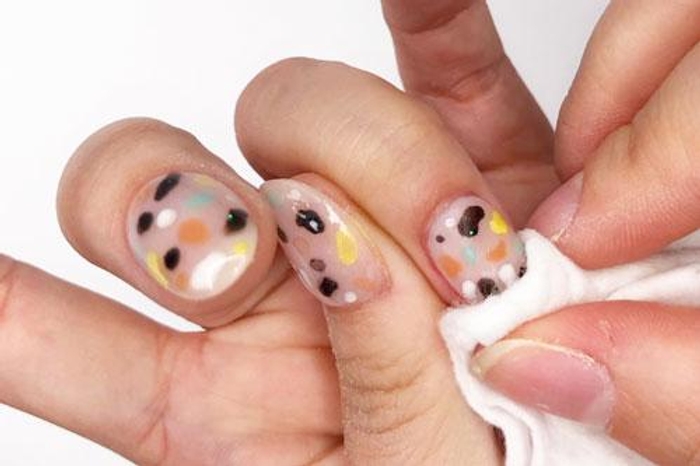
- Wash hands and nails thoroughly or wipe with alcohol.
PRO TIP: Make sure nails are completely dry before moving to the next step!
Step 8

- Apply another coat of Activator and allow 3-4 minutes for Activator to completely dry.
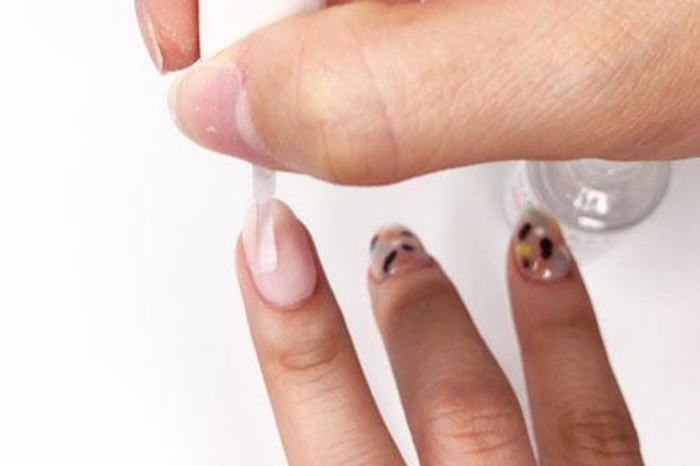
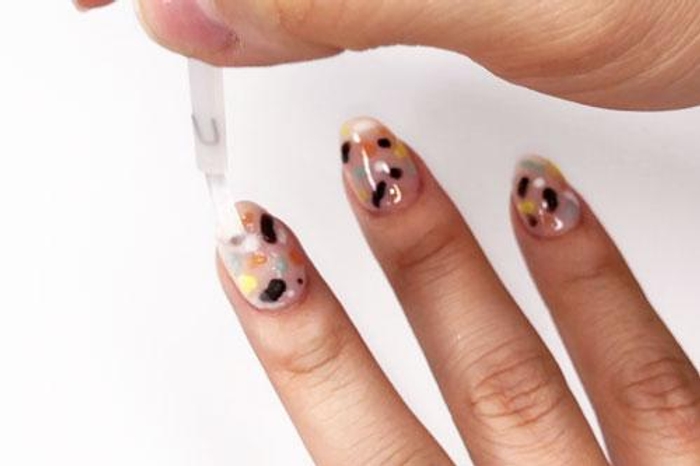
Step 9
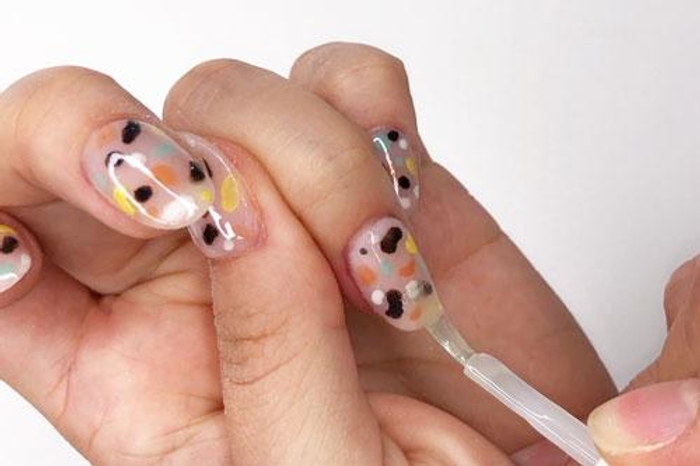
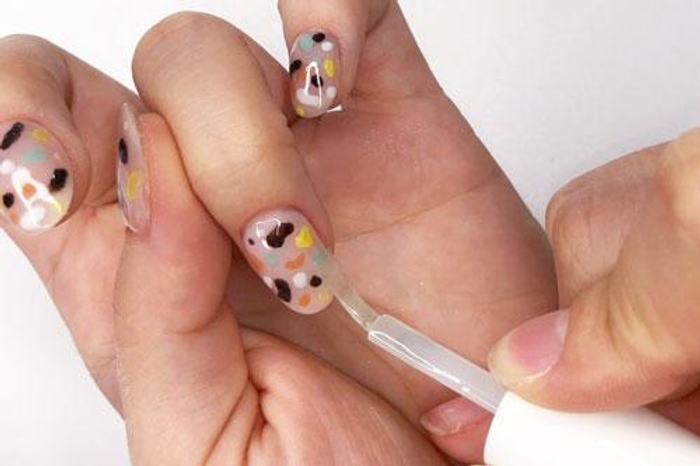
- Apply a coat of Sealer in quick thin strokes.
- Allow 3 minutes for nails to dry.
- Repeat for super shiny nails.
PRO TIP: Brushes may harden or pick up color powder during application. Simply switch them between Brush Softener for easy cleaning & workability.
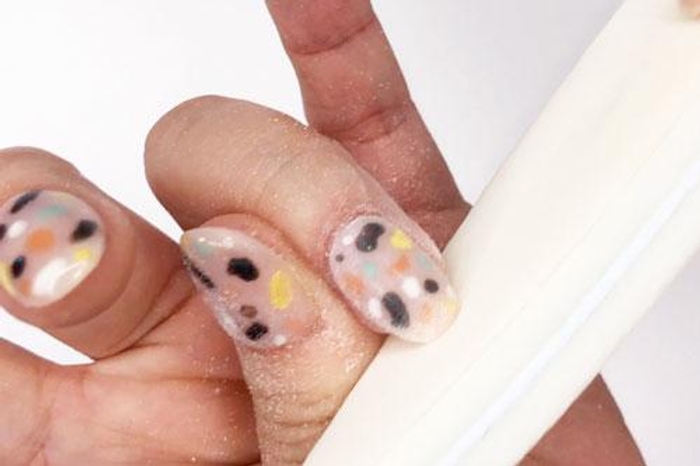
Finish!
- Now go forth and enjoy this subtle, colorful mani!
Get free tutorials, special deals every week!
Sign up for fresh nail inspo & exclusive discounts delivered right to your inbox.
By subscribing, you acknowledge our Privacy Policy.