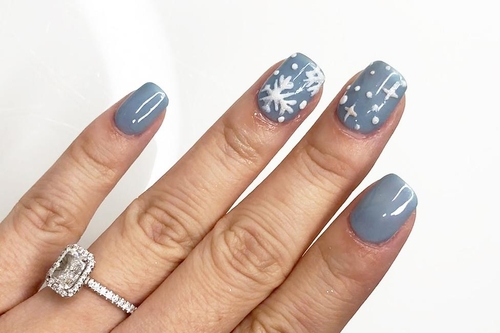
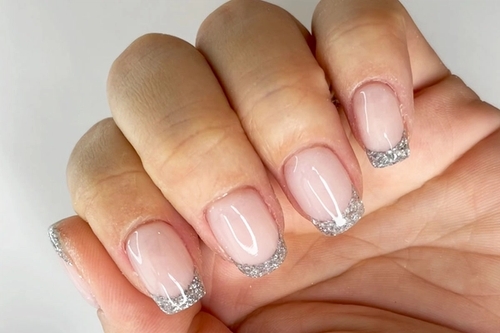
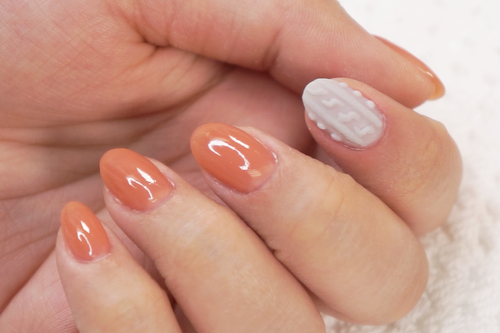
Holiday Nail Designs: Christmas Tree + Candy Cane Nail Art With Dip Powder


Difficulty
Easy
Time required
1 Hour 15 Minutes
Salon price 

Est. $66 / Mani
DipWell price 

Est. $5.05 / Mani
A star nail accent! You can use whatever you have at hand or nail accents found online. There are hundreds of nail accessories to choose from. From gold assortments to 3-D rhinestones, the possibilities are limitless.
Step 1
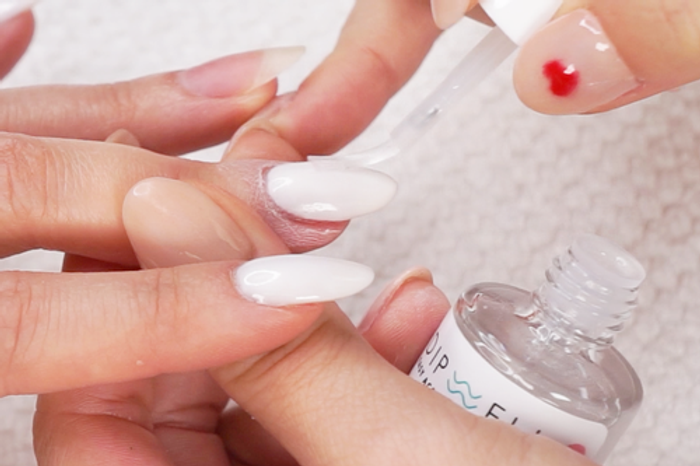
- Start with a white base of dip that has been filed, buffed, & activated. Be sure to not apply Sealer before applying nail art!
Step 2
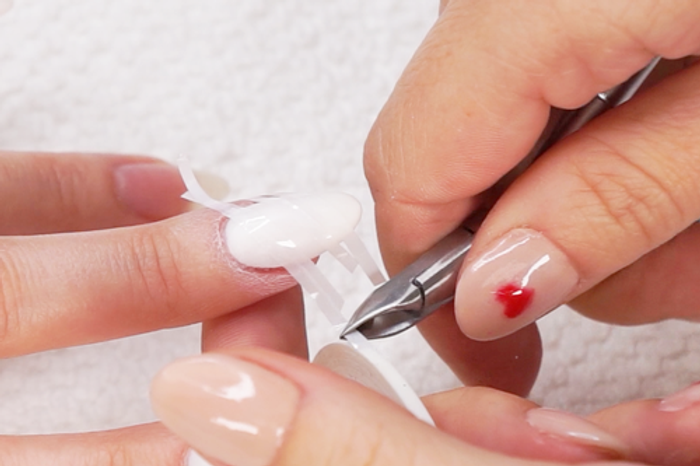

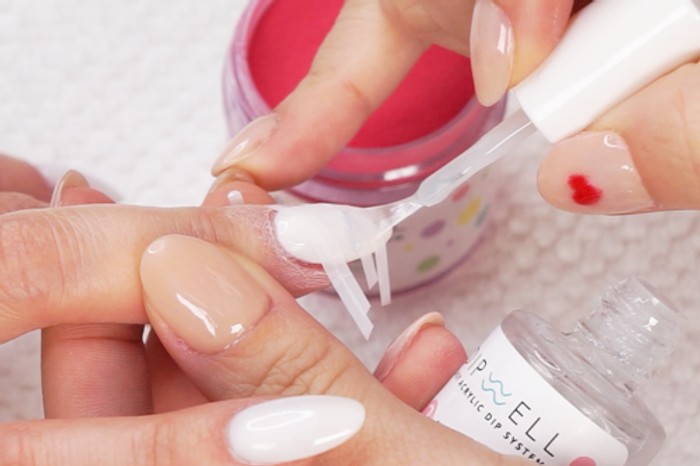
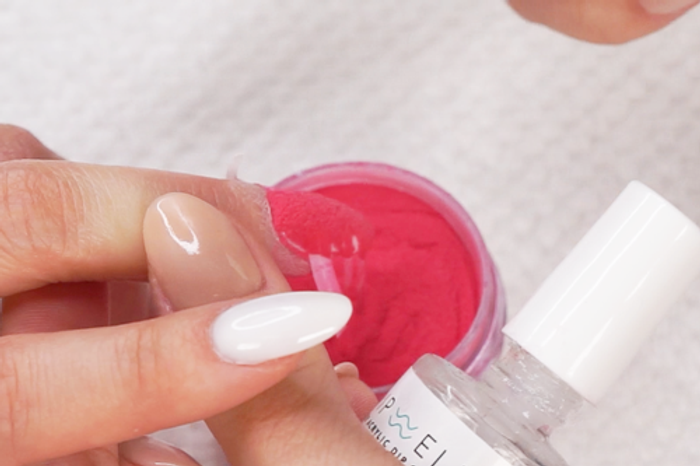
- Apply nail tape onto the nail in a diagonal pattern in different widths apart to create candy cane stripes.
- Paint a thin coat of Step 2 Base and immediately dip tip of finger at an angle into color powder of choice. Here we are using CL-06.
PRO TIP: Tip: You can stack the tape to create a thicker line!
Step 3
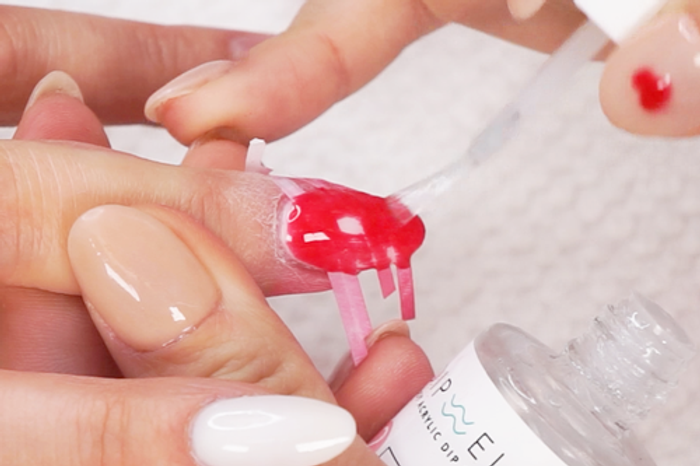

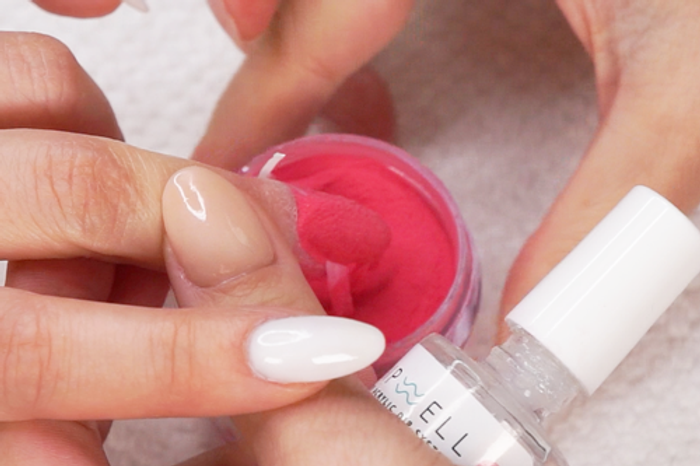
- Carefully paint a second coat of Step 2 and immediately dip at an angle into the color acrylic of choice, then tap finger to rid of loose powder.
PRO TIP: Avoid getting the product onto cuticles, powder will pick up wherever Base is applied.
Step 4
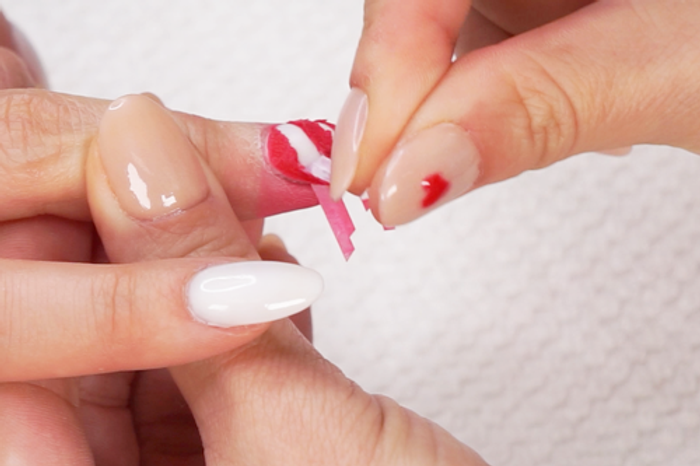

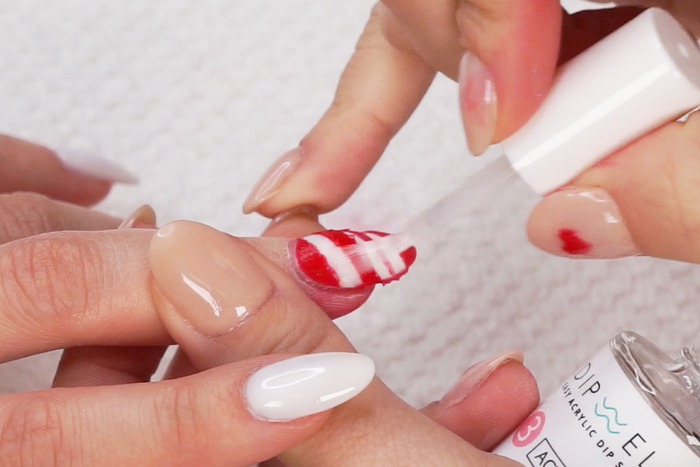
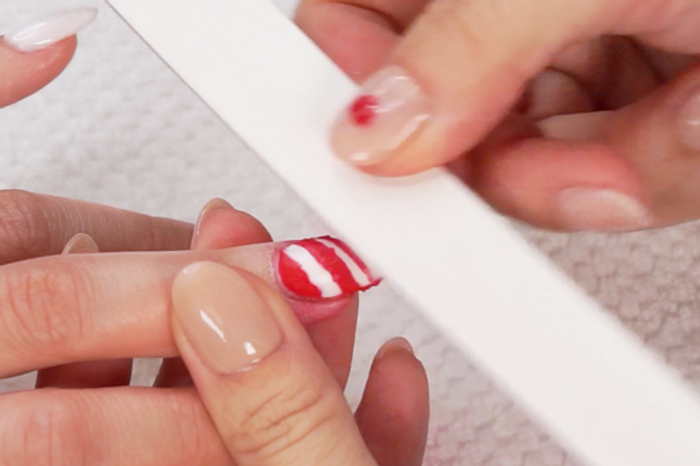
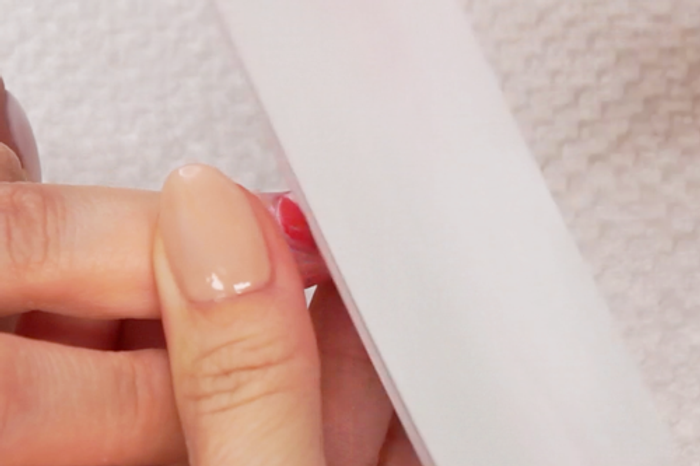
- Carefully remove nail tape before the powder & liquid harden.
- Apply Step 3 Activator and allow a few minutes for powder to harden, then file off any bumps or uneven edges using a 100/180 file to create clean lines.
Get free tutorials, special deals every week!
Sign up for fresh nail inspo & exclusive discounts delivered right to your inbox.
By subscribing, you acknowledge our Privacy Policy.
Step 5
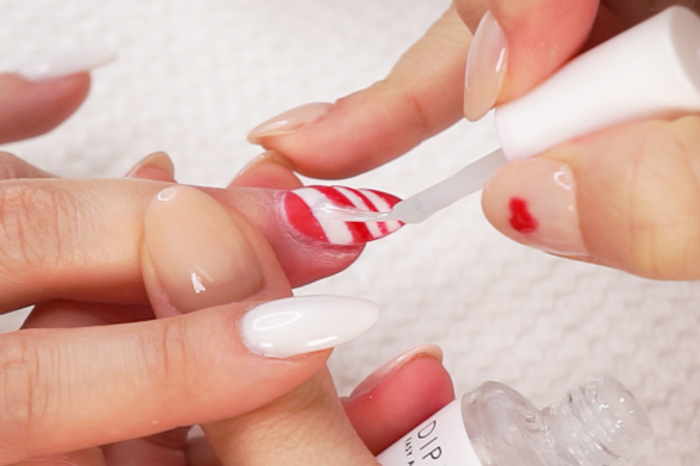

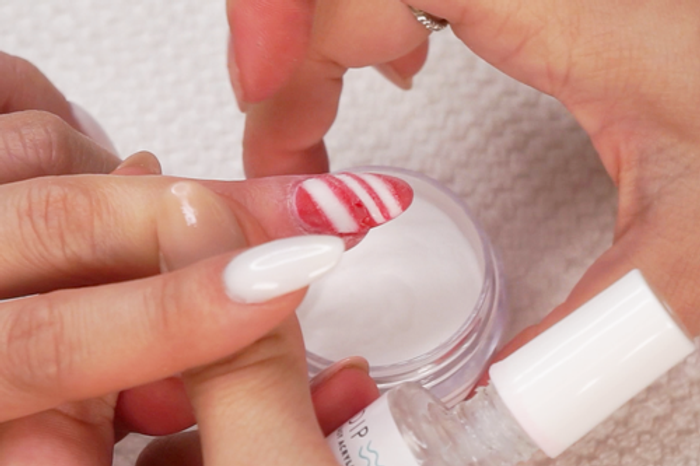
- Paint a thin coat of Step 2 Base in between the red and immediately dip tip of finger at an angle into Base & Finish. Tap finger to rid of loose powder and use a fluffy brush to sweep off excess powder.
PRO TIP: Brushes may harden or pick up color powder during application. Simply switch them between Brush Softener for easy cleaning & workability.
Step 6
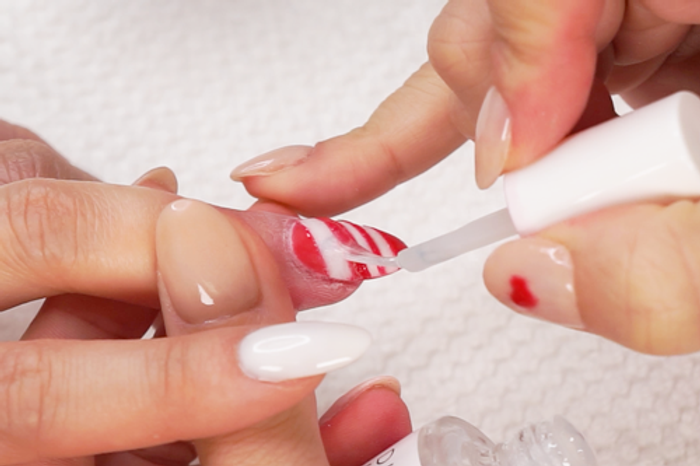

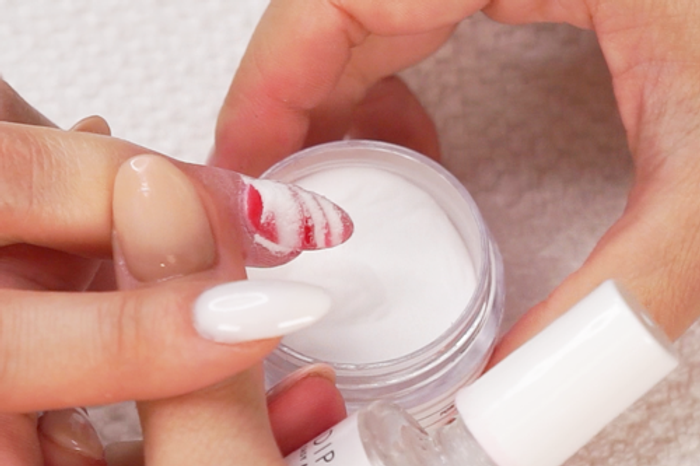
- Repeat to fully encapsulate the stripes.
Step 7
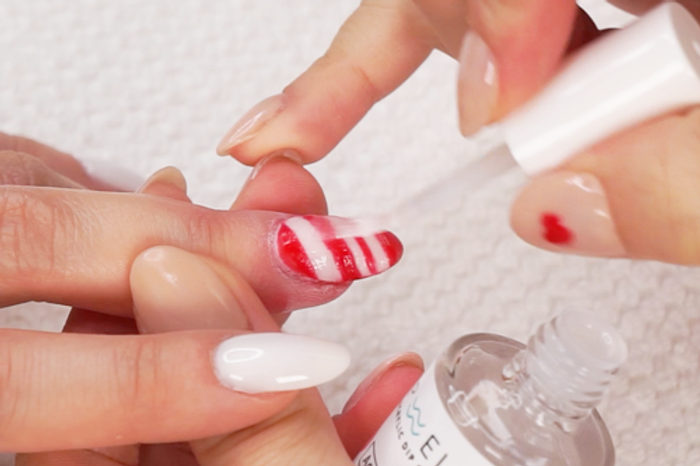


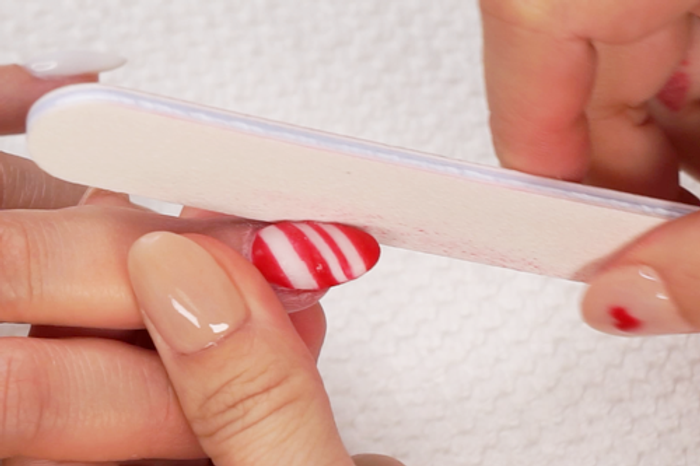
- Apply Step 3 Activator and allow a few minutes for powder to harden, then file & buff nails to desired shape & thickness.
Step 8
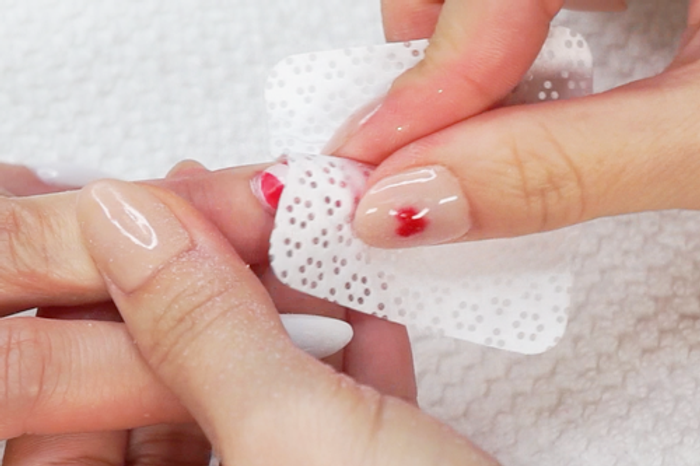
- Wash hands or use a lint free wipe saturated in alcohol to wipe the nails clean.
PRO TIP: Make sure nails are completely dry before moving to the next step!
Step 9
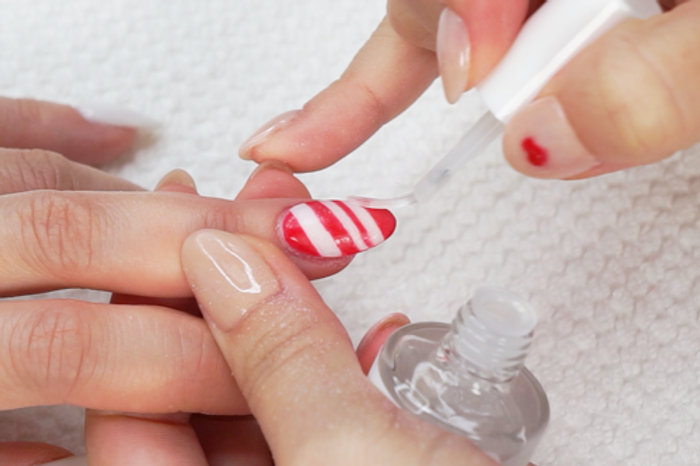
- Apply a second coat of Step 3 Activator. Allow 3-5 minutes for nail to dry.
Step 10
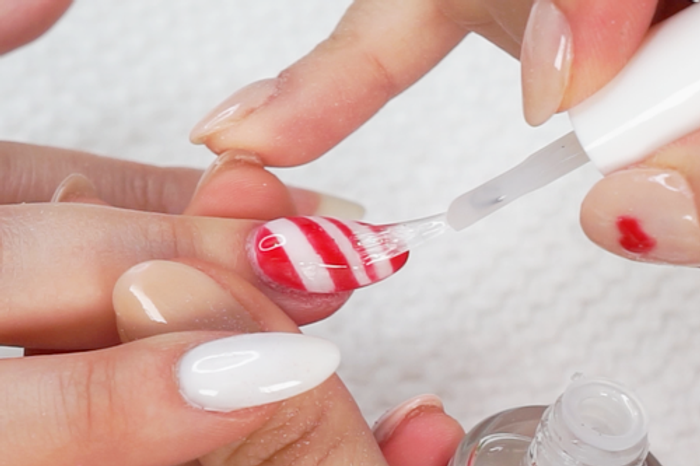
- Paint a coat of Step 4 Sealer and allow 2-3 minutes for nail to dry.
Step 11


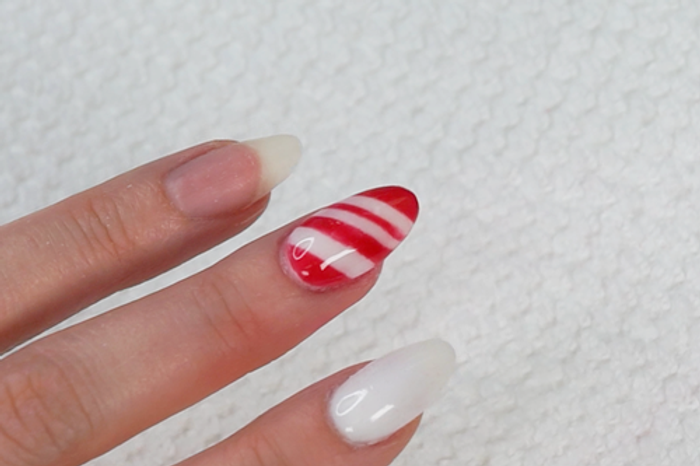
- Paint a second coat of Step 4 Sealer and allow 3-5 minutes for nail to dry.
PRO TIP: Don't apply more than 2 coats of Sealer as this will prevent even drying & may result in a gummy mani.
Step 12
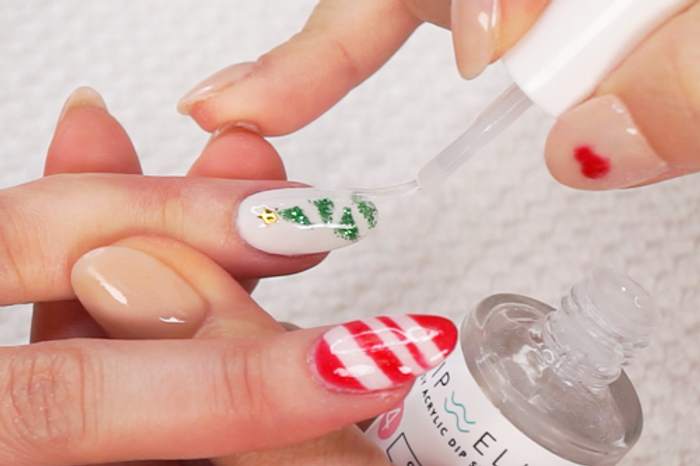
- Paint a second coat of Step 4 Sealer and allow 3-5 minutes for nail to dry.
PRO TIP: Don't apply more than 2 coats of Sealer as this will prevent even drying & may result in a gummy mani.
Finish!
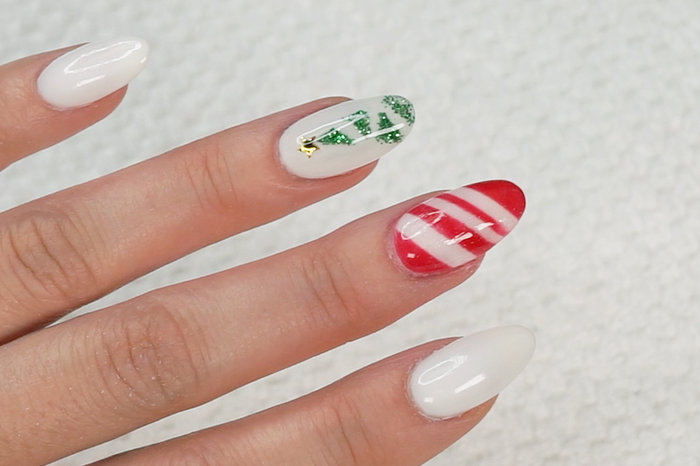


- Enjoy the holidays with this subtly holiday mani.
Get free tutorials, special deals every week!
Sign up for fresh nail inspo & exclusive discounts delivered right to your inbox.
By subscribing, you acknowledge our Privacy Policy.
THE BEST WAY TO START DIPPING
PICK YOUR FAVORITE COLORS AND GET ALL THE LIQUIDS YOU NEED TO CREATE YOUR OWN DIP MANIS THAT LAST 2+ WEEKS WITHOUT CHIPPING! BUILD YOUR OWN BUNDLE HERE!

