How To Apply Ombre Dip Nails
Difficulty
Easy
Time required
45 Minutes
Salon price 
est. $90 / Mani
DipWell price
est. $4 / Mani
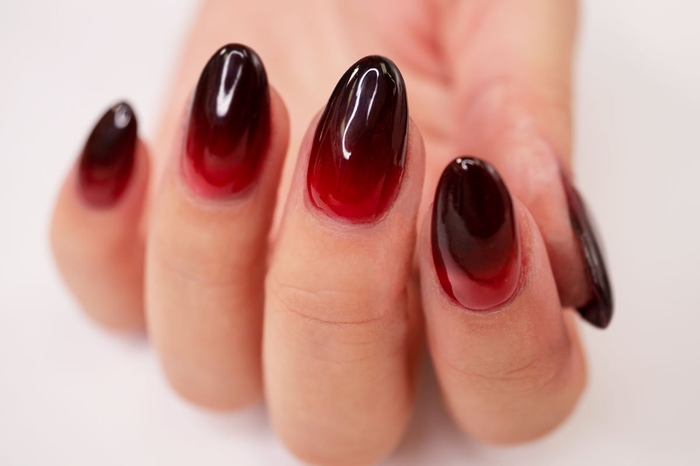
It takes two to make an ombre go right. Learn how to perfect red-and-black, va-va-voom dip nails.
PRO TIP: Make sure you thoroughly prep nails to ensure adhesion & long-lasting wear! Push back cuticles, create a rough texture on the nail plate by filing, and sanitize thoroughly.
Loading products...
Step 1
- Apply a coat of Step 1 Bond to all fingernails
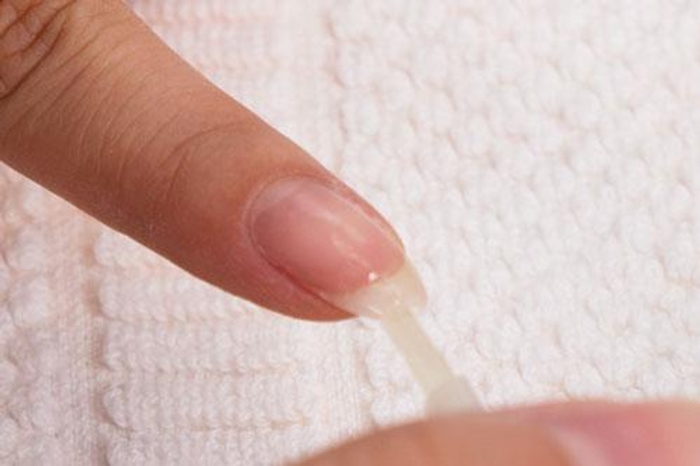
Step 2
- Apply a coat of Step 2 Base starting halfway onto the nail surface, stroking out towards the nail tip
PRO TIP: Avoid getting the product onto cuticles, powder will pick up wherever Base if applied
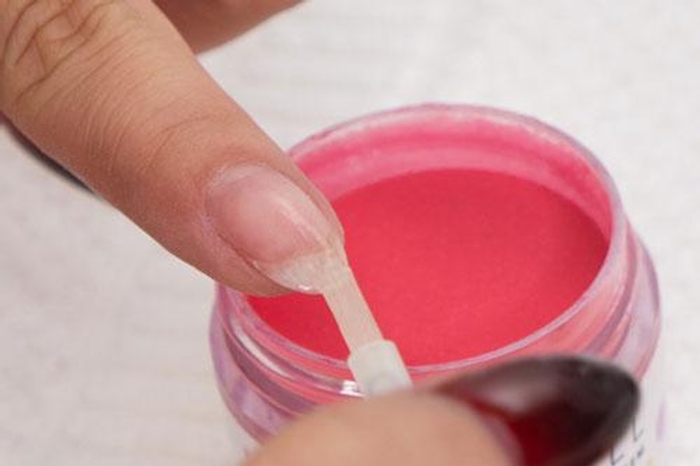
Step 3
- Carefully dip just the tip of the nail into the lighter color acrylic of choice, here we are using CL-06
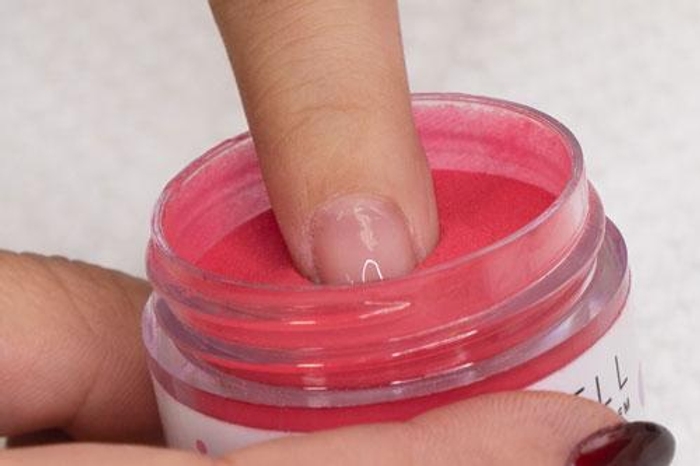
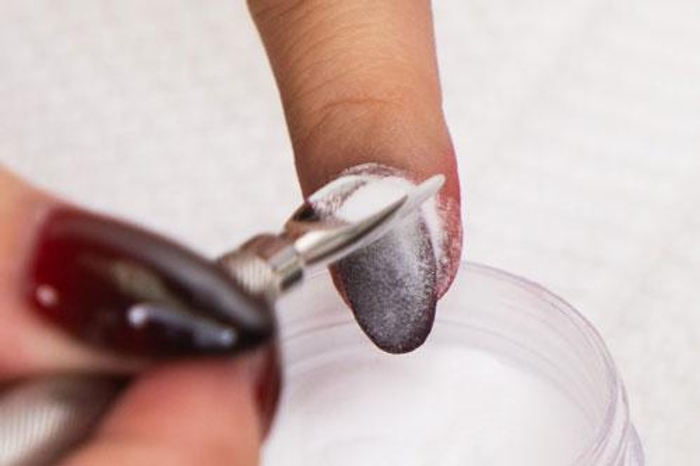
Step 4

- Using a fluffy brush, the shape being comparable to an eyeshadow brush, dab the darker color acrylic onto the tip of the nail plate. Here we are using CL-64
- The pigment from the acrylic powder will transfer onto the nail plate without increasing the amount of acrylic powder on the nail
PRO TIP: Tap gently to rid of any loose color dipping powder & gently swipe with a fluffy brush
Get free tutorials, special deals every week!
Sign up for fresh nail inspo & exclusive discounts delivered right to your inbox.
By subscribing, you acknowledge our Privacy Policy.
Step 5
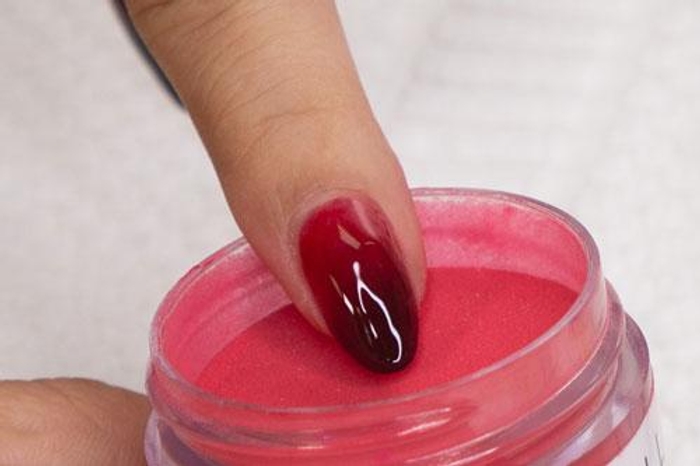
- Repeat steps 3 & 4 for more coverage
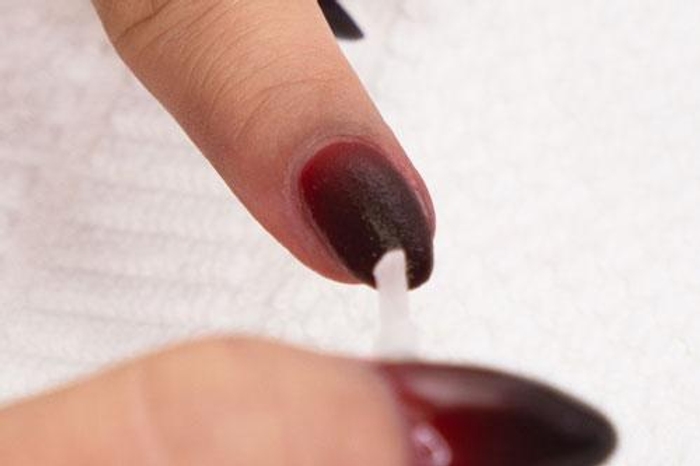
Step 6
- Apply Step 2 Base and then pour Base & Finish over the nail bed to seal powder
PRO TIP: Avoid getting the product onto cuticles, powder will pick up wherever Base if applied
Step 7
- Apply Activator thoroughly, wait 3 minutes until hardened; then file and buff nails
- Wash hands thoroughly or wipe with alcohol
- Then apply a coat of Step 4 Sealer, allow 3 minutes to dry; then repeat to finish
Get free tutorials, special deals every week!
Sign up for fresh nail inspo & exclusive discounts delivered right to your inbox.
By subscribing, you acknowledge our Privacy Policy.