Once you’ve created the perfect nail look, you want to enjoy it! But it’s pretty common for DIY manicures to lift… ugh.
Thankfully, there are easy ways you can protect your mani and help prevent premature lifting.

Two Main Reasons You Might Experience Lifting
1. Naturally oily nail beds
Some people naturally have drier nail beds and some are naturally quite oily. Oily nail beds can prevent your dip mani products from adhering. If you feel like your nails just aren’t holding product, keep reading for our suggestions on dealing with oily nail beds!
2. Product getting on your cuticles
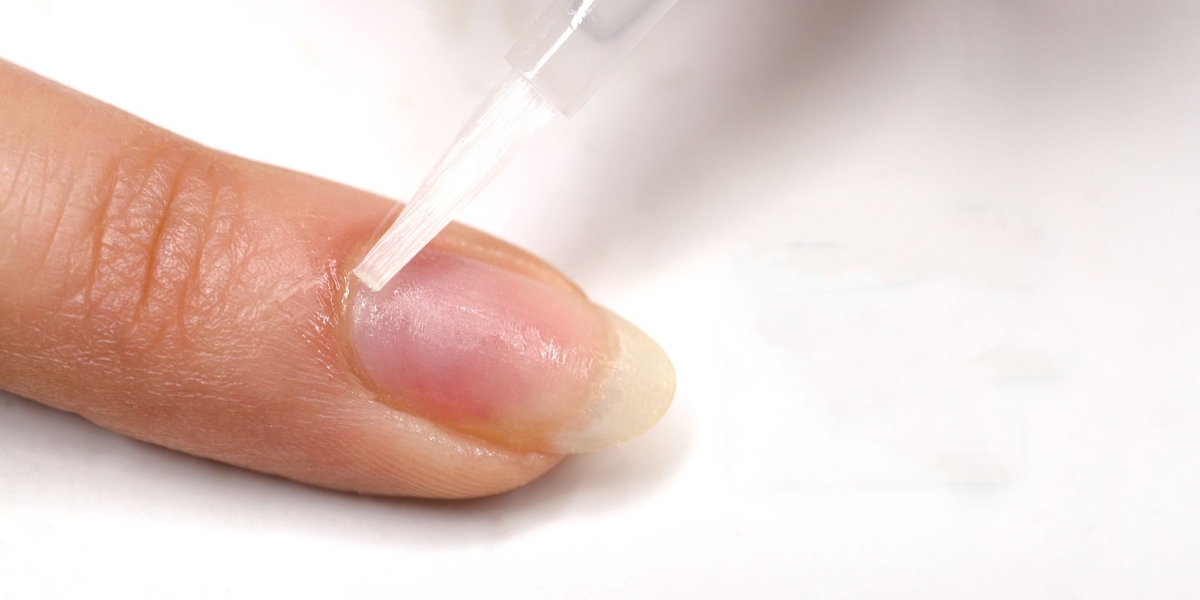
Another reason you might have issues with lifting is if you’re getting any dip powder or liquid on your cuticles or surrounding skin.

Prevent Lifting Before You Even Open Your Dip Mani Products
1: Thoroughly remove cuticles
After pushing back cuticles, keep in mind to also buff off any remaining part of cuticles that is left over and attached to the nail surface. If cuticles are not removed and product is applied on top of it, it will create a gap between the product and natural nail in which dirt and water can get into and create lifting.

2: Be sure to buff your nails before starting your mani
This is especially for you if you suspect you’re dealing with oily nail beds
- Without thinning the natural nail, carefully buff the surface using a 180 grit buffer to create a gritty/coarse texture. Having a coarse nail surface creates a foundation the product can adhere to. The goal is to help the product adhere to the ridges of the natural nail surface rather than sliding off a smooth surface.
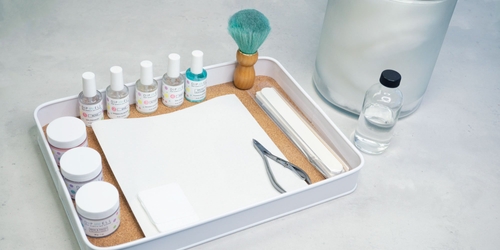
- Be sure to buff the entire nail bed, including the cuticle area after your cuticles are pushed back. For best results, take a 100/180 grit nail file like the one in our Buffer Set, and lightly buff the surface of the now exposed nail plate previously hidden beneath the cuticles.
- Avoid touching your fingertips to your nail beds after you've buffed them, as excessive touching can transfer oil back on to your nails.
Get free tutorials, special deals every week!
Sign up for fresh nail inspo & exclusive discounts delivered right to your inbox
By subscribing, you acknowledge our Privacy Policy.

3: Wash your hands post-buff & cuticle trim
Once nails are buffed especially at the cuticle area, be sure to remove excess debris, oil or contaminants by washing hands and fingertips with soap and water. Dry hands and nails well followed by wiping nails with a lint-free cloth saturated with alcohol. Carefully wipe each crevice of the nail where cuticles have been pushed back. Extra tip: some DipWell fans report that washing their hands and nails with dish soap at this step of the process helps combat their oily nail beds.
Again, note that any oil, debris, or cuticles left on the nail surface will make the product become prone to lifting as they grow out. Water and debris will get trapped within the exposed gap between the natural nail and the dip powder.
What you’re trying to prevent is any gap, or substance, coming between your nail, and your mani products.
Prevent Lifting While You’re Applying Your Dip Mani
Once you’ve prepped your nails, you’re ready to start the dip process, and there are a few precautions you can take at this stage of the game that can also help prevent premature lifting!

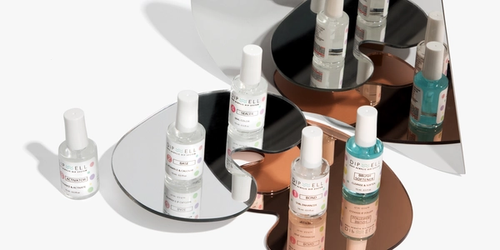
- When applying Step 1 Bond to nails, ensure dip powder has better retention to the entire nail surface by swiping an extra coat on the nail plate closest to the cuticle area and at the tip of nails. Be sure to allow Step 1 Bond to dry completely before applying Step 2 Base. This will prevent brushes from hardening.
- Consider starting your dip mani with a coat of Base & Finish Powder as a foundation. Not only can this help create a sealed surface from the start but it will also help prolong dip nails and protect the natural nail surface from staining due to color pigments.
- Be careful not to apply dipping liquid (Step 2 Base or Step 4 Sealer) outside of the nail surface, especially avoiding the cuticles. Be sure not to apply a thick layer of Step 2 Base around the cuticle area as it may run to the sides and get onto cuticles. This is where an ounce of prevention is worth a pound of cure... It's easy to rush the Base... and since they go on clear, it doesn't seem like a big deal. But it is! Taking the care to apply these layers precisely will save a lot of grief later on!
- Mistakes happen, even to the Enneagram Type 1s. So if the Step 2 Base happens to get on fingers or cuticles, simply remove with acetone and start over. As nails grow out with product applied on the cuticles, it will create a gap between the product and the natural nail surface or skin where dirt, water or oil can enter and create further lifting.
If you’re following these steps and still running into challenges with your dip mani, please feel free to contact us. We are happy to help!
Get free tutorials, special deals every week!
Sign up for fresh nail inspo & exclusive discounts delivered right to your inbox!
By subscribing, you acknowledge our Privacy Policy.


