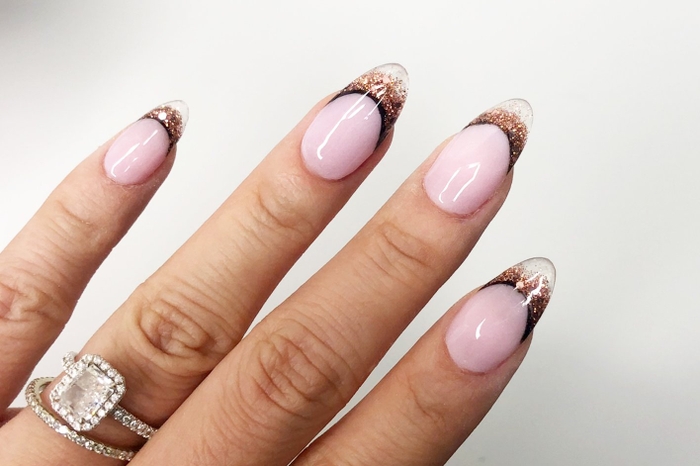
Rose Gold Glitter Nails: A New Twist On The French Mani

Difficulty
Moderate
Time required
1 Hour
Salon price 

Est. $89+ / Mani
DipWell price 

Est. $5 / Mani
Our unreleased GL-46, keep an eye out for our product launch! 👀
Step 1
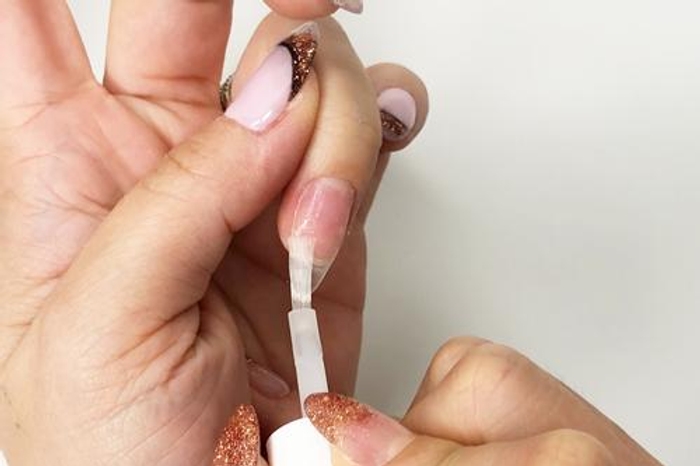
- Apply a thin coat of Step 1 Bond. Allow it to dry completely.
Step 2
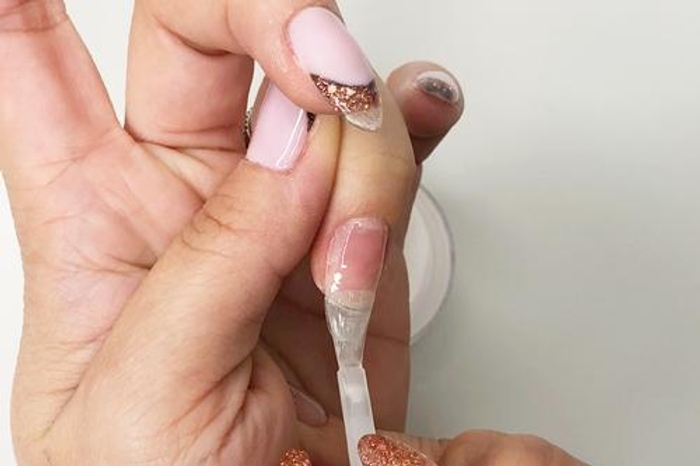

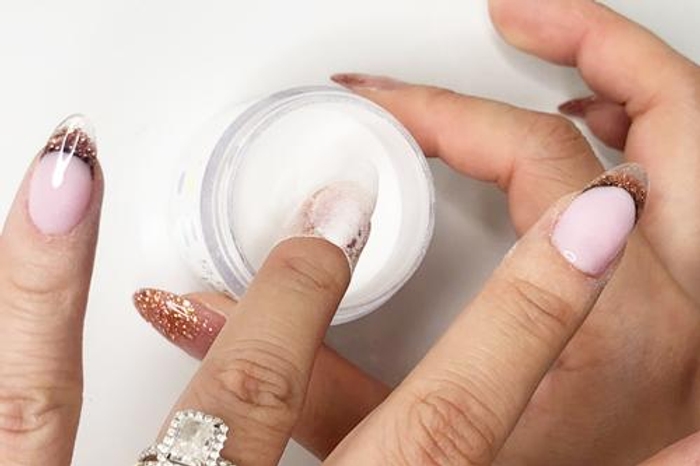
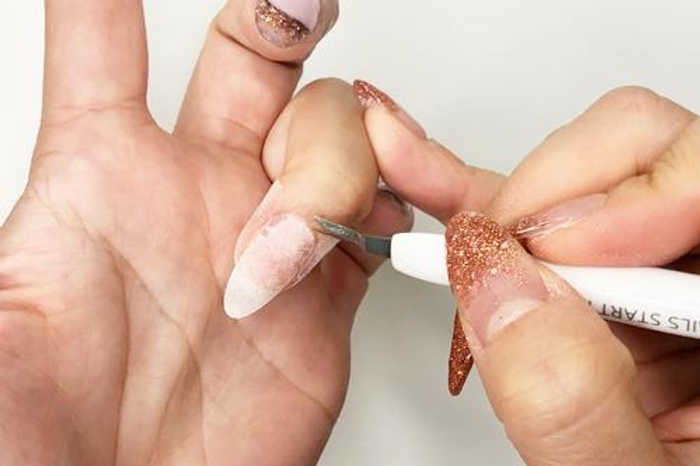
- Apply a thin coat of Step 2 Base and immediately dip finger into Base & Finish powder.
PRO TIP: Avoid getting the product onto cuticles, powder will pick up wherever Base is applied. If this happens, use the pointed end of our Jelly Pusher to clean up your edges.
Step 3
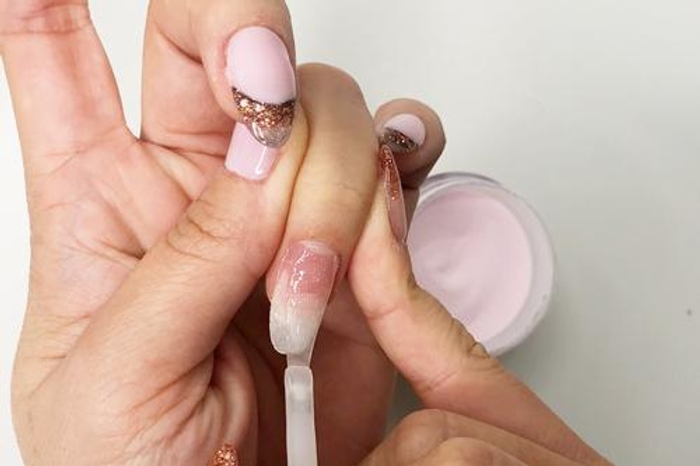

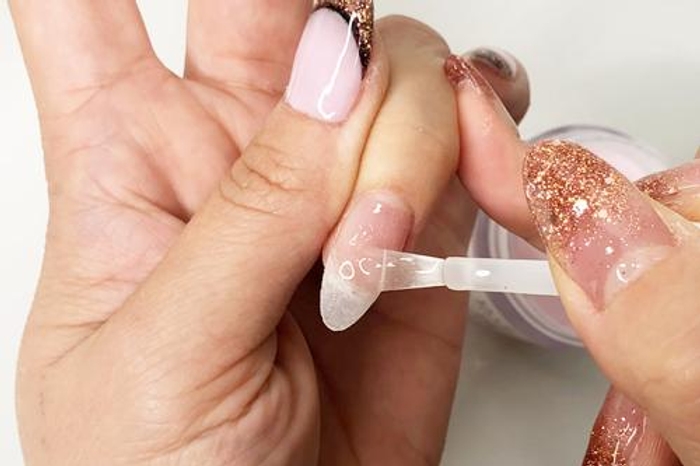
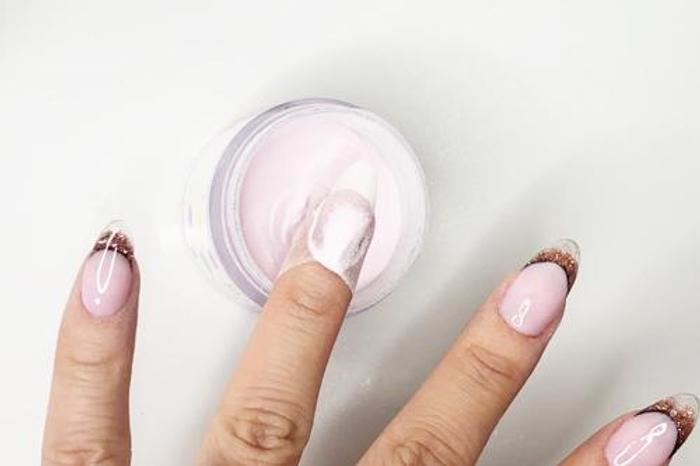
- Starting at the cuticle end and working toward the free edge, apply Step 2 Base to two-thirds to create the pink base of a French mani. Immediately dip into PA-14.
Step 4
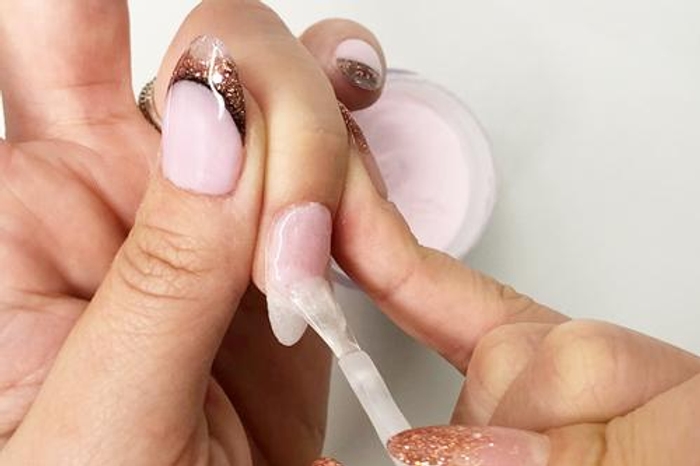

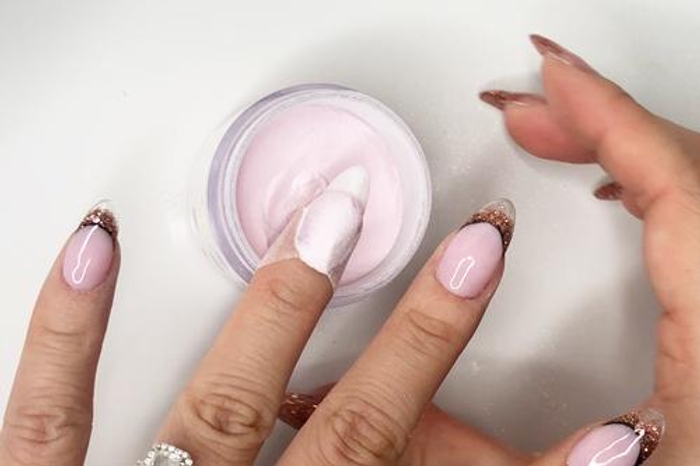
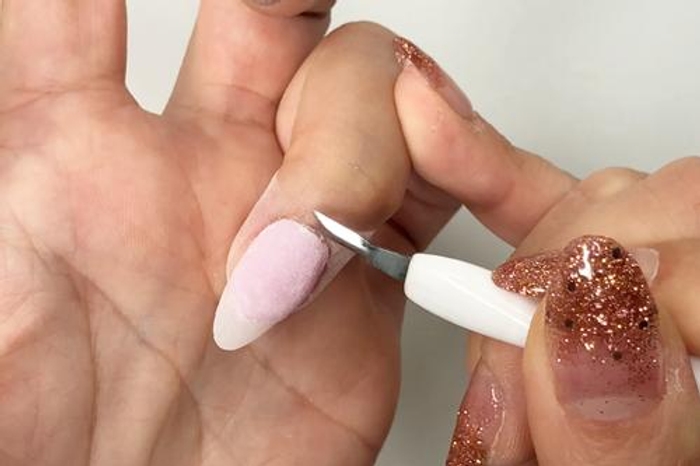
- Tap finger to remove loose powder. Using a fluffy brush, sweep off any excess powder. Repeat for more coverage.
PRO TIP: Brushes may harden or pick up color powder during application. Simply switch them between Brush Softener for easy cleaning & workability.
Step 5
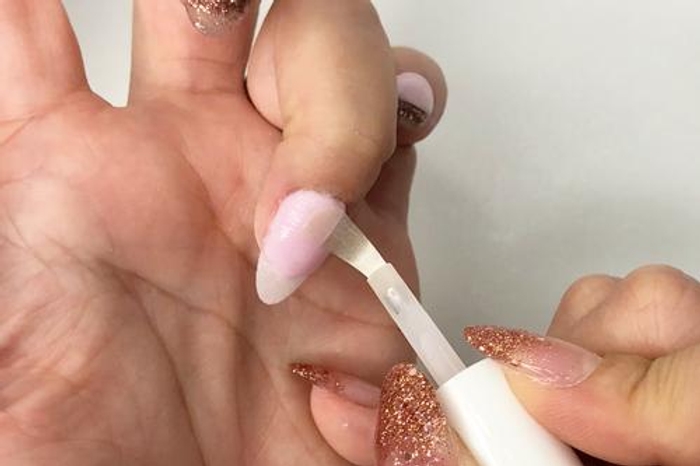
- Apply Step 3 Activator to dip blend and allow 2-3 minutes for it to harden.
Get free tutorials, special deals every week!
Sign up for fresh nail inspo & exclusive discounts delivered right to your inbox.
By subscribing, you acknowledge our Privacy Policy.
Step 6
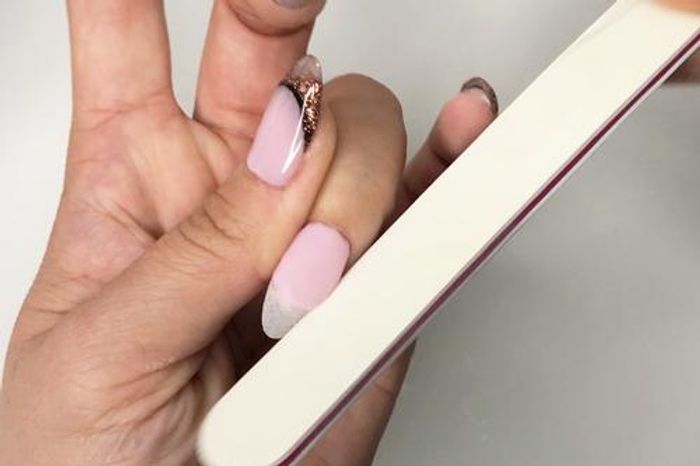

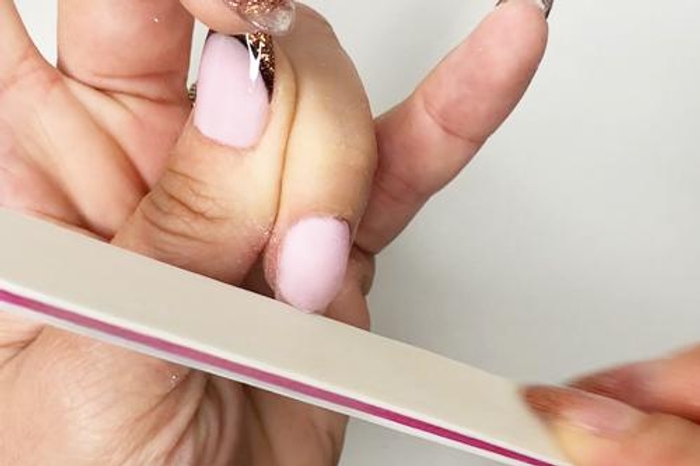
- File and shape hardened dip blend to create a crisp and curved smile line.
Step 7
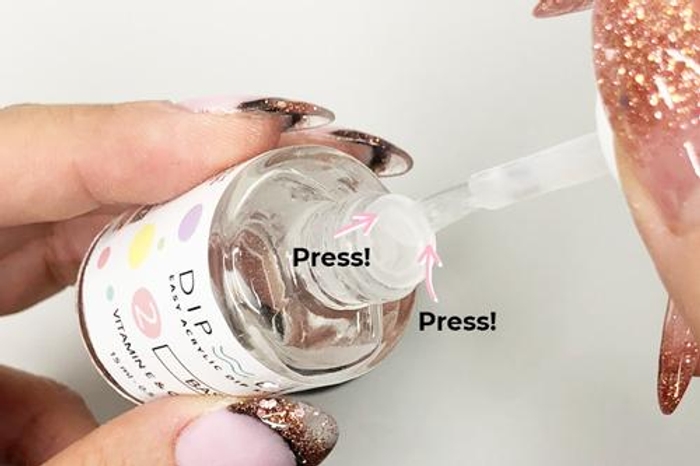

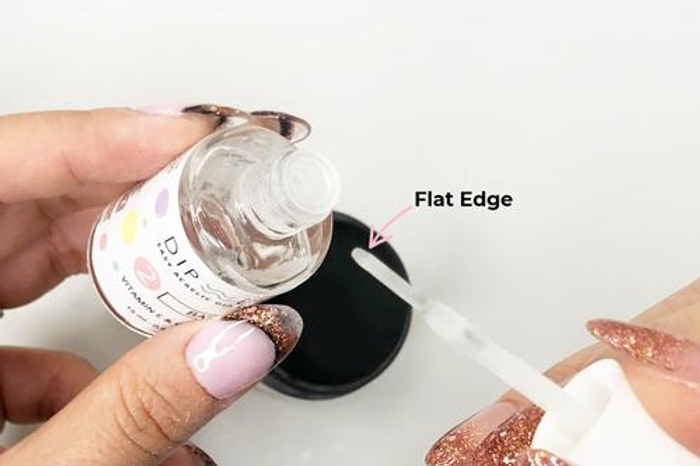
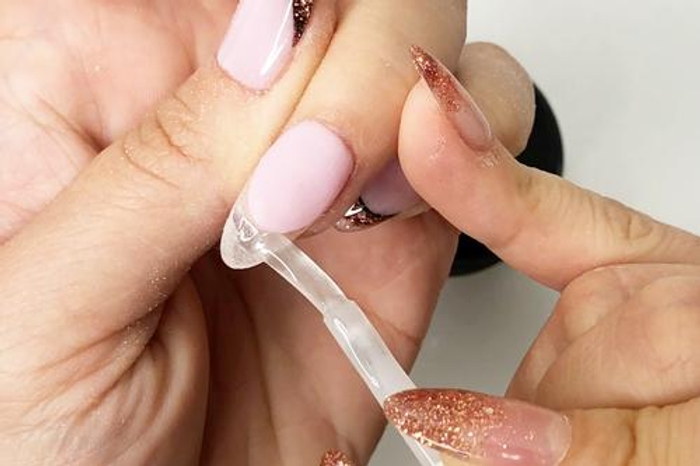
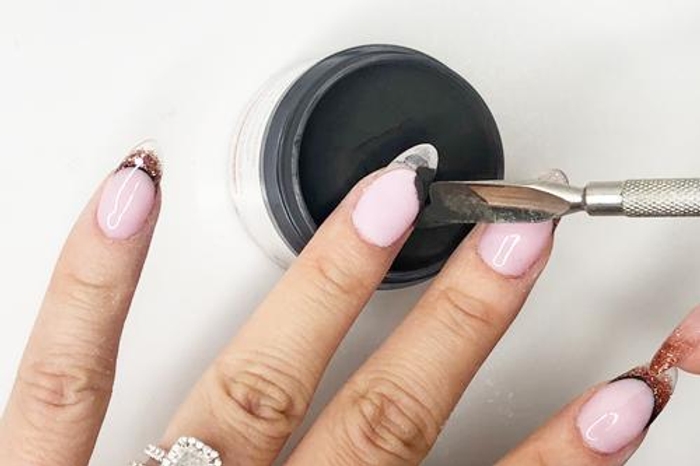
- Using the thin side of the brush, apply a thin strip of Step 2 Base along the smile line. Use a scoop to pour CL-64 to wet Step 2 Base.
Step 8
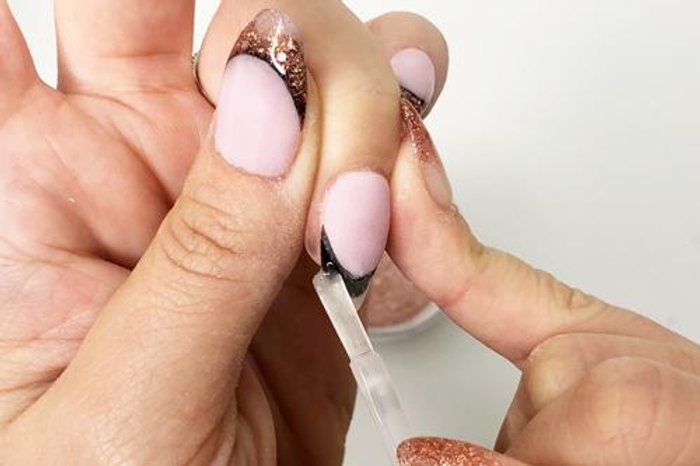

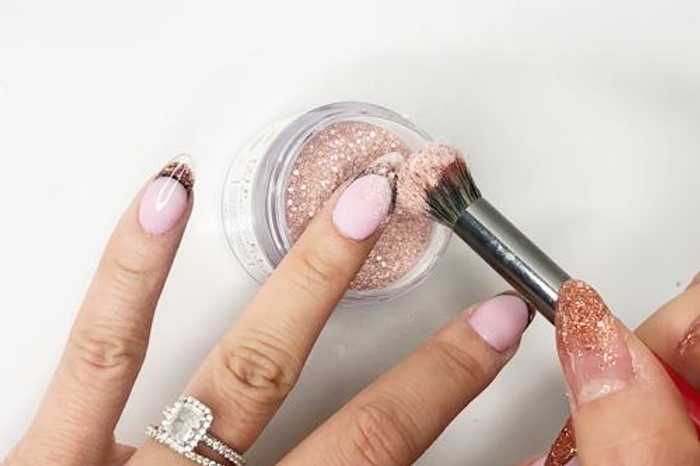
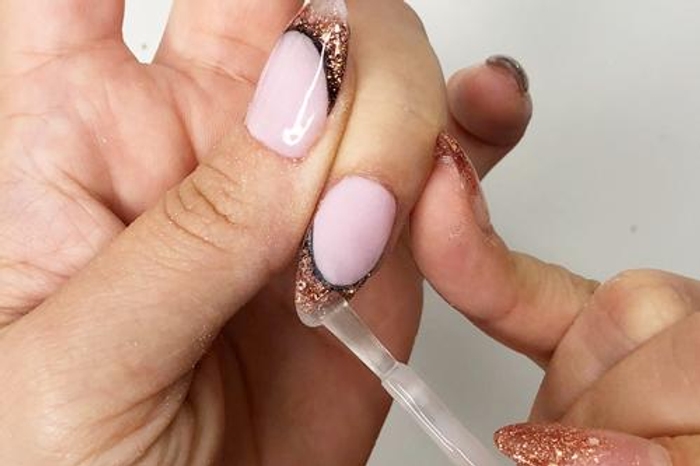
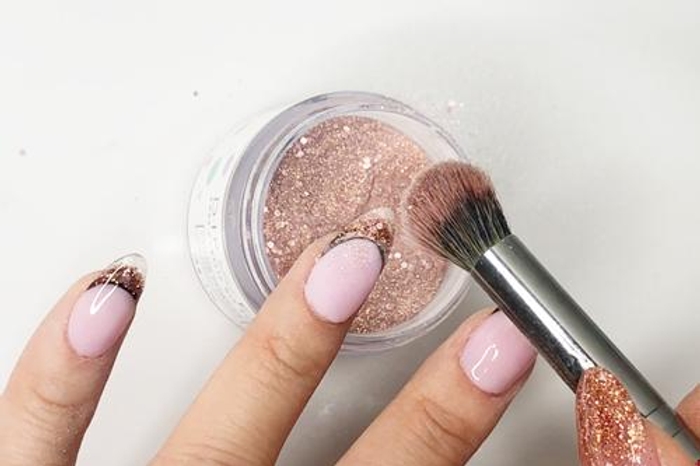
- Apply Step 2 Base to the remainder of the nail. Dip a small, fluffy brush into GL-46 and gently tap to sprinkle the powder onto the nail. Repeat for more coverage.
PRO TIP: Brushes may harden or pick up color powder during application. Simply switch them between Brush Softener for easy cleaning & workability.
Step 9
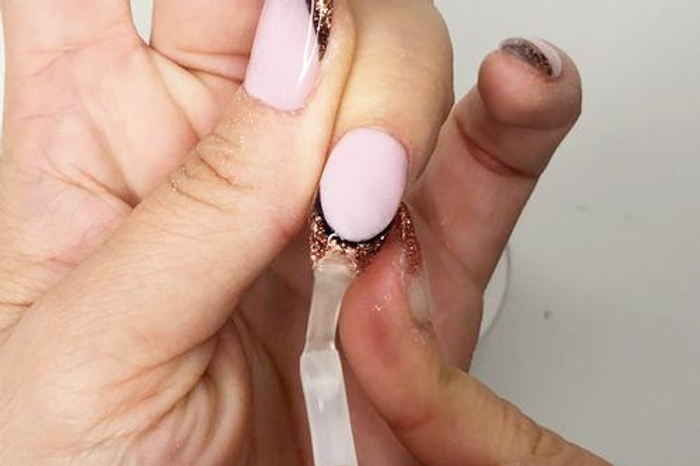


- Apply a final layer of Step 2 Base to the tip of the nail and immediately dip nail into Base & Finish powder to encapsulate the glitter.
Step 10
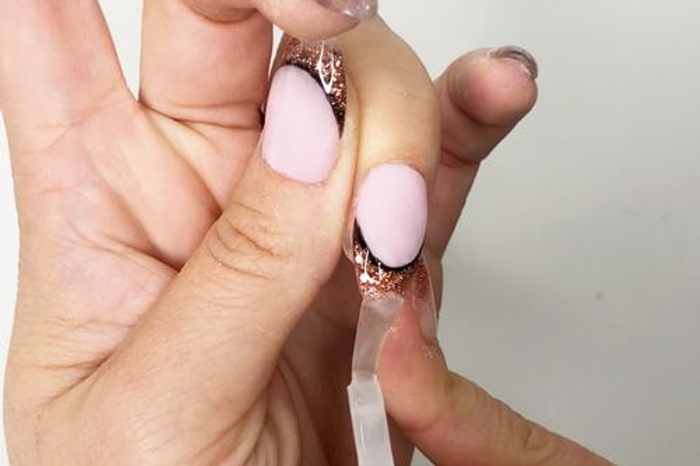

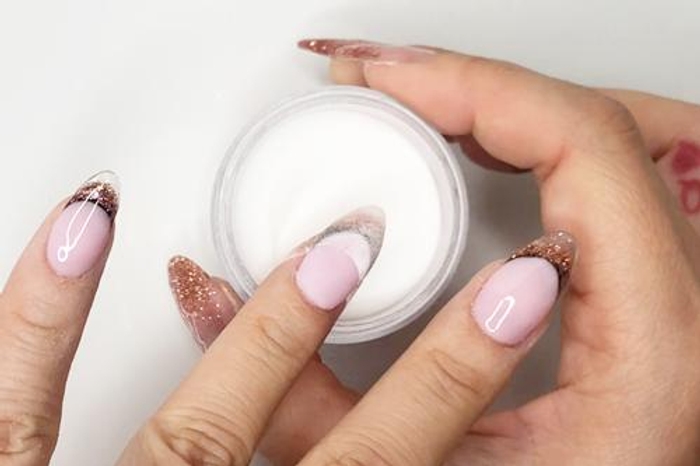
- Repeat application over entire nail to encapsulate the design.
Step 11
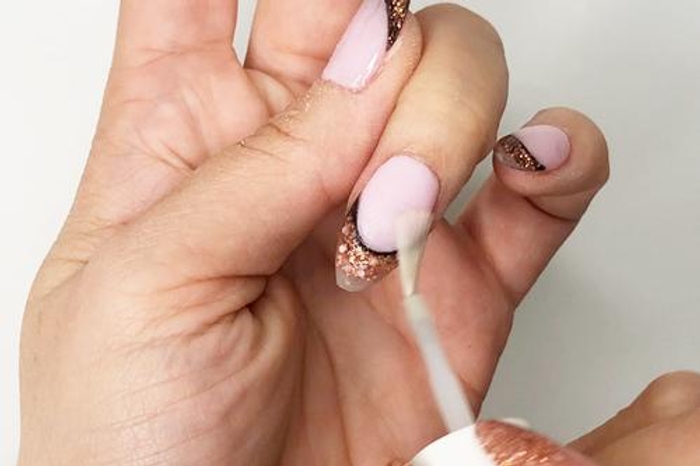
- Apply Step 3 Activator to the entire nail and allow 2-3 minutes for the dip blend to harden.
Step 12
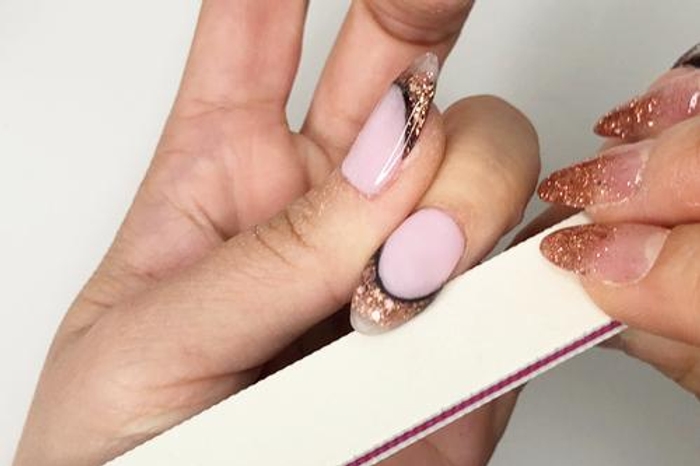

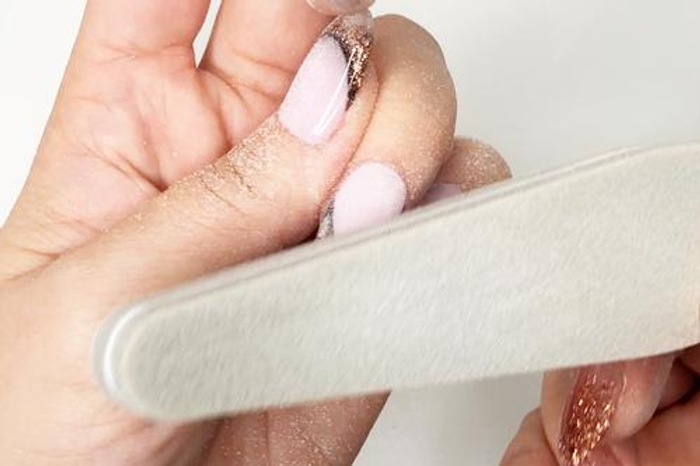
- Buff & file nails to desired shape and smoothness.
Step 13
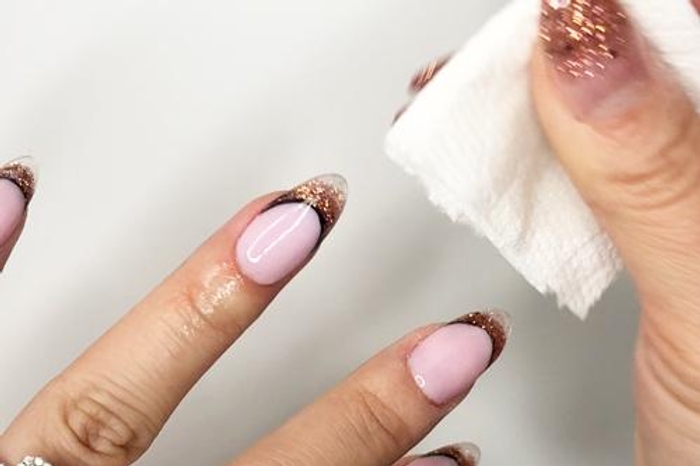
- Wash hands or use a lint-free wipe saturated in alcohol to wipe the nails clean.
PRO TIP: Make sure nails are completely dry before moving to the next step!
Step 14
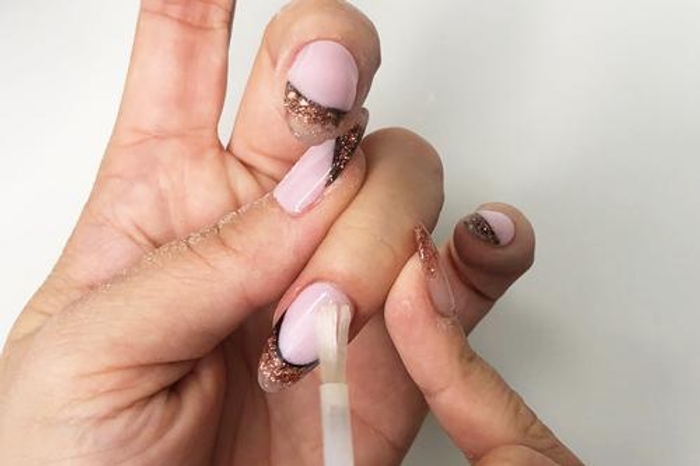
- Apply a second coat of Step 3 Activator. Allow 3-5 minutes for nails to dry.
PRO TIP: If you live in a humid climate, you may need to increase your dry time.
Step 15
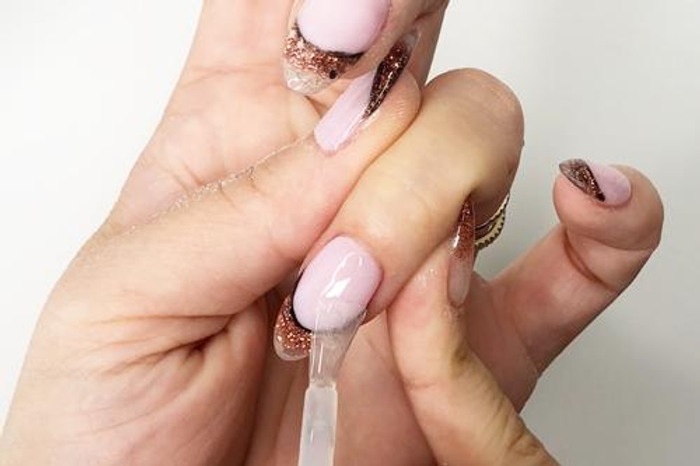
- Apply a thin coat of Step 4 Sealer and allow 2-3 minutes for nails to dry.
Step 16
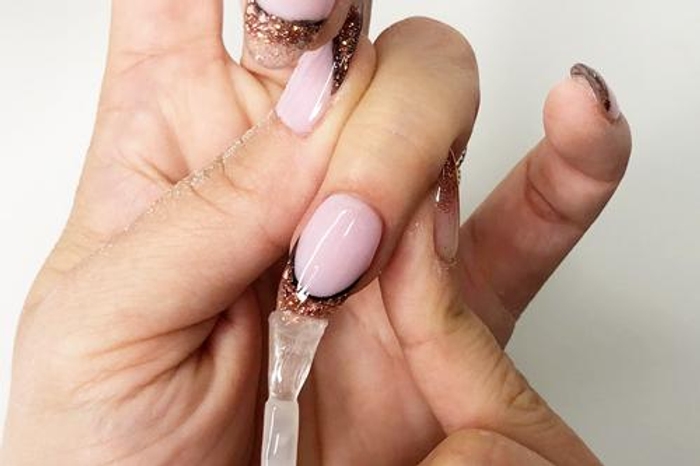
- Apply the second, and final, coat of Step 4 Sealer. Allow nails 3-5 minutes to fully dry.
PRO TIP: Don't apply more than 2 coats of Sealer as this will prevent even drying & may result in a gummy mani.
Finish!

- Create easy, yet dramatic rose gold nail art with glittery acrylic dip powder.
Get free tutorials, special deals every week!
Sign up for fresh nail inspo & exclusive discounts delivered right to your inbox.
By subscribing, you acknowledge our Privacy Policy.
THE BEST WAY TO START DIPPING
PICK YOUR FAVORITE COLORS AND GET ALL THE LIQUIDS YOU NEED TO CREATE YOUR OWN DIP MANIS THAT LAST 2+ WEEKS WITHOUT CHIPPING! BUILD YOUR OWN BUNDLE HERE!
