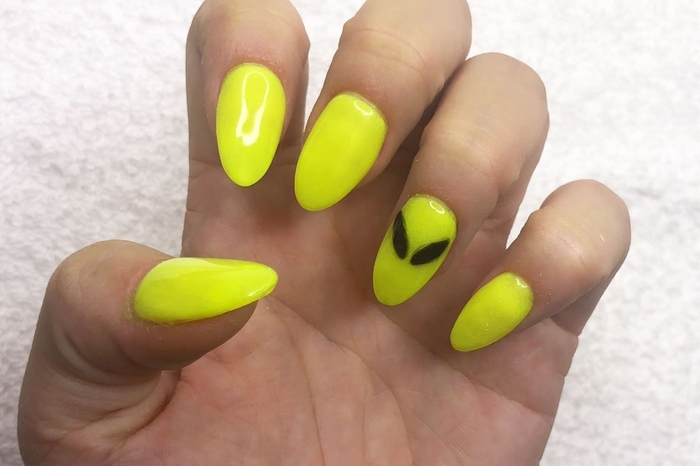
Neon Glow In The Dark Halloween Alien Nails

Difficulty
Easy
Time required
45 Minutes
Salon price 
Est. $55 / Mani
DipWell price
Est. $4 / Mani
Our easiest Halloween look ever, these glow in the dark alien nails make a strong statement! Bright highlighter neon dip powder grabs attention in daylight, but the real magic begins when the lights go out and this mani takes on an otherworldly glow. If you're looking for last minute Halloween ideas, this mani is perfect in its simplicity. You only need two color powders to master inter-planetary nails.
PRO TIP: Make sure you thoroughly prep nails to ensure adhesion & long-lasting wear! Push back cuticles, create a rough texture on the nail plate by filing, and sanitize thoroughly.
Loading products...
Step 1


- Apply a thin coat of Step 1 Bond. Allow it to dry completely.
- Use a clean utensil to stir & loosen dip powder before use.
Step 2

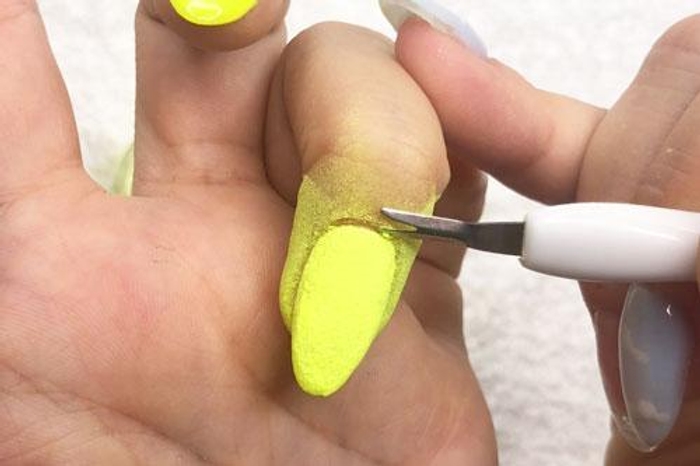
- Paint a thin coat of Step 2 Base and immediately dip finger into GW01.
- Dipped too close to the cuticle line? Clean edges with Jelly Pusher!
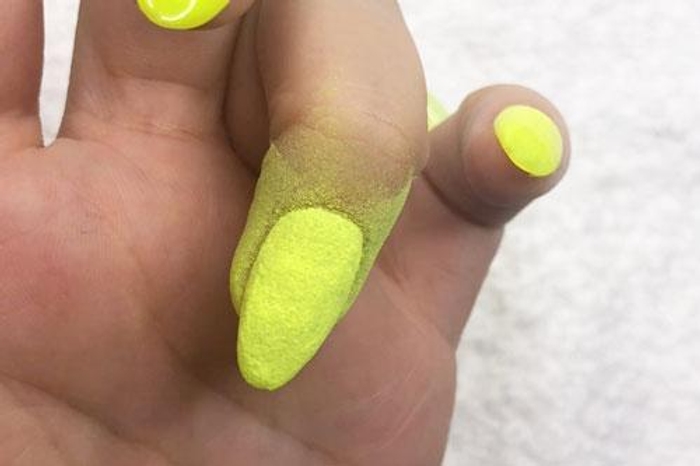
Step 3


- Repeat for more coverage.
- Use a fluffy brush to dust off excess powder.
PRO TIP: Brushes may harden or pick up color powder during application. Simply switch them between Brush Softener for easy cleaning & workability.
Step 4


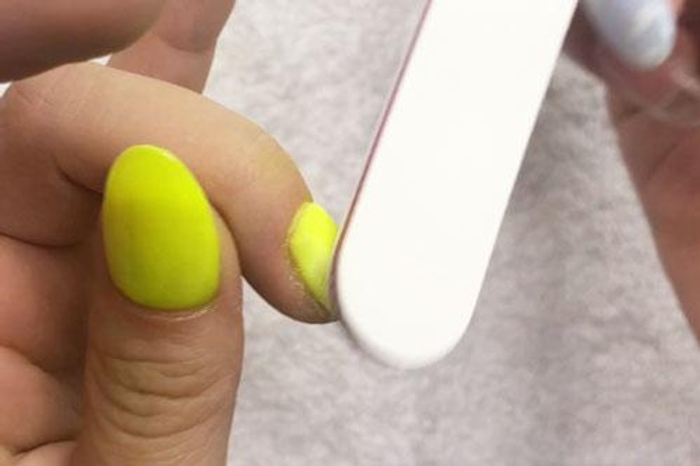

- Apply Step 3 Activator and allow a few minutes for powder to harden.
- Buff and shape nails to create a smooth foundation.
Get free tutorials, special deals every week!
Sign up for fresh nail inspo & exclusive discounts delivered right to your inbox.
By subscribing, you acknowledge our Privacy Policy.
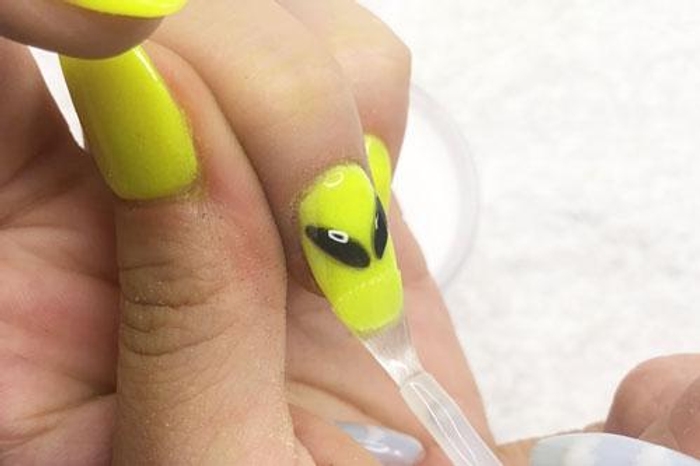
Step 5

- Using a square foil as a palette, apply a small amount of Step 2 Base.
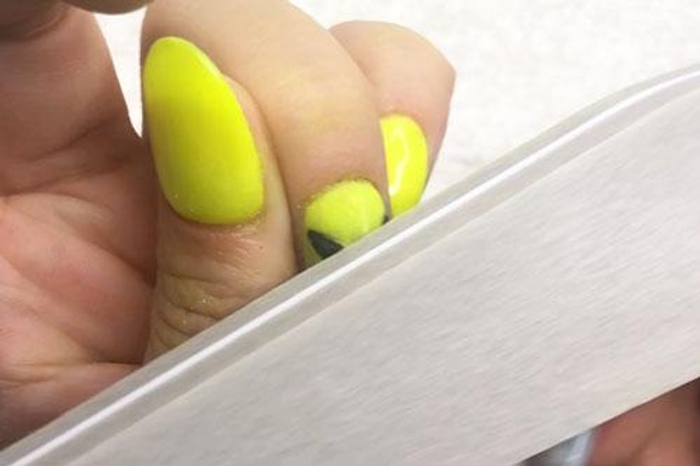
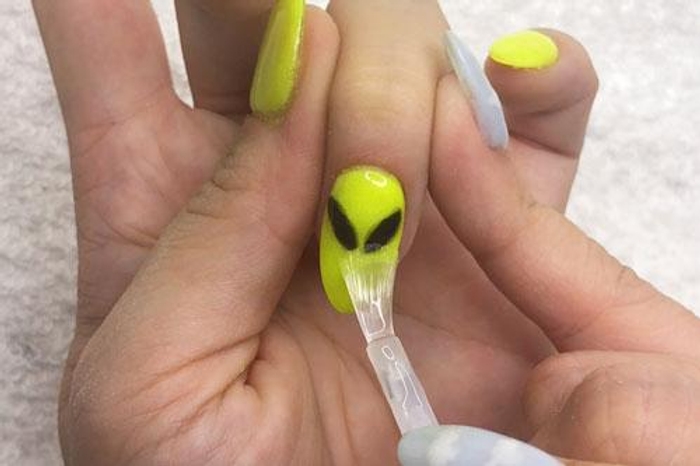
Step 6
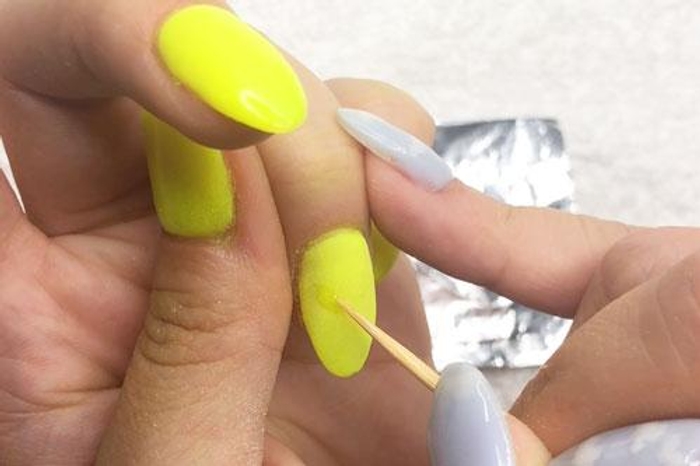
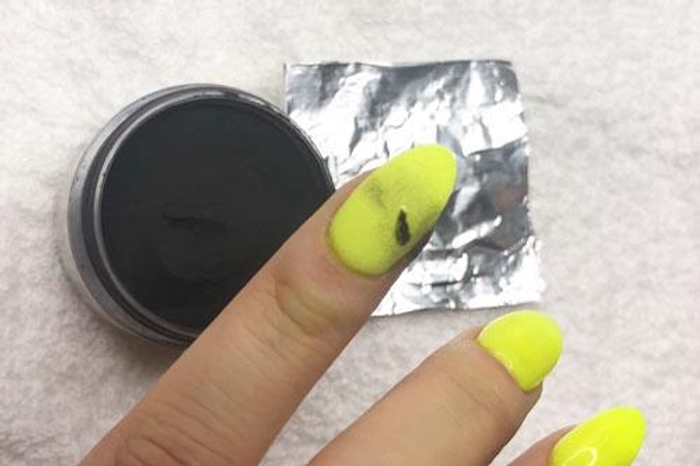
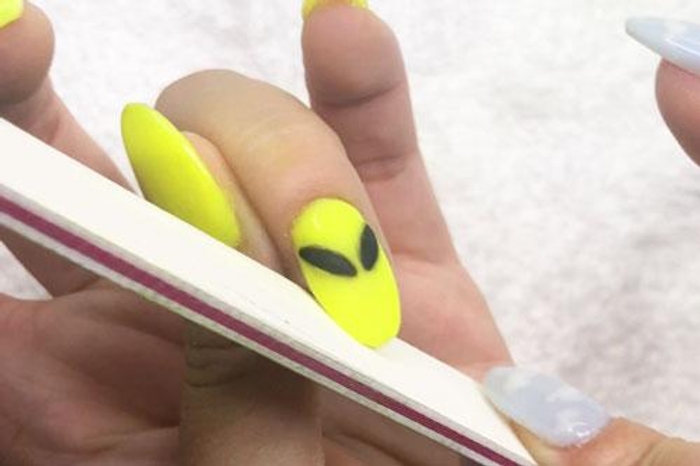
- Use a stylus or toothpick to apply Step 2 Base in the shape of alien eyes. Immediately pour CL64 over the nail.
Step 7
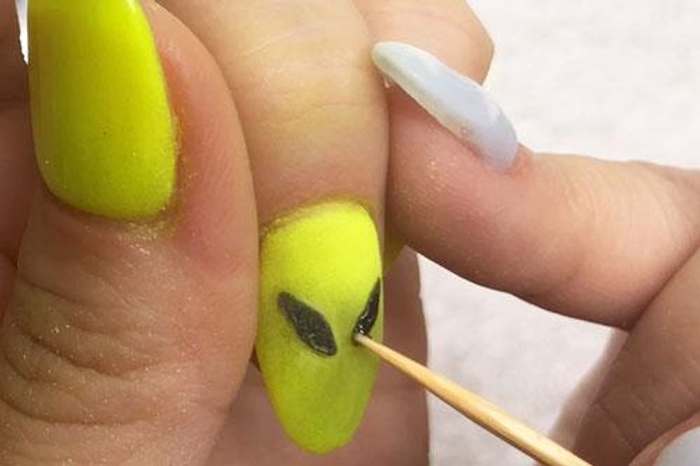
- Repeat for more coverage.
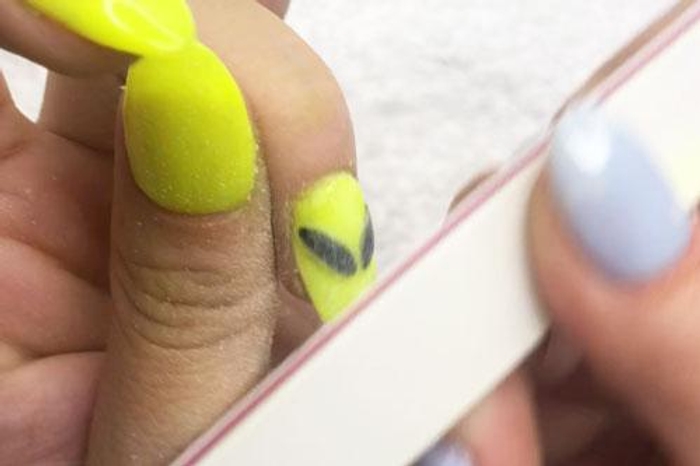
Step 8
- Apply Step 3 Activator and allow 3-5 minutes for nails to harden.
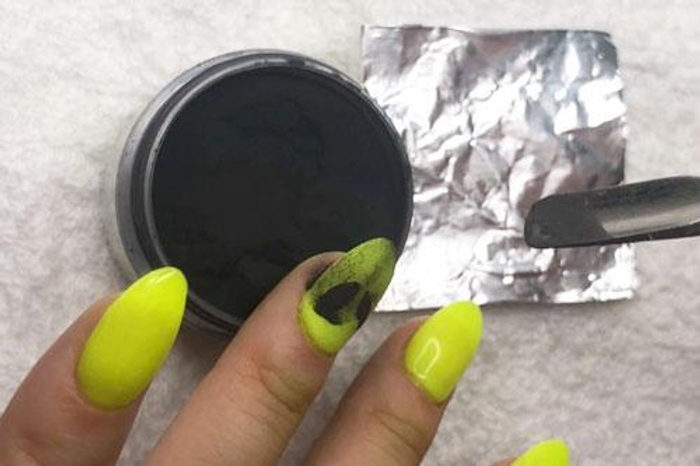
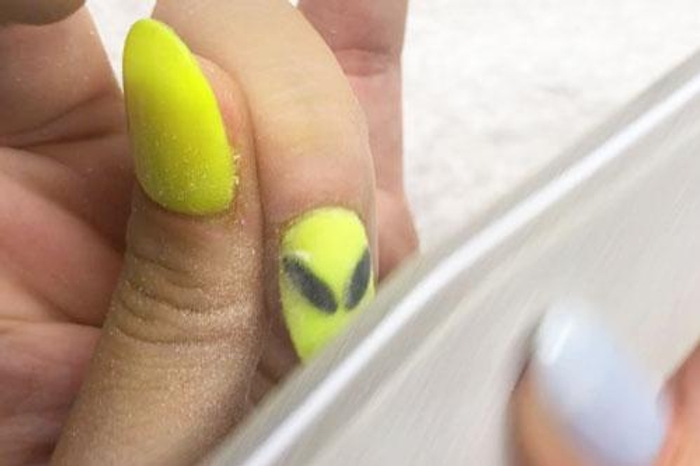
Step 9
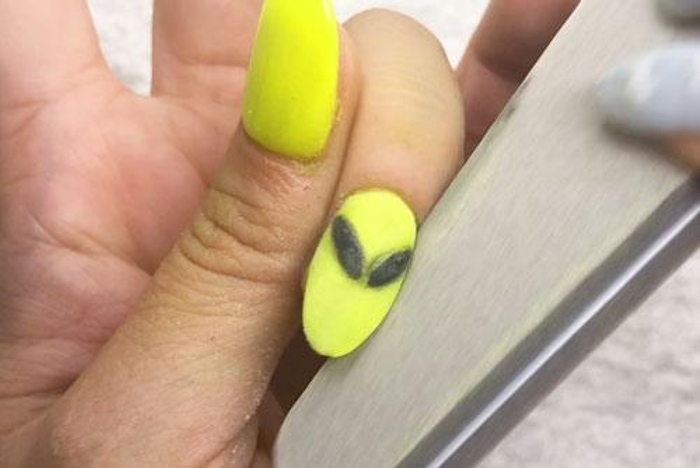
- Buff & shape nails to remove stains of CL64 from GW01.
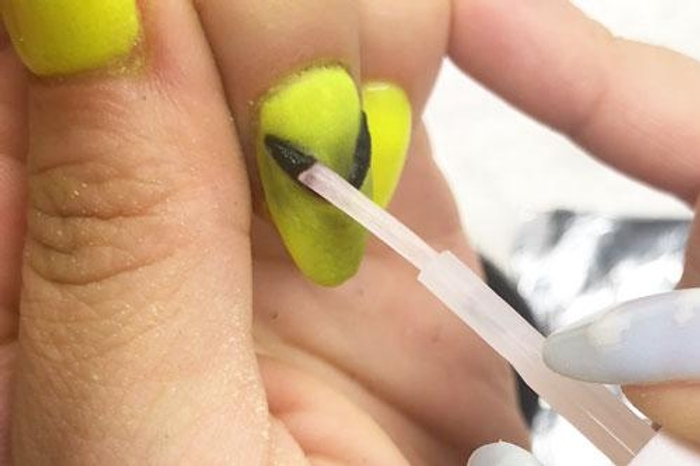
Step 10
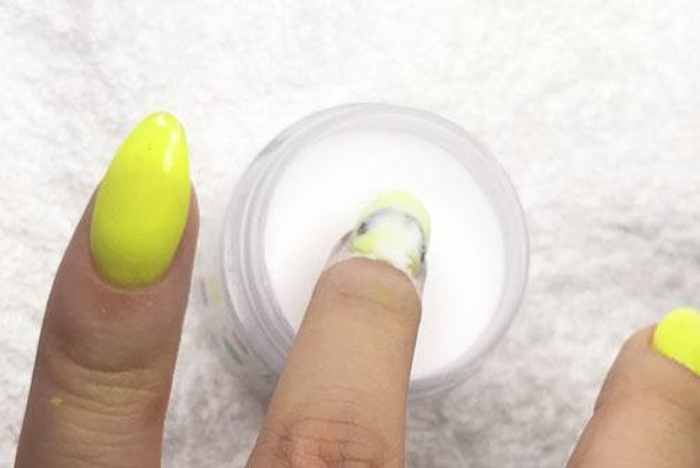
- Apply another coat of Step 2 Base and quickly dip into Base & Finish Powder.
PRO TIP: Brushes may harden or pick up color powder during application. Simply switch them between Brush Softener for easy cleaning & workability.
Step 11

- Apply Step 3 Activator and allow 3-5 minutes for nails to harden.
Step 12
- File and buff nails to your desired shape.
Step 13
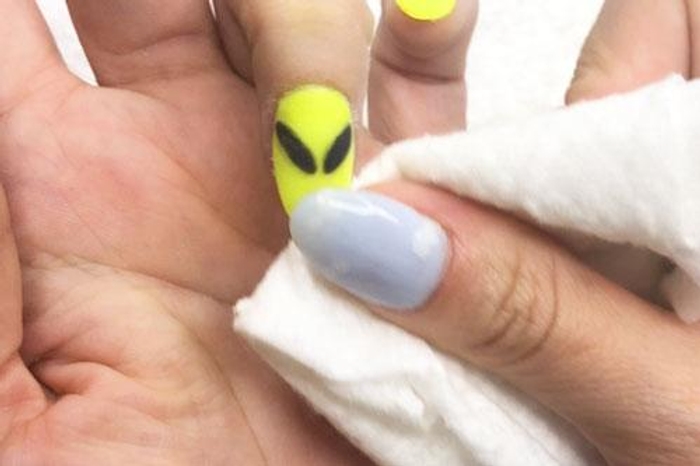
- Wash hands or use a lint free wipe saturated in alcohol to clean the nail.
PRO TIP: Make sure nails are completely dry before moving to the next step!
Step 14

- Apply another coat of Step 3 Activator.
- Allow 3-5 minutes for nails to dry.
Step 15

- Paint a coat of Step 4 Sealer and allow 2-3 minutes for nails to dry.
Step 16
- Paint a second coat of Step 4 Sealer and allow 3-5 minutes for nails to dry.
PRO TIP: Don't apply more than 2 coats of Sealer as this will prevent even drying & may result in a gummy mani.
Finish!
- Have fun with extra-terrestrial mani!
Get free tutorials, special deals every week!
Sign up for fresh nail inspo & exclusive discounts delivered right to your inbox.
By subscribing, you acknowledge our Privacy Policy.
GET YOUR GLOW ON
Shop our Glow-in-the-dark Collection