'Round these parts, we're all gung-ho about do-it-ourselves dipping—especially since it's saving us up to $1,000 a year.
If you're just as devoted to DIYing as we are—or even if you're just exploring an at-home alternative to braving the nail salon during these weird times—we want to make sure you get the most bang for your DIY buck.
And it all starts with understanding the basics:
- Where to do your dip nails at home
- Where to store your dip kit
Today, you’ll discover the dip manicure must-dos and don'ts.
Ready to level up your DIY dipping know-how? *queue Ciara*
Prep for a dip mani like a pro
There's more to nailing the step-by-step dipping how-tos on our tutorial page. Before you decide which nail art to try this month (or the next), first you gotta perfect the prepping process—that’ll eventually cost you time, money, and effort if ignored.
1. Check the room temperature & humidity
DO keep the room temperature between 68º to 72º F
We suggest adjusting your thermostat. It’s your techy bestie during a nail pampering session. Why? Because the temperature can affect the overall look of your dip manicure. If you're wondering, "Why is my dip mani splotchy / cracking / *insert other nail nightmares here*?", too hot or too cold a temperature may be the culprit.
DON'T do your dip nails in a room where the humidity is above 40%
Avoid dipping somewhere muggy. Rule of thumb: The more humid it is, the longer the drying time should be for all dipping liquids. Add a minute buffer (or two) to the recommended time frame just to be on the safe side. Your Sealer may appear to dry matte in some areas of the nail if there's too much moisture in the air. After all that hard work, we want to avoid this.
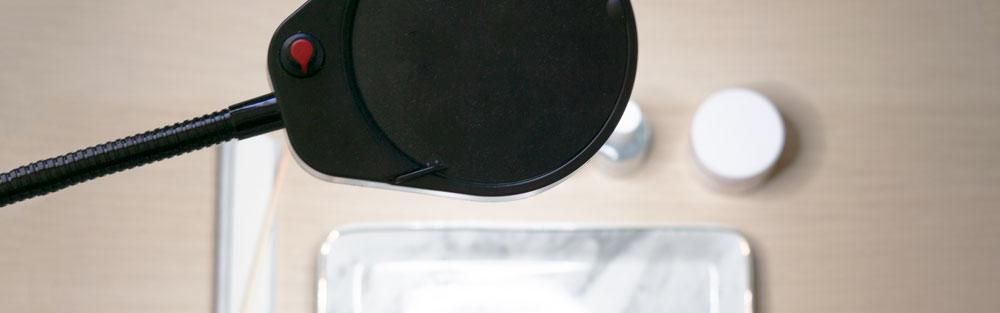
2. Spot the best lighting
DO your dip mani in an illuminated area
Unless you’re a superhero with superb vision—Spider-woman, is that you?—it’s best to sit yourself in a well-lit spot to avoid any messy mishaps when applying your dipping products.
DON'T skimp on adequate lighting
Illumination can literally make or break your dip nails. If you can barely tell where your cuticles are—hello, potential lifting problem—it’s time to invest in a desk lamp. Amazon has different types for all budgets.
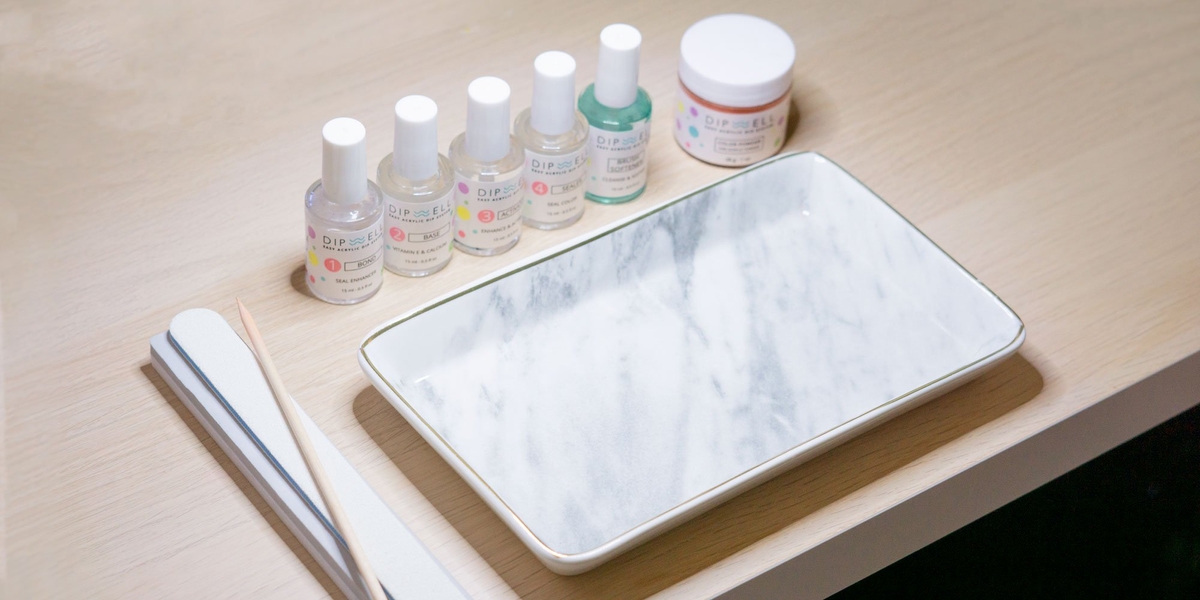
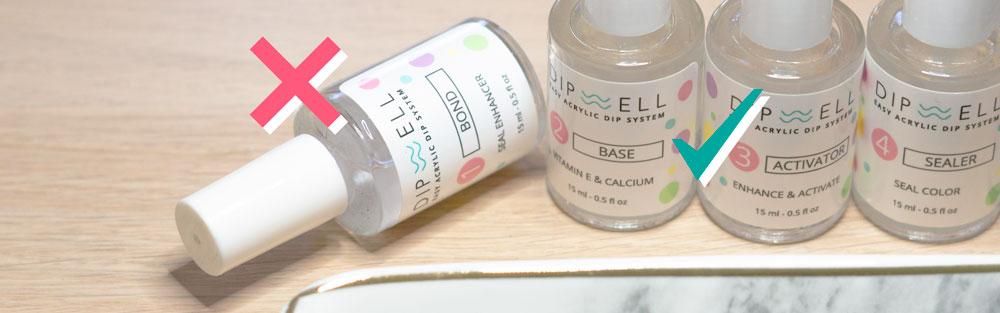
3. Observe the proper bottle position
DO be careful not to spill both the dip powder and liquid
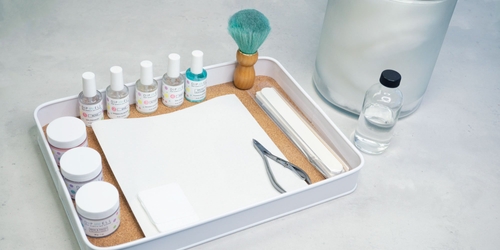
If you knock them over, you’re looking at quite the cleanup job. That’s why we can never stress enough that a large, flat surface is one of the important elements of the perfect at-home manicure station.
DON'T let the dipping liquids drip outside of the bottles
This may lead to the bottles getting glued shut, and it will take an Incredible Hulk-esque effort to open them. You can use a nail polish bottle holder to help keep the bottles stay upright.
Get free tutorials, special deals every week!
Sign up for fresh nail inspo & exclusive discounts delivered right to your inbox.
By subscribing, you acknowledge our Privacy Policy.
Be a dip mani storage savant
What’s just as important as the prepping process is the storing stage. Stowing away your dip manicure products willy-nilly could ruin them. Let’s save you your hard-earned moolah! Just follow this storage system after you’re done prettifying your nails.
1. Check the room temperature & humidity
DO store your supplies in a cool, dry place
For extended shelf life, some dip nails aficionados even store their dipping products in the fridge. If you opt to do the same, we only caution you to bring your dip liquids back to room temperature before starting the dip application. If the dip liquids are still cold, the Sealer can end up having cracks once applied to the nails.
DON'T store your supplies in a damp room
Dipping products are temperature sensitive. That’s why you have to avoid leaving them in humid conditions. Humidity can alter the chemical makeup of your dip powder and dip liquids and *gasp* even make them unusable.
2. Spot the best lighting
DO keep your dip products in a location devoid of light
For proper storage, put your supplies inside a container and keep them far, far away from heat and direct sunlight. Say hello to darkness, your old friend.
DON'T ignore proper lighting
As with the room temperature and humidity, a location that shines bright like a diamond may also affect the quality of your dipping products. You don’t want not-so-pretty dip powder nails, do you?
3. Observe the proper bottle position
DO keep your bottles upright at all times when stored
Not upside down. Not sideways. Upright. Problem with spillage solved! And before you store them, clean your bottles after each use. Then make sure you close them properly, else you risk exposing the products to oxygen and cause them to dry up. But you want to NOT seal them shut too tight. This way, you won’t run into any issues when reopening them.
DON'T neglect your dip liquid brushes
Degunk them before sticking them back to the upright bottles. For more information on how to properly care for your brushes, learn about our handy dandy Brush Softener that comes in every DipWell Dip Nail Kit.
But wait, there's more...
BONUS DIP TIP: Putting something down helps make cleanup extra, extra easy.
To prevent dip powder dust issues, put a towel or protective cover on your table (or wherever the dip magic happens) to catch all the dusts.
Pssst! An important note to yourself: Don’t use anything with lint.
This should help keep your dip manicure station sanitary and safe for happy, healthy nails.
Whew! Too many tips to remember? We got you.
Here’s a cheat sheet we especially created just for you.
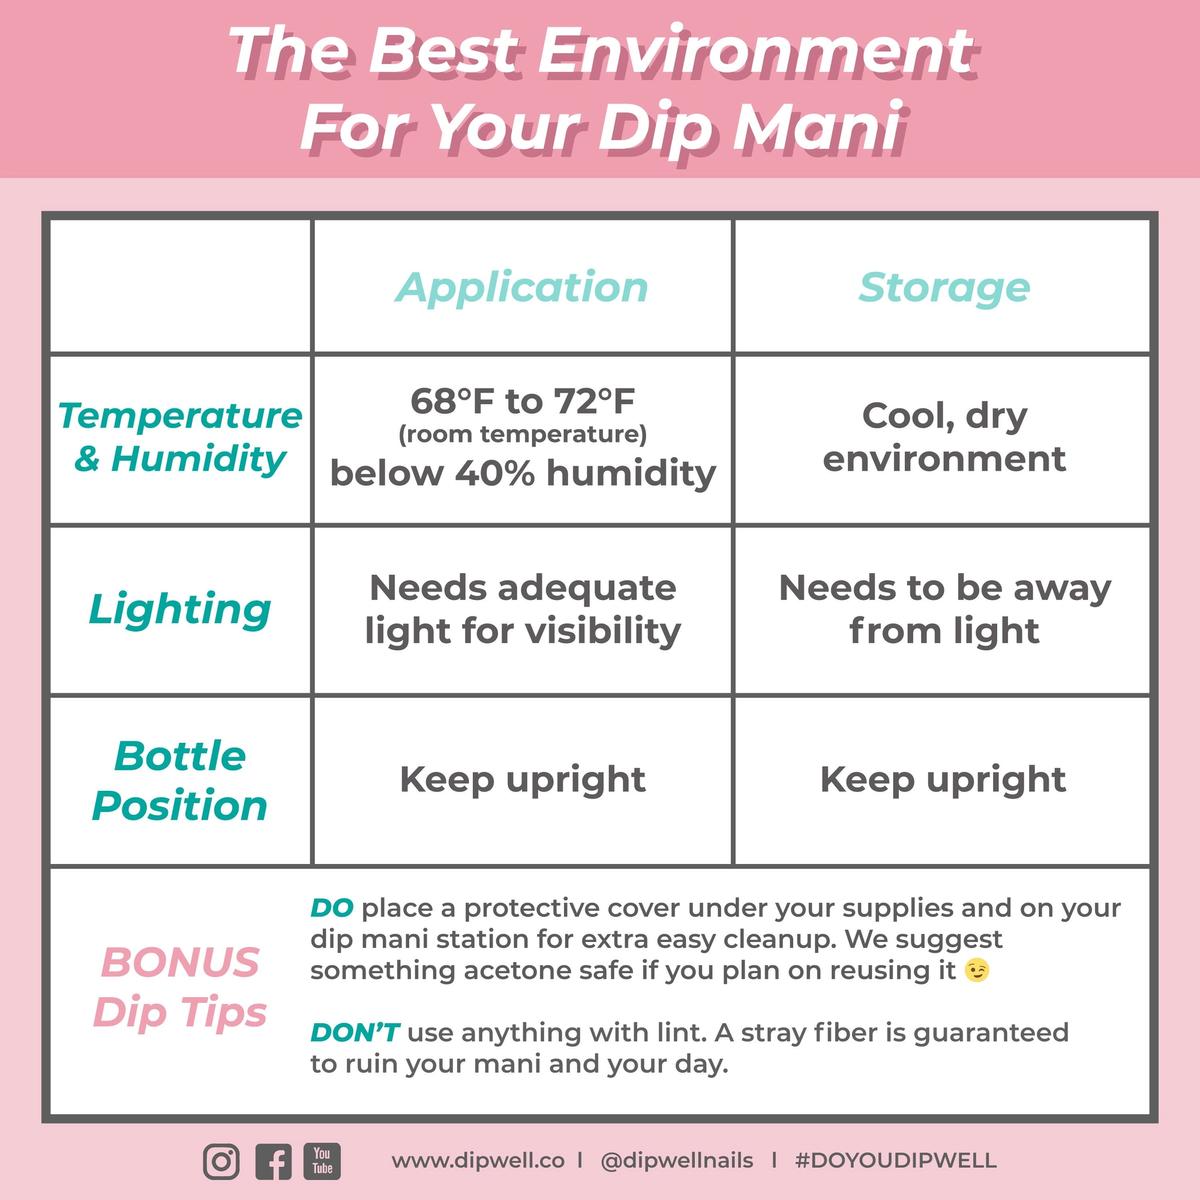
Save it or pin it for easy access for your next at-home dip mani session.
One last thing...
We’re super curious to see what your dip manicure workstation looks like. So pretty please take a picture, tag us on Instagram @dipwellnails, and use our official hashtag #DoYouDipWell. 📸
Get free tutorials, special deals every week!
Sign up for fresh nail inspo & exclusive discounts delivered right to your inbox.
By subscribing, you acknowledge our Privacy Policy.