Halloween Black Cat Nail Art


Difficulty
Moderate
Time required
1 Hour
Salon price 
$100
DipWell price
$4
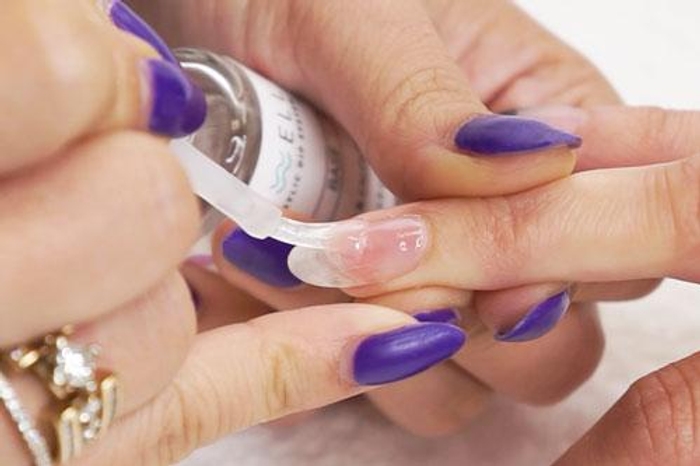
Step 1
- Apply a thin coat of Step 1 Bond. Allow it to dry completely.
PRO TIP: Be sure to work quickly, before Step 2 Base dries!
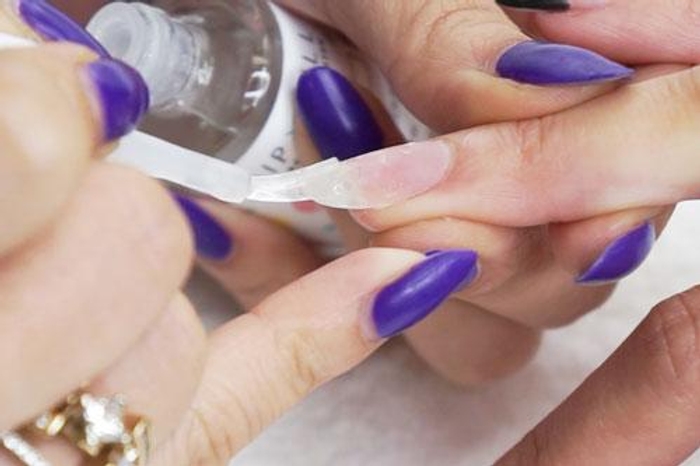
Step 2

- Paint a thin coat of Step 2 Base and immediately dip tip of finger at an angle into Base & Finish.
PRO TIP: Avoid getting the product onto cuticles, powder will pick up wherever Base is applied.
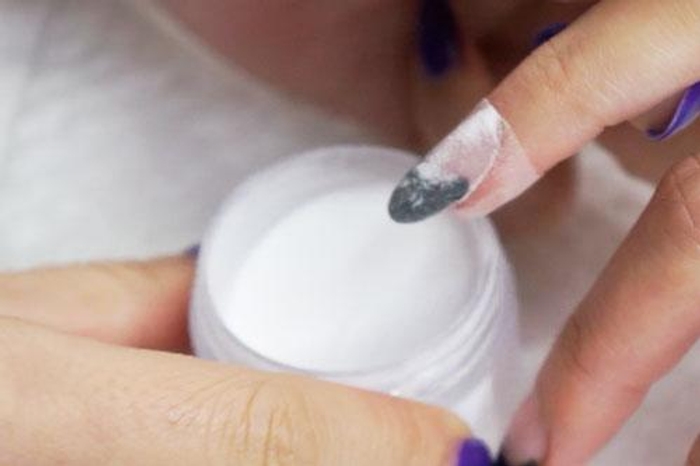
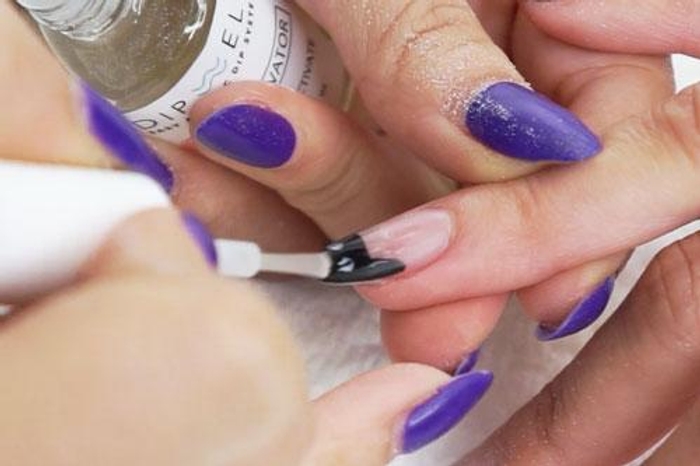
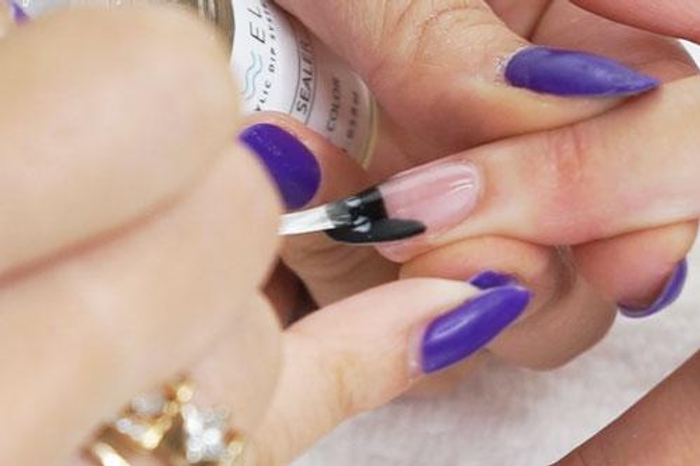
Step 3
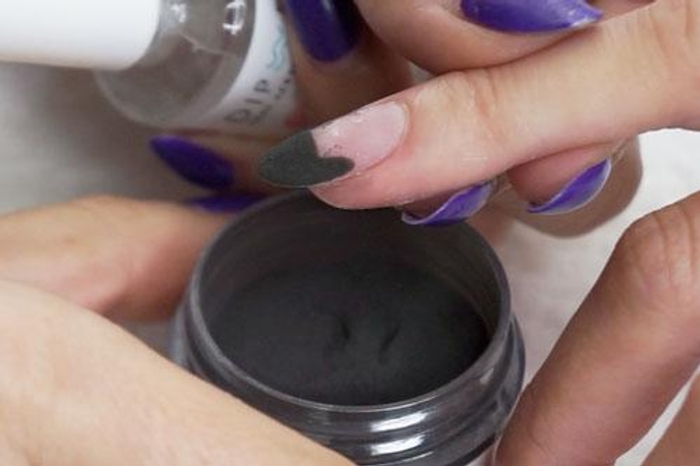
- Carefully paint a second coat of Step 2 Base in the shape of a cat’s head & ears at the tip of the nails.
- Use a clean utensil to pour colored acrylic of choice onto the tip of the nail and then tap finger to rid of loose powder; then use a fluffy brush to sweep off excess powder.
PRO TIP: We used CL-64 but use whatever color speaks to you!
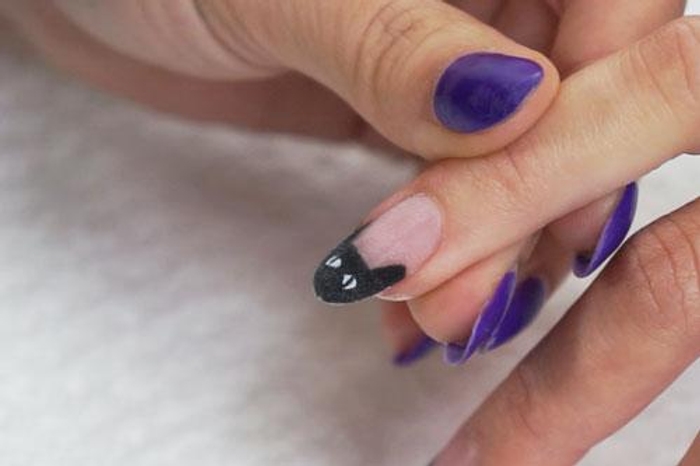
Step 4
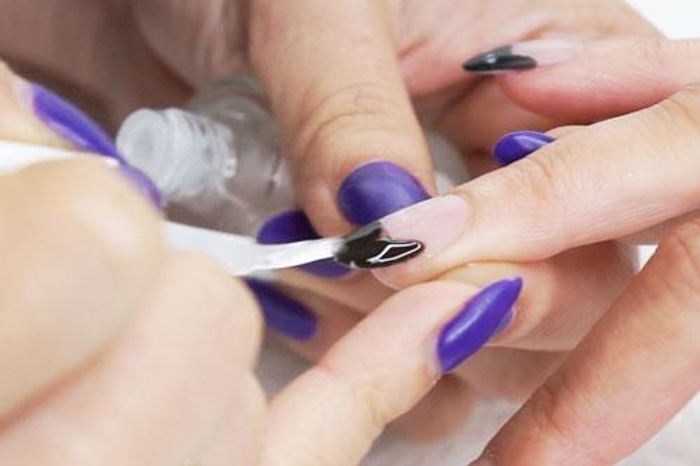

- Repeat for more coverage.
Get free tutorials, special deals every week!
Sign up for fresh nail inspo & exclusive discounts delivered right to your inbox.
By subscribing, you acknowledge our Privacy Policy.
Step 5

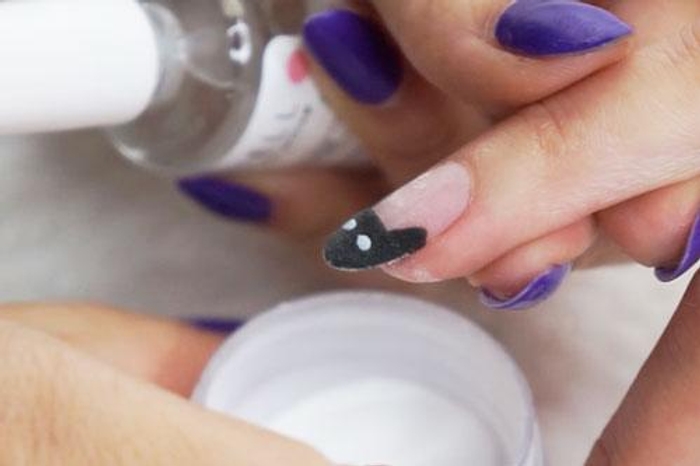
- Carefully apply Step 2 Base where you would like the eyes to be placed, then immediately pour over French White.
PRO TIP: Not satisfied with the eye placement and haven't poured French White yet? Gently dab to rid of majority of Base & let dry completely, then apply again.
Step 6
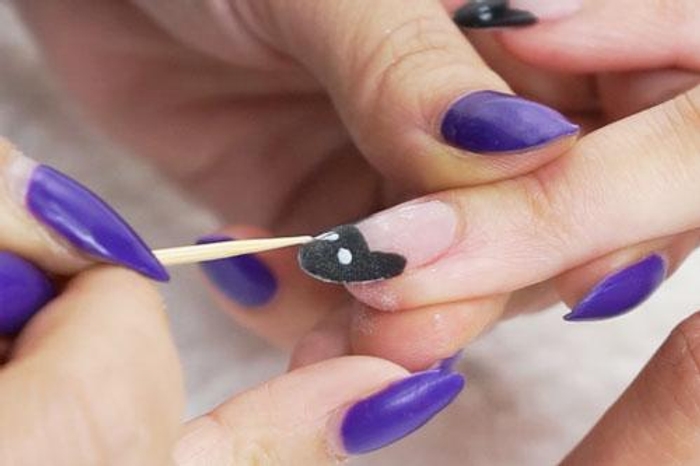
- Before the eyes harden, use a toothpick or pointed tip to create the irises, making sure to wipe the end after each eye.
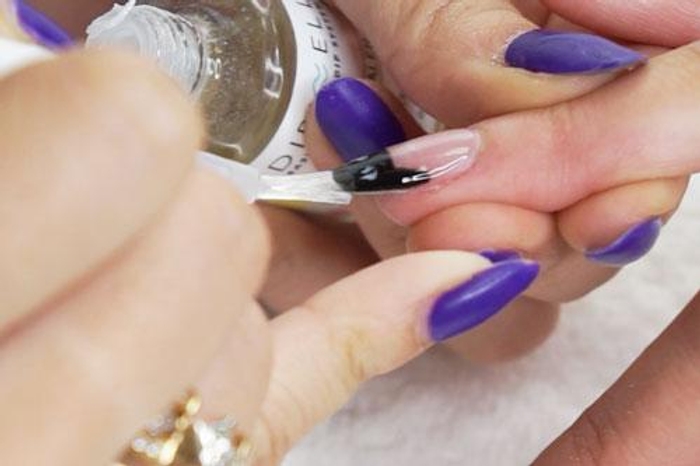
Step 7
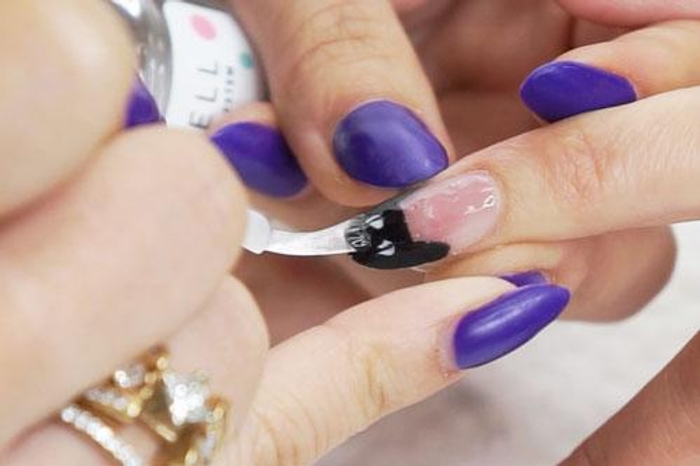
- Paint a thin coat of Step 2 Base and immediately dip tip of finger at an angle into Base & Finish to encapsulate nail art.
PRO TIP: Brushes may harden or pick up color powder during application. Simply switch them between Brush Softener for easy cleaning & workability.
Step 8
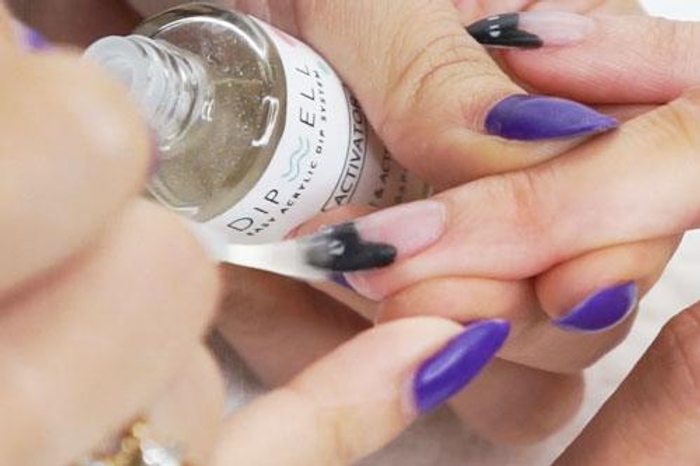

- Apply Step 3 Activator, allow 3-5 minutes for nails to harden.
- Then buff & shape nails to your desired finish.
Step 9

- Wash hands or use a lint free wipe saturated in alcohol to wipe the nails clean.
PRO TIP: Make sure nails are completely dry before moving to the next step!
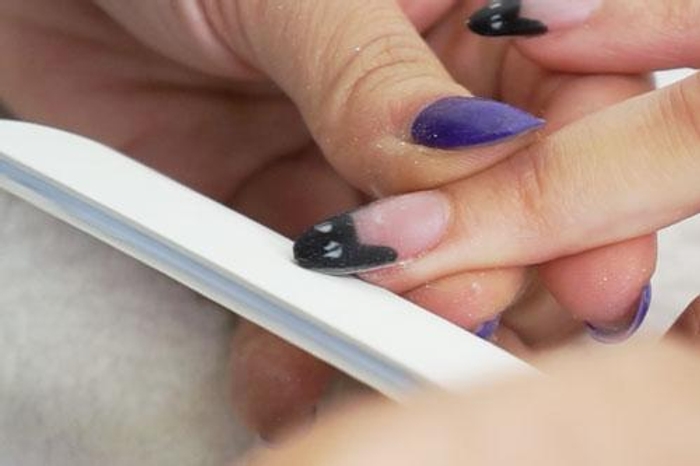
Step 10
- Apply a second coat of Step 3 Activator.
- Allow 3-5 minutes for nails to harden.
Step 11
- Paint a coat of Step 4 Sealer and allow 2-3 minutes for nails to dry.
PRO TIP: Brushes may harden or pick up color powder during application. Simply switch them between Brush Softener for easy cleaning & workability.
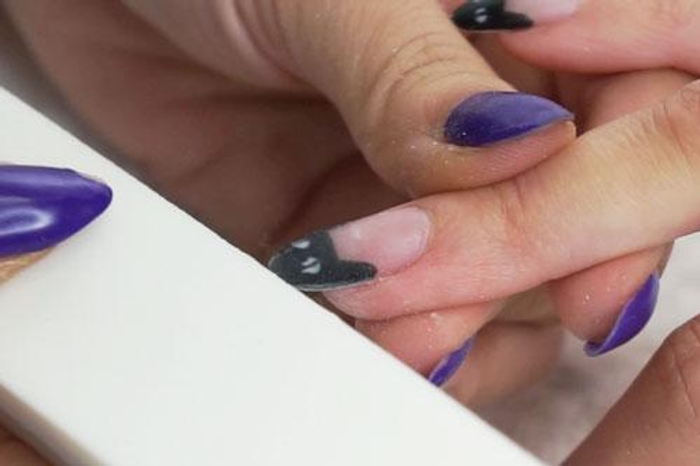
Step 12
- Paint another coat of Step 4 Sealer and allow 2-3 minutes for nails to dry.
PRO TIP: Don't apply more than 2 coats of Sealer as this will prevent even drying & may result in a gummy mani.
Finish!
- Enjoy your purr-fect mani & keep those claws looking sharp.
Get free tutorials, special deals every week!
Sign up for fresh nail inspo & exclusive discounts delivered right to your inbox.
By subscribing, you acknowledge our Privacy Policy.