Green nails are the perfect dip manicure for fall. But not when it is that other kind of green nails — the ones that won't leave your fellow dippers green with envy.
We're talking about the dreaded greenies.
But don't feel too scared about getting the green nail syndrome. Although it's a common nail problem, it's totally avoidable. And when you get the greenies, there are many ways to treat them.
So... pseudomonas nail infections. What exactly are they? What do they look like? How do you get them? How do you get rid of them? How do you prevent them (and have healthy, happy nails all the time)?
Keep reading to know the 411 on green nails.
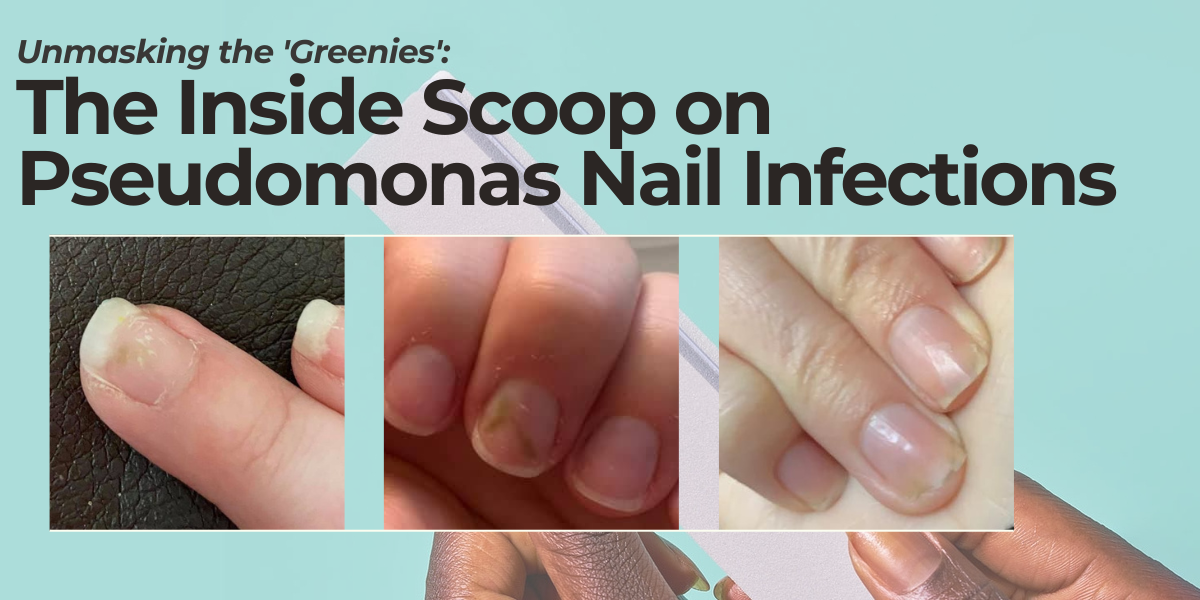
What is a pseudomonas nail infection aka "greenies"?
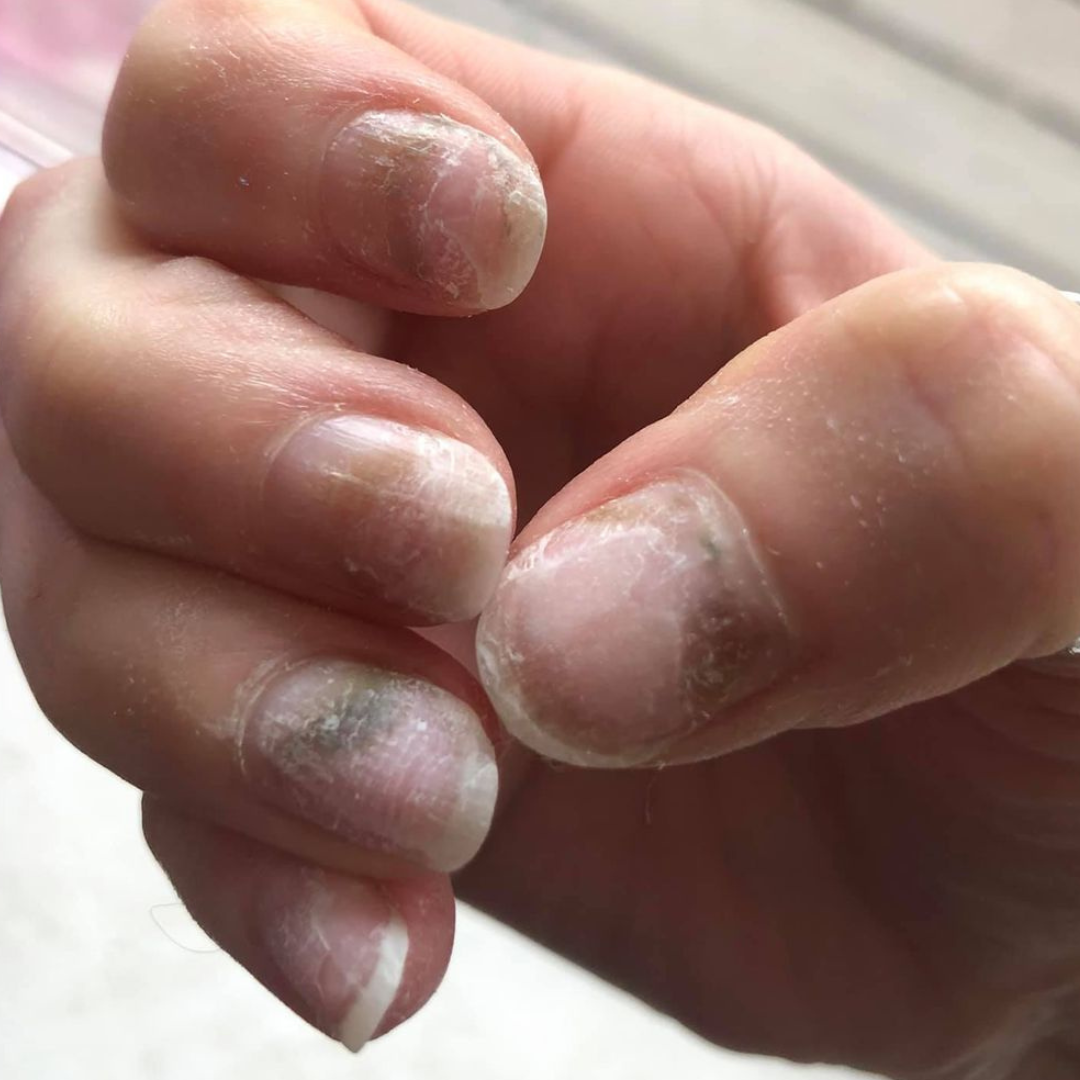
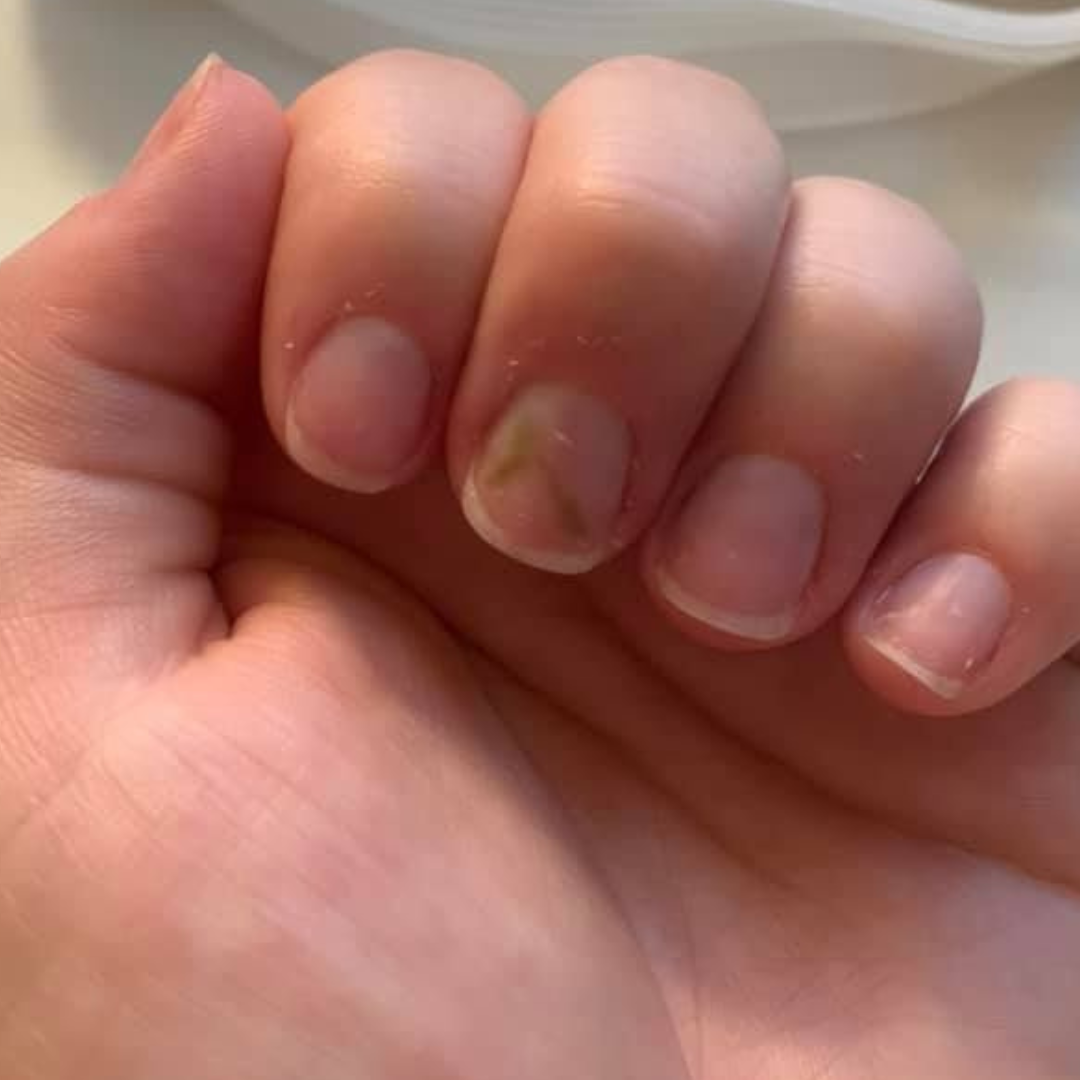
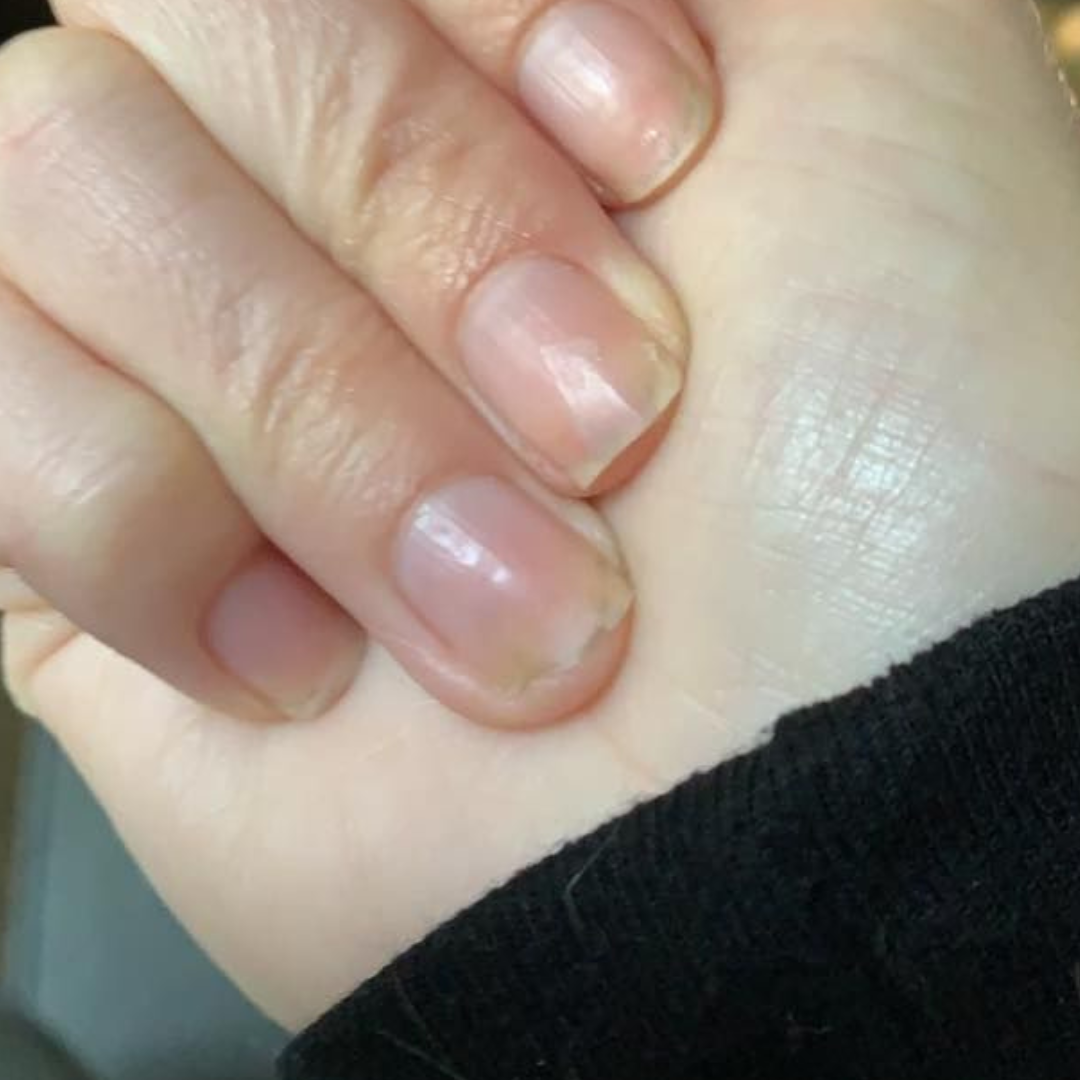
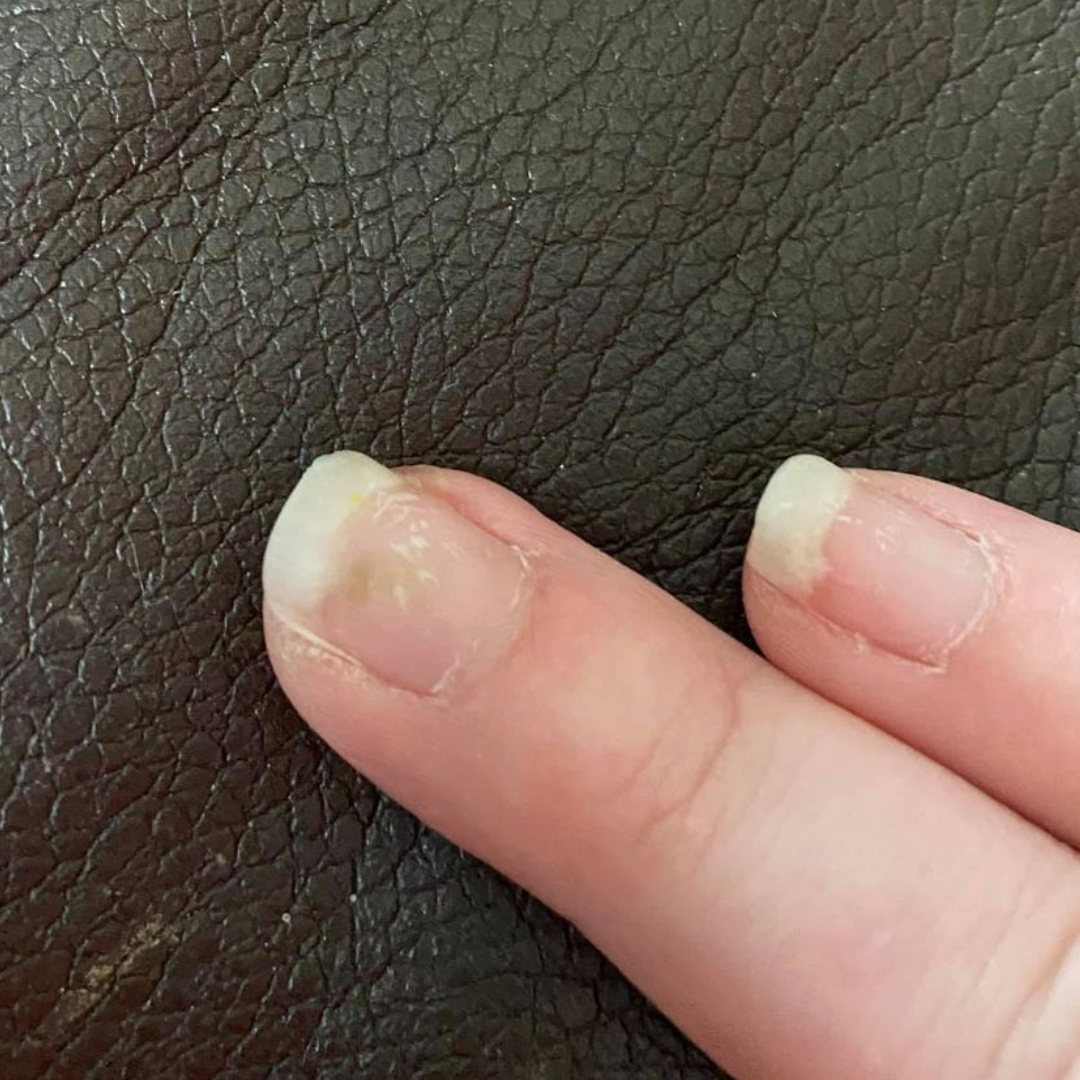
"Greenies" — technically known as chloronychia — is a nail infection caused by the common bacteria called pseudomonas aeruginosa. The waste of this bacteria is responsible for the green discoloration on your nails. As the infection progresses, the stain will spread on top or under your nails and turn dark green or black.
The infection can occur in two places: (1) Between the nail plate and the nail bed, or (2) Between the acrylics and the nail plate.
But seeing green shouldn't immediately incite anxiety. The presence of this color doesn't always mean an infection exists.
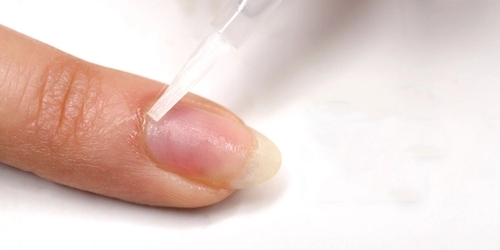
When you see a green-tinted discoloration on your nails, don't automatically assume you have the greenies, especially if you just had on a green dip powder mani. It may simply be that you applied one thin coat of Base & Finish powder, which was not enough to protect your nails from staining. Or maybe you didn't use Base & Finish powder at all and the dip color faded onto your nails. (Discover the 5 Essential Benefits of Base & Finish Powder.) The stain should go away with a few gentle washes. You can also brush your nails with any whitening toothpaste or baking soda for 5 to 10 minutes to get rid of the discoloration.
If you're certain it's not a dip powder color stain, well, you must be wondering, "Why is my nail green?"
Get free tutorials, special deals every week!
Sign up for fresh nail inspo & exclusive discounts delivered right to your inbox
By subscribing, you acknowledge our Privacy Policy.
How do you become infected with the greenies?
“Wet” activities make it easy to expose yourself to pseudomonas aeruginosa. Think of gardening or dishwashing, for example. Why? The pseudomonas bacteria can be found in many things, including water. And when bacteria-laden droplets get trapped in your dip nails? That's bad news. These pesky pseudomonas thrive in warm, damp, and nearly oxygen-free environments. So when moisture was not thoroughly removed before you applied your dip mani or when you're experiencing lifting and you let it sit for a few days longer... beware! It's like opening the doors to pseudomonas and inviting them to come in, live under your dip manicure, and color the place green.
And this is why proper nail prep is one of the most important parts of doing any nail enhancements. It prevents bacterial contamination and lifting, among other dip nail dilemmas. (Learn more about The Down Low on Lifting, and How To Stop It From Ruining Your Dip Mani and Troubleshooting Dip Powder Nails.)
The good news? It is entirely possible to kick the greenies to the curb.
How do you treat green nails?
You just removed your dip nails (presumably using the hot rice method) and saw this unsightly green tint on your nails. Bummer! What do you do now?
To dip, or not to dip (over the green nails), that is the real question that most dippers are asking.
Do you temporarily sport nude nails and wait it out until the greenies are gone? Or do you apply a dip powder manicure as per usual?
In our opinion, both are acceptable options.
You can definitely give your nails a rest from acrylics, treat them with rubbing alcohol or vinegar, let them heal and grow out, and get them to become healthy again. This will help prevent the pseudomonas from spreading and get you dipping again as normal. If you choose to go au naturale, use the the Mani Care Essentials Kit to continue caring for your nails & cuticles until you’re ready to dip back in.
Sine, Licensed Cosmetologist and DipWell's Community Educator, said:
"Dr. G's Clear Nail is a great product that can work to keep your nails healthy and kill the greenie with your DIP on. I would advise to let the natural nail get some air and use either the clear nail, the vinegar soak, or 91% alcohol to sanitize the nail. Once you clean the natural nail bed and sanitize it, you will be able to evaluate if you need your MD for further advice."
But if you can't imagine leaving your nails barenaked and discolored, it's also okay to do a new dip set. Just make sure not to simply ignore the greenies as if it's not there and to prep properly before applying a layer of dip liquid or dip powder over it. If you dip right away, you run the risk of contaminating your dip products and spreading the pseudomonas to the other uninfected nails.
If the greenies are on the surface of the nail plate and haven't gotten very deep into the nail, sometimes all you need is a quick cleanup, and you can proceed to dip to your heart’s content.
a. Wash your hands with water and an emollient-free cleanser like Dawn dish soap.
b. Trim your nails and keep them short for the meantime. (Here's your dip mani inspo for short dip nails.)
c. File or buff off the greenies. After getting rid of the greenies, take note of this wise advice by Sine:
"After you buff the area, throw the files out. You do not want to cross-contaminate and get it on a finger that does not have it."
d. Disinfect your green nails with rubbing alcohol. No alcohol? Not a problem. An alternative to alcohol is soaking your infected nails in apple cider vinegar or white vinegar or a 1:4 chlorine bleach solution diluted with water. Other dippers have also tried and recommended soaking their infected nails in tea tree oil or hydrogen peroxide.
Here's Sine's recommendation:
"Cleanse with alcohol, I prefer 91%. If you are still worried, Dr. G's Clear Nail can be applied around your cuticle line and under the free edge after you do a set. It's a product you use to clear up nail fungus. The application is through the skin to the site of the infection, so there is no need to remove the polish or acrylics. Apply 2-3 drops twice daily."
d. Let your hands dry completely before you start your next dip. This is a super important, must-not-skip step. Remember: pseudomonas love a wet, moist environment.
e. Avoid contaminating your entire dip powder jar by using a scooper and doing the pour over method instead of dipping the infected nail into the container. And do not pour the residual dip powder back into its jar. Throw away the excess dip powder, so you don't contaminate your remaining dip powder.
If you can still see a green discoloration and you can't easily buff it out of your infected nails, then the pseudomonas are deep enough under your nails. In this case, we suggest letting it grow out to reveal new healthy nails before applying a dip manicure again. Take care of your green nails before it gets worse.
If you have a severe infection, reach out to your doctor for the proper treatment. They might suggest a 1% acetic acid treatment, an antibiotic, or an anti-fungal cream.
While waiting for your green nails to grow out, here are some best practices for you to remember for when your nails are ready to have dip powder on them again.
How do you prevent the green nail syndrome
Have happy, healthy nails and avoid more greenies in the future. The key to preventing future infections lies in your pre-mani and post-mani practices. (Read more on How To Keep Your Manicures Sanitary & Safe.)
But first, take care of the tools and products that already came in contact with the nails that have greenies on them. Since those might have been contaminated, it's time to toss out the disposable ones like the nail file and nail buffer and sanitize anything else that isn't.
Then make the following a habit.
1. Frequently wash your hands with water or use an alcohol-based sanitizer to keep the bacteria at bay. (Read more on How To Keep Your Hands Healthy When Using Hand Sanitizer Constantly.)
2. Dry your hands thoroughly after cleansing. If you have naturally oily nail beds, you can use an additional dehydrator to prevent any bacteria from holding on to moisture.
3. Prep your nails perfectly before doing your dip powder manicure. You also want to make sure all the dip steps are 100% dry.
Here's how DipWell's Community Educator Dasia does it:
"I wash my hands really well after soaking the previous mani off to remove all the residue. I let them dry completely and then wipe my nails with alcohol because the alcohol will draw out the moisture, and then as a precaution, I let that dry for a couple more minutes. I also don't wash my hands after filing/buffing...instead, I wipe with alcohol, wait a couple of minutes, and then apply the second coat of activator."
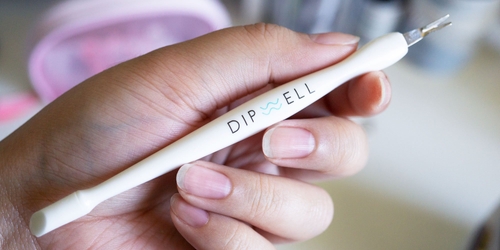
4. Don't forget to remove the invisible cuticles that may cause lifting. The Jelly Pusher makes it easy to have your cuticles be manicure-ready. You can also use a nail file by gently going vertically around your cuticle to take it off. An e-file is another alternative. (Check out E-Files, Nail Drills, Files, And Buffers: Your Ultimate Nail File Guide.)
5. When your DIY dip nails are starting to lift, handle it quickly so that bacteria can't get under and colonize it. Don't wait for a day or two before you deal with it. You can either take them off or, for a quick solution, you can use a little bit of nail glue or Step 2 Base Dip Nail Liquid to re-adhere the nail and prolong the dip powder mani. Just make sure the nail is 100% clean and dry before gluing down the part that was lifted. Otherwise, any bacteria present will get trapped in the gaps that developed under your dip.
Sine, Licensed Cosmetologist and DipWell's Community Educator, said:
"If you cannot do a fresh mani now, buff off the top layer of the product, file the cuticles, use nail glue in a tube to fill in the lifting spots, refile that cuticle area, reseal with the base, no dip (unless you want to), activate and reseal, or use a clear nail polish top coat. This will help prevent the greenies until you can get a fresh set done."
6. If your dip manicure has lasted two to three weeks and you want to extend your dip mani's life, follow our tutorial on How To Do a Fill on Dip Nails. Just make sure your dip is not lifting so you do not expose yourself to getting the greenies. If you notice some minor lifting, you need to make sure that anywhere that is lifted is totally filed off. This is where moisture could get trapped and cause green nails. If it's too much to file off the parts that are lifting, we recommend that you start with a fresh mani.
Get to work as soon as you start noticing something green on your nails
Discovered your first case of greenies? It could happen to the best of dippers, even if you have the perfect at-home manicure station or have had zero lifting.
Share the pic of your suspected green nail with our Dipper Club members on Facebook. (It's a judgment free zone!) They'd be eager to help you figure out what's going on with your nails if you need an answer sooner before heading to your physician or dermatologist.
Once you got the greenies sorted out, head over to Instagram (@dipwellnails | #DoYouDipWell) for your post-greenies dip manicure inspo.
Get free tutorials, special deals every week!
Sign up for fresh nail inspo & exclusive discounts delivered right to your inbox
By subscribing, you acknowledge our Privacy Policy.