How To Encapsulate A Heart Glitter Mani

Difficulty
Moderate
Time required
45 Minutes
Salon price 

est. $45 / Mani
DipWell price 

est. $3 / Mani
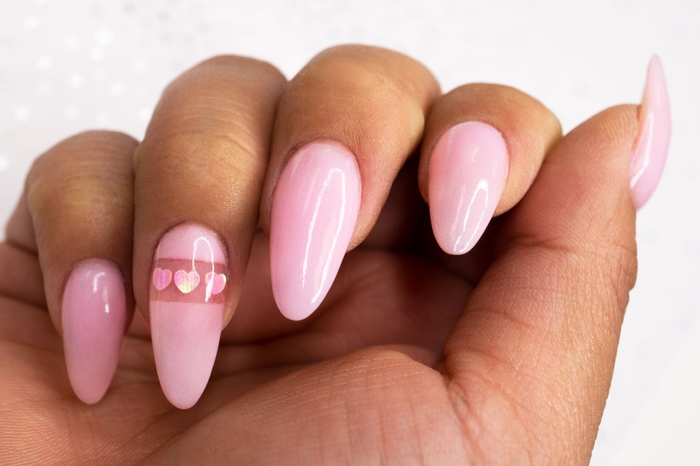
To all the manis we've loved before. 💕 This Valentine's Day inspired nail art tutorial breaks down the steps in how to encapsulate glitter hearts using just dip powder. Our take on this nail art design features DipWell Products: Base & Finish Powder, and shade PA14
PRO TIP: Be sure to thoroughly prep nails to ensure adhesion & long-lasting wear! Push back cuticles, create a rough texture on the nail plate by filing, and sanitize thoroughly.
Loading products...
Step 1
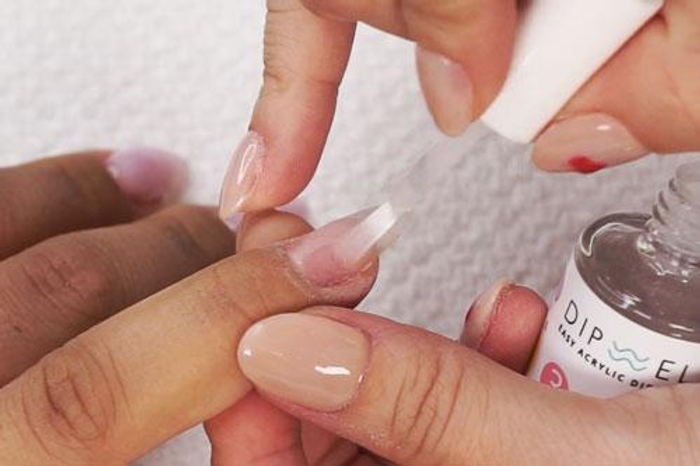
- Apply a coat of Step 1 Bond to all fingernails
Step 2
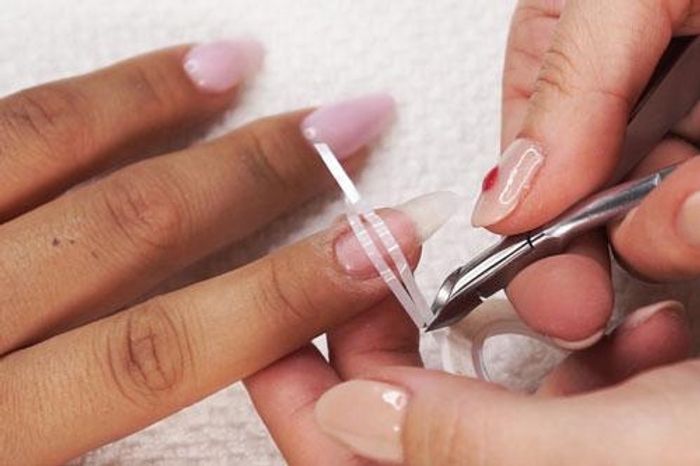
- Apply nail tape to create horizontal bars across the nail bed
PRO TIP: Firmly press down the tape, especially on the sides of the nail bed, to prevent Step 2 Base from bleeding
Step 3
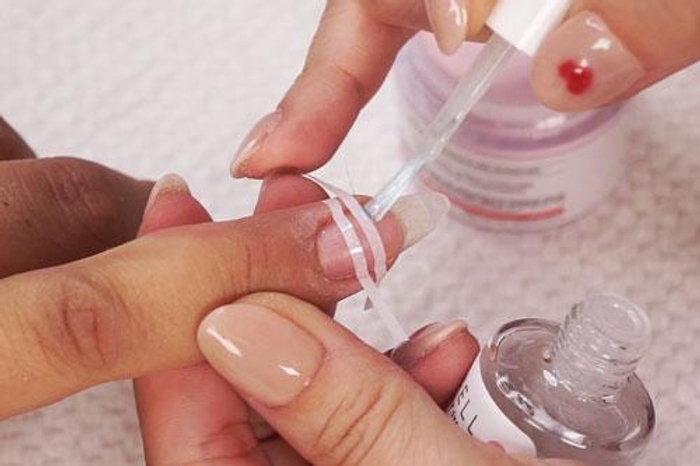

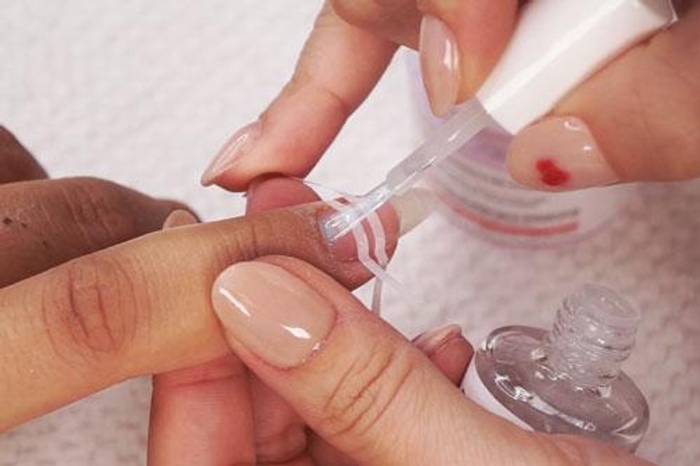
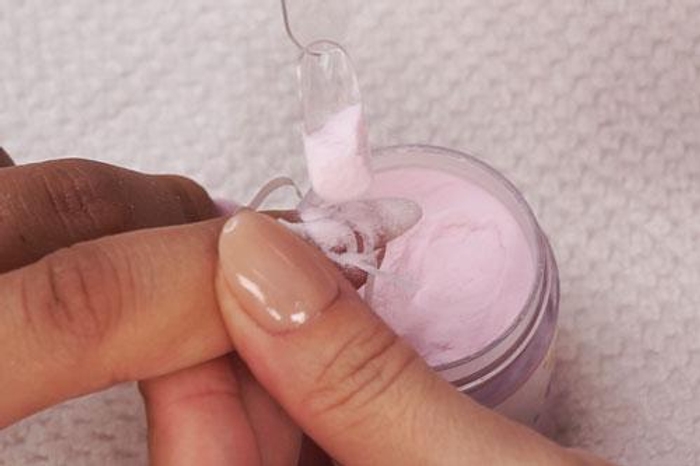
- Paint a thin coat of Step 2 Base on the top & bottom of the nail tape guide
- Then immediately pour powder of choice on top of the wet Step 2 Base
PRO TIP: Avoid getting the product onto cuticles, powder will pick up wherever Base if applied
Step 4
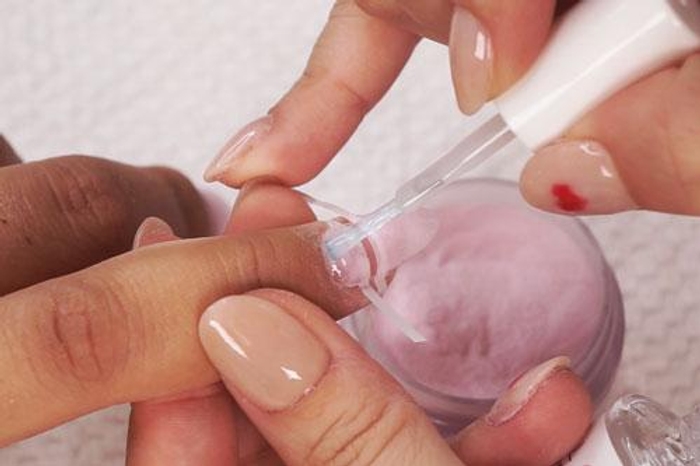


- Repeat until desired thickness
Get free tutorials, special deals every week!
Sign up for fresh nail inspo & exclusive discounts delivered right to your inbox.
By subscribing, you acknowledge our Privacy Policy.
Step 5
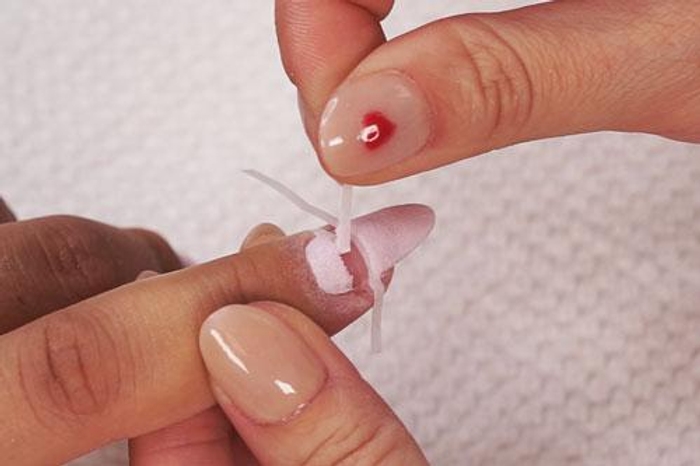

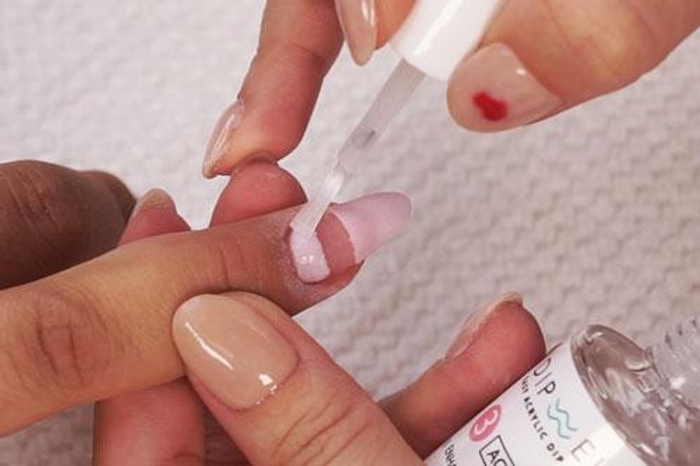
- Carefully remove the nail tape from the nail bed
- Apply Step 3 Activator onto the nail and allow a few minutes for powder to harden
Step 6
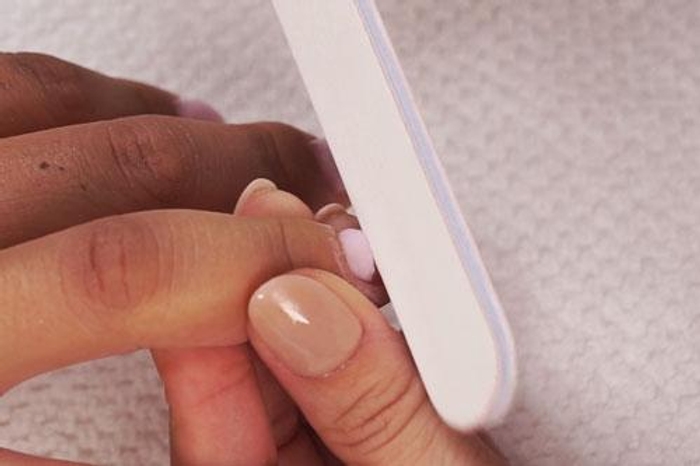

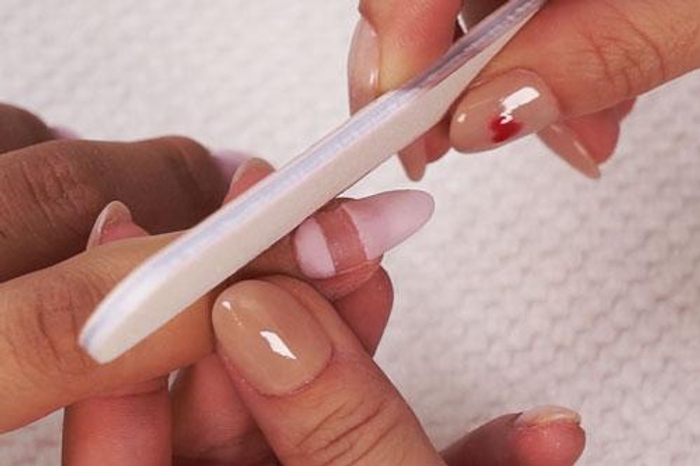
- File the edges of the color acrylic to create clean lines
- Buff and shape nails to your desired shape
Step 7
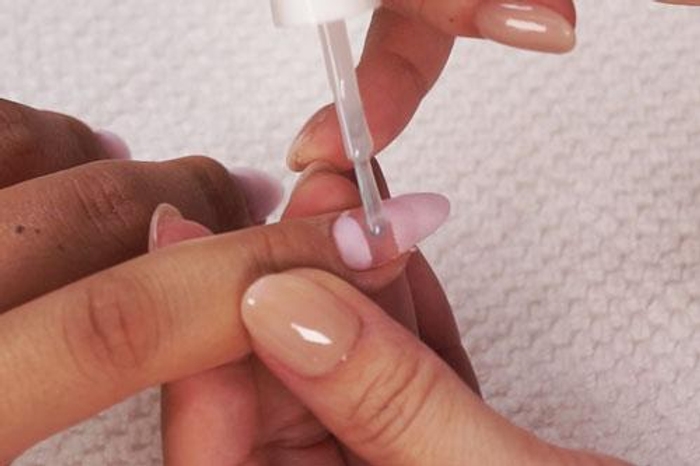

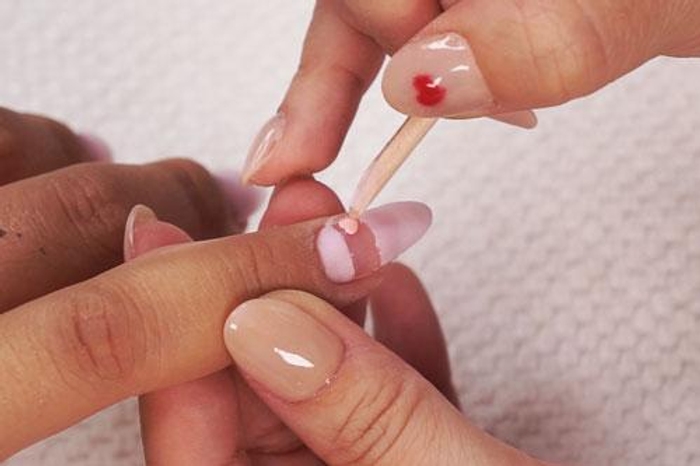

- Apply Step 2 Base in between the color acrylic & place heart shaped glitter in a horizontal line across the nail
- Use an orange stick to adjust the glitter as needed
Step 8
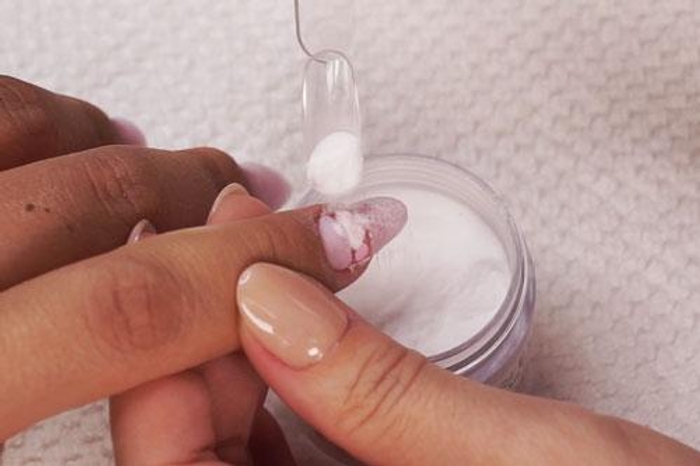
- Pour Base & Finish over the remaining Step 2 Base, then tap finger to rid of loose powder
Step 9
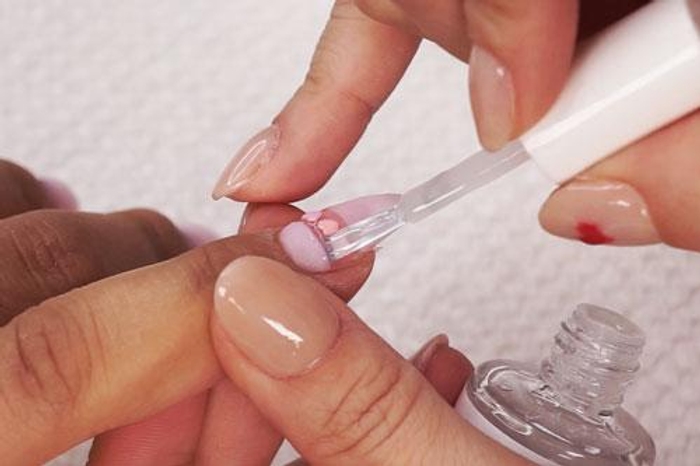

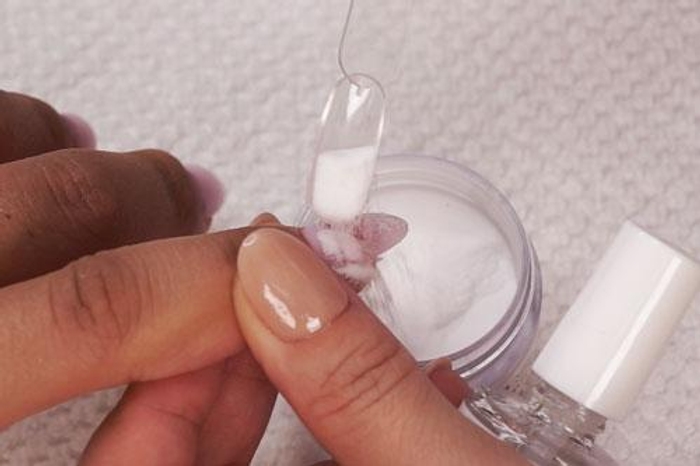
- Carefully paint Step 2 Base over the glitter section to fully encapsulate the glitter
- Pour Base & Finish over that wet Base
Step 10
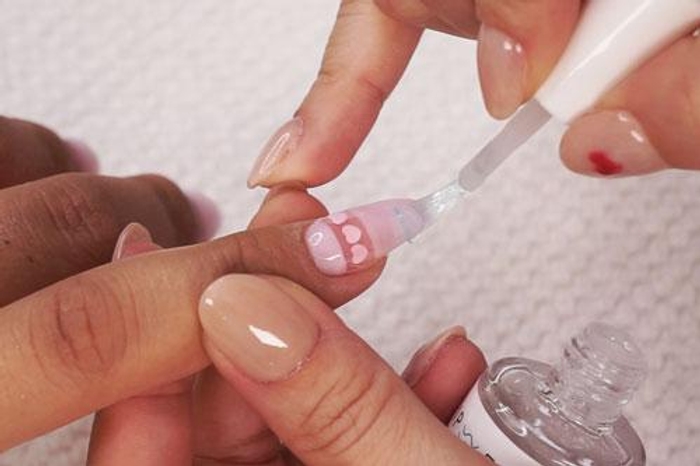

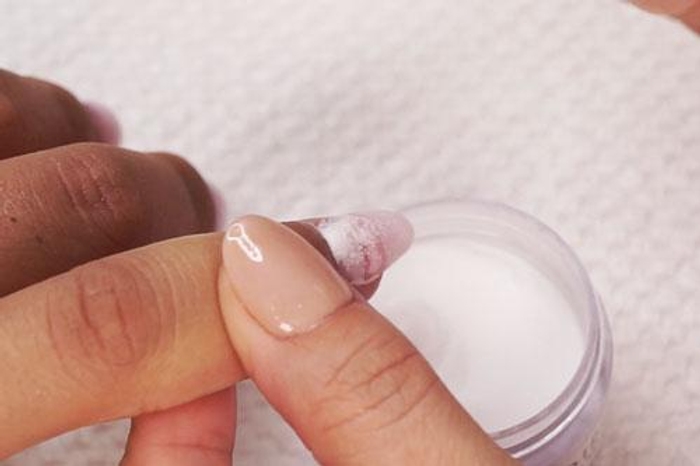
- Paint Step 2 Base over the entire nail to seal the acrylic powder
- Then dip the entire nail at an angle into Base & Finish
PRO TIP: Brushes may harden or pick up color powder during application. Simply switch them between Brush Softener for easy cleaning & workability.
Step 11


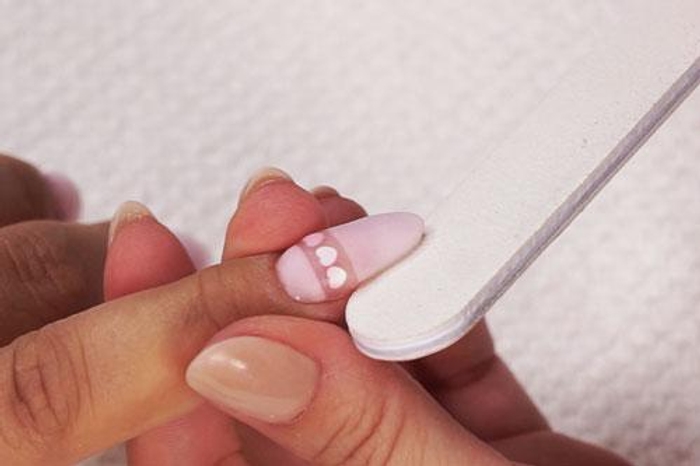
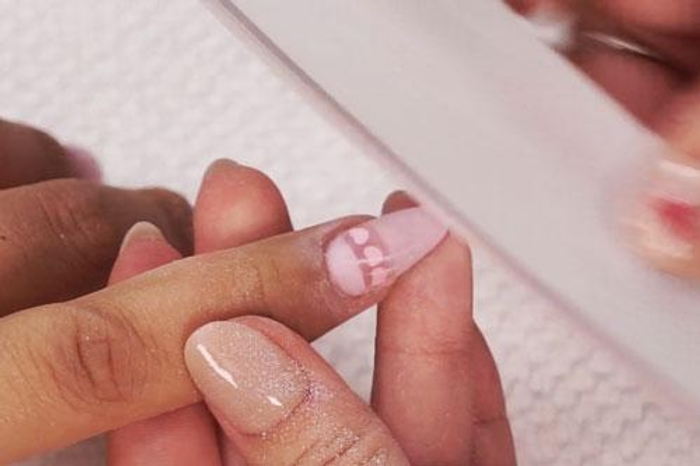
- Apply Step 3 Activator onto the nail and allow a few minutes for powder to harden
- Use our coarse grit buffer to even out the preferred thickness of the nails and the 240 grit buffer to smooth the nail surface
Step 12
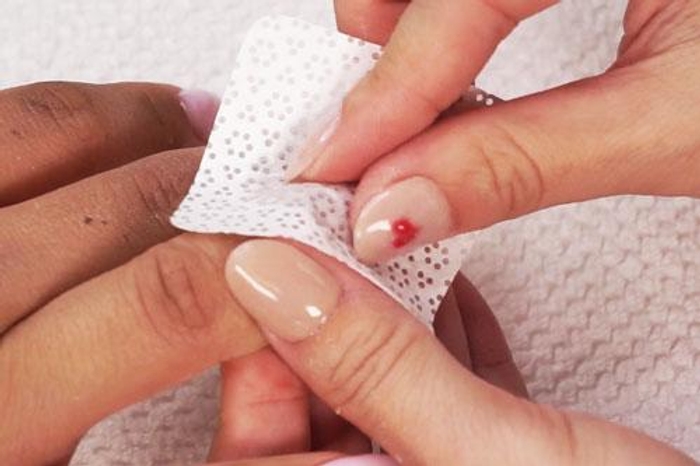

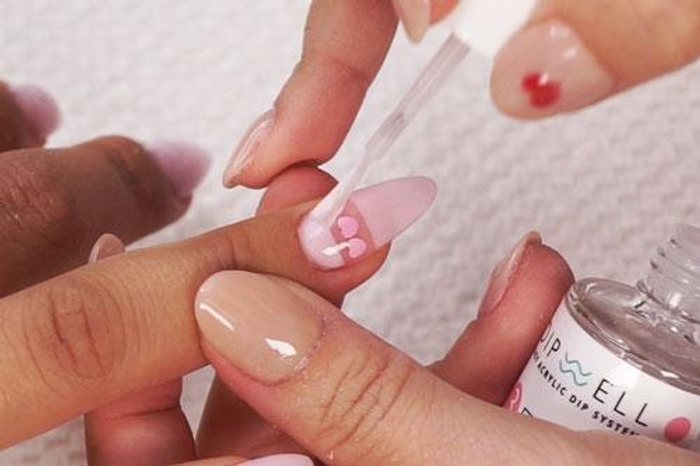
- Wash hands and nails thoroughly or wipe with alcohol and allow to completely dry before moving on
- Apply another coat of Activator and allow 3-4 minutes for Activator to completely dry
Step 13
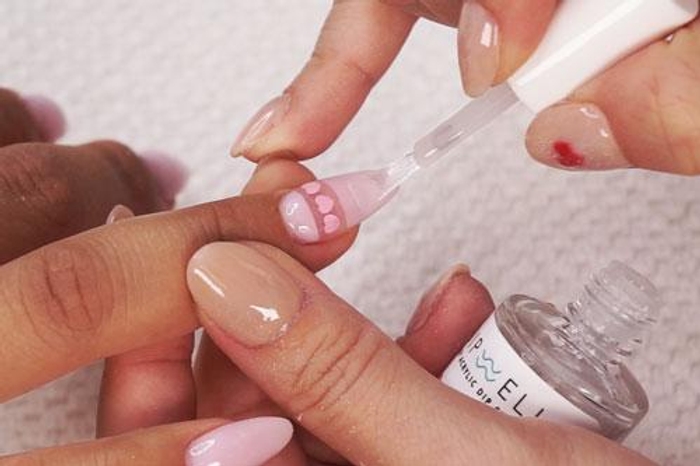

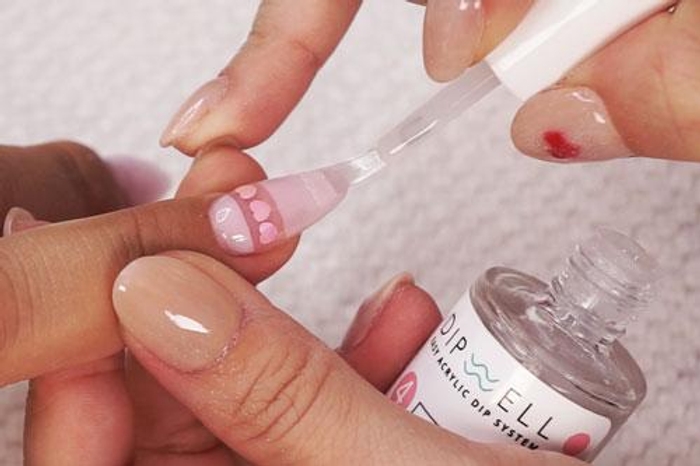
- Apply a coat of Sealer in quick thin strokes and allow 3-5 minutes for nails to completely dry
- Repeat for a shiny finish
Get free tutorials, special deals every week!
Sign up for fresh nail inspo & exclusive discounts delivered right to your inbox.
By subscribing, you acknowledge our Privacy Policy.

