DipGel Color Application

Difficulty
Easy
Time required
45 Minutes
Salon price 

est. $40+ / mani
DipWell price 

est. $3 / Mani
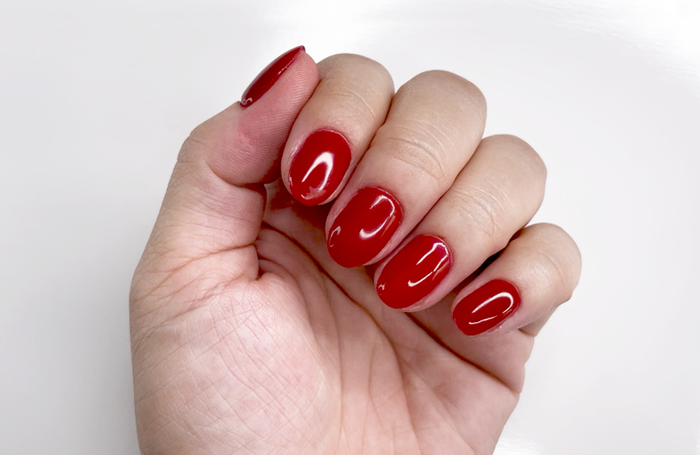
A step by step process on how to DIY dip powder nails at home using the gel method with DipGel. Get the same salon-perfect results with twice the shine and minimal buffing.
Loading products...
Step 1
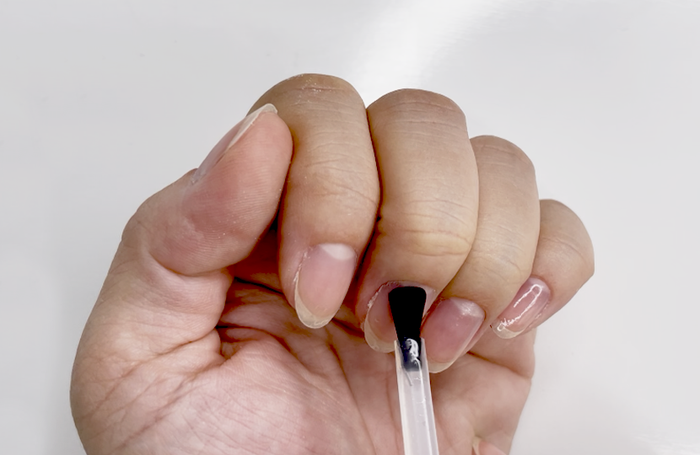
- Apply a coat of Gel Prep to all nails. Allow 1 minute for nails to dry.
PRO TIP: Gel Prep should remain tacky on the nails.
Step 2
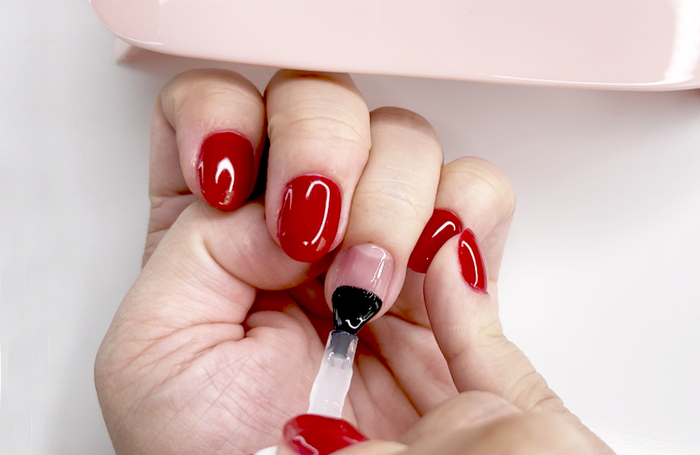
- Apply a thin coat of Gel Base to all nails (excluding thumbs).
- Cure under light for 45 seconds.
- Repeat Steps 2a-2b for both thumbs.
Step 3
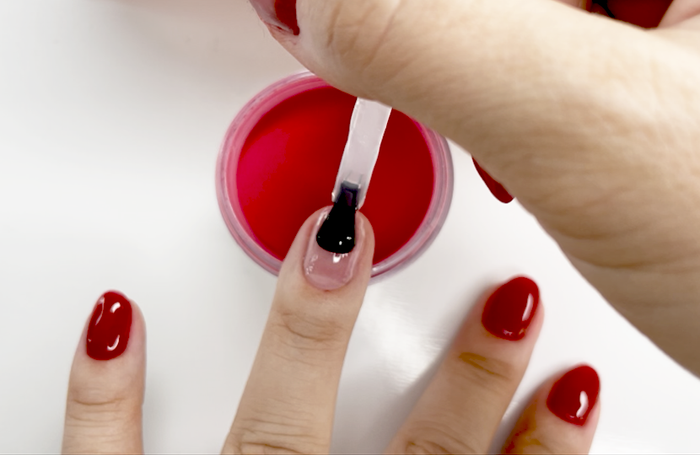
- Apply another thin coat of Gel Base to all nails (excluding thumbs).
- Dip painted fingers at a 45 degree angle into color powder of choice. Tap off excess powder.
- Cure under light for 45 or 60 seconds.
Step 4
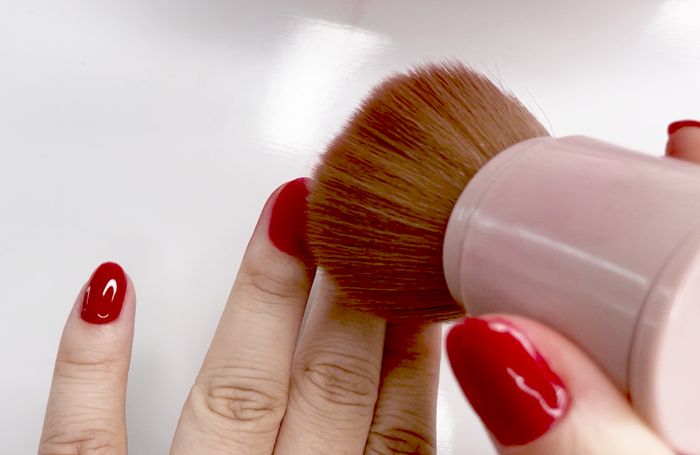
- Use a fluffy brush to remove excess powder.
- Repeat steps 3a-4a for both thumbs.
- Repeat steps 3a-4b for a second layer and more coverage.
PRO TIP: Don’t forget to wipe the gel brush with a paper towel before placing it back into the bottle!
Step 5
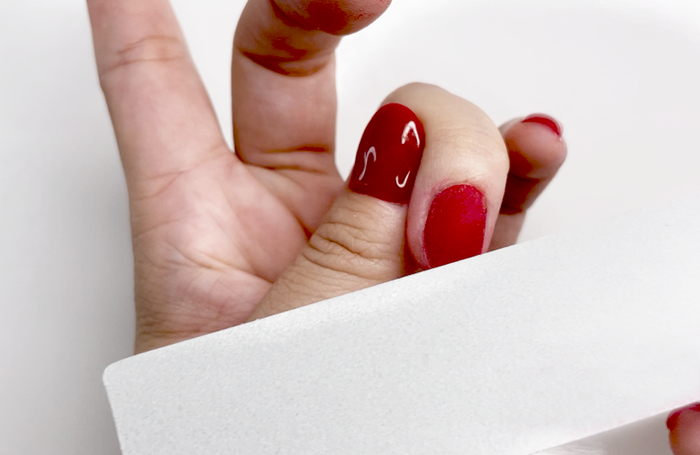
- If needed, file and shape nails.
PRO TIP: Use a fine grit buffer to buff/smooth the surface of nails.
Step 6
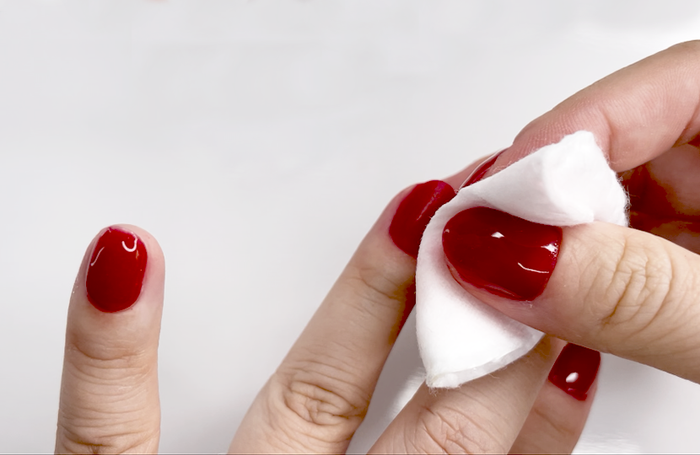
- Dust off filing debris with a fluffy brush.
- Wipe nails with a lint- free wipe saturated in alcohol. Allow 1 minute for nails to fully dry.
Step 7
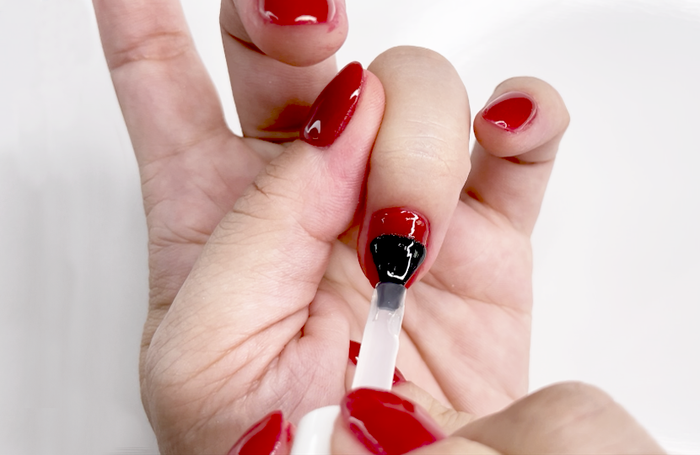
- Apply a thin coat of Gel Top to all nails, excluding thumbs. Be sure to cap the free edge!
- Cure under light for 45 seconds.
PRO TIP: Don’t forget to wipe the gel brush with a paper towel before placing it back into the bottle!
Step 8

- Repeat steps 7a-7b for both thumbs.
- Enjoy your gel dipped mani!
PRO TIP: No need to wipe nails with alcohol as Gel Top is non-tacky when cured.
